The first type of record every Ontraport account starts with is “Contacts.” You’ll see all the standard CRM fields you’d expect in these records, such as email and lead source.
Ontraport allows you to personalize your records with custom fields. This makes it possible to save information specific to your unique business.
And you can update your records’ organization so it’s easy to find the information you want.
Ontraport also lets you add other types of records to your account too. This article explains how to personalize any of your records to fit your needs.
Check out this Ontraport University lesson to learn more:
Table of contents
Add fields
Field type reference
• Default system fields
• Unique fields
• Required fields
Organize your records
• Delete fields
• Move fields
• Add new sections
• Move sections
• Add a new tab
• Reorder tabs
Add permissions
Add fields
Add any of the 20 unique field types to your records. Check out the chart below to view each field type.
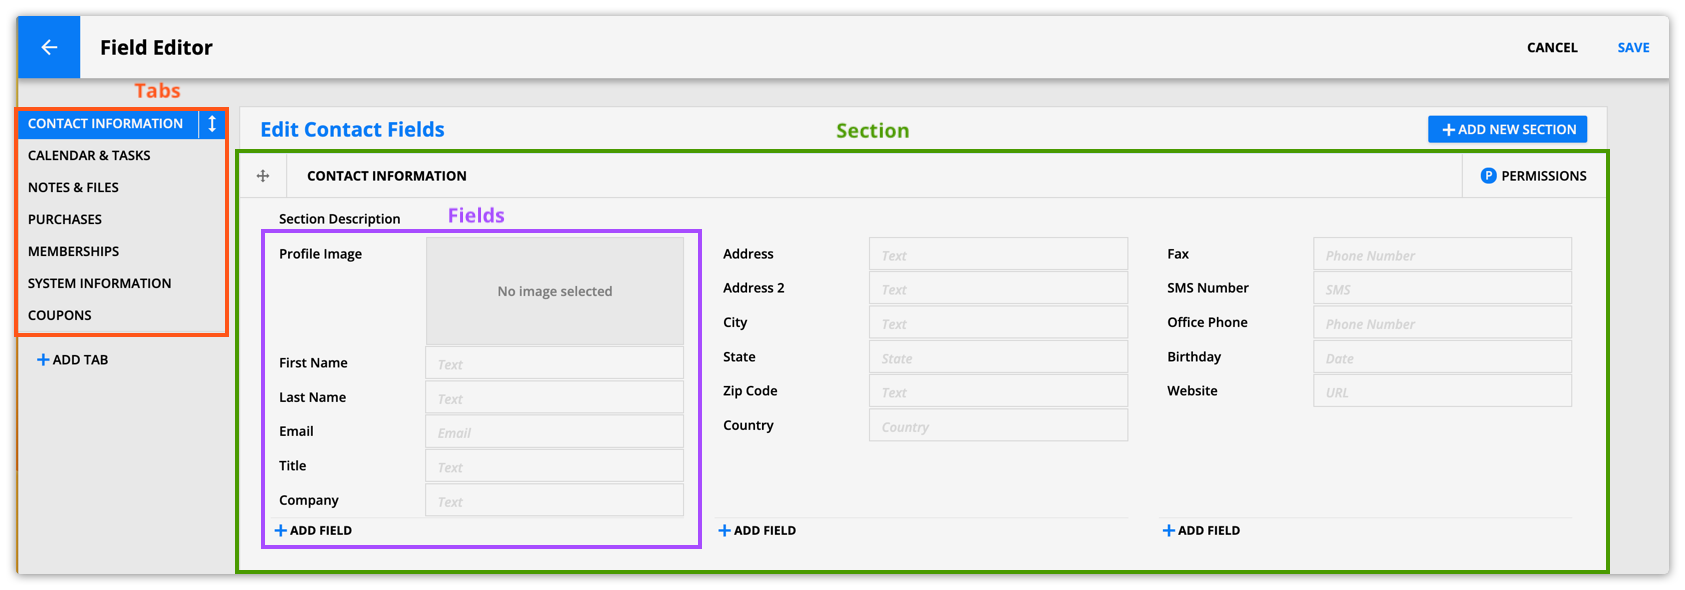
When you add new fields to your records, you’ll choose where to save them. Here’s how your records are organized:
- Fields
- Fields contain information saved in your records.
- Sections
- Sections contain related fields.
- Tabs
- Tabs contain related sections.
Here’s how to add new fields to your records:
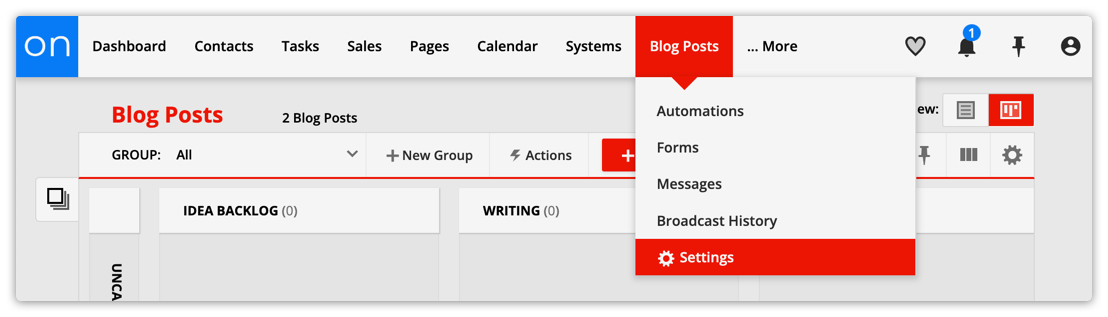
- Go to Contacts → Settings → Field Editor.
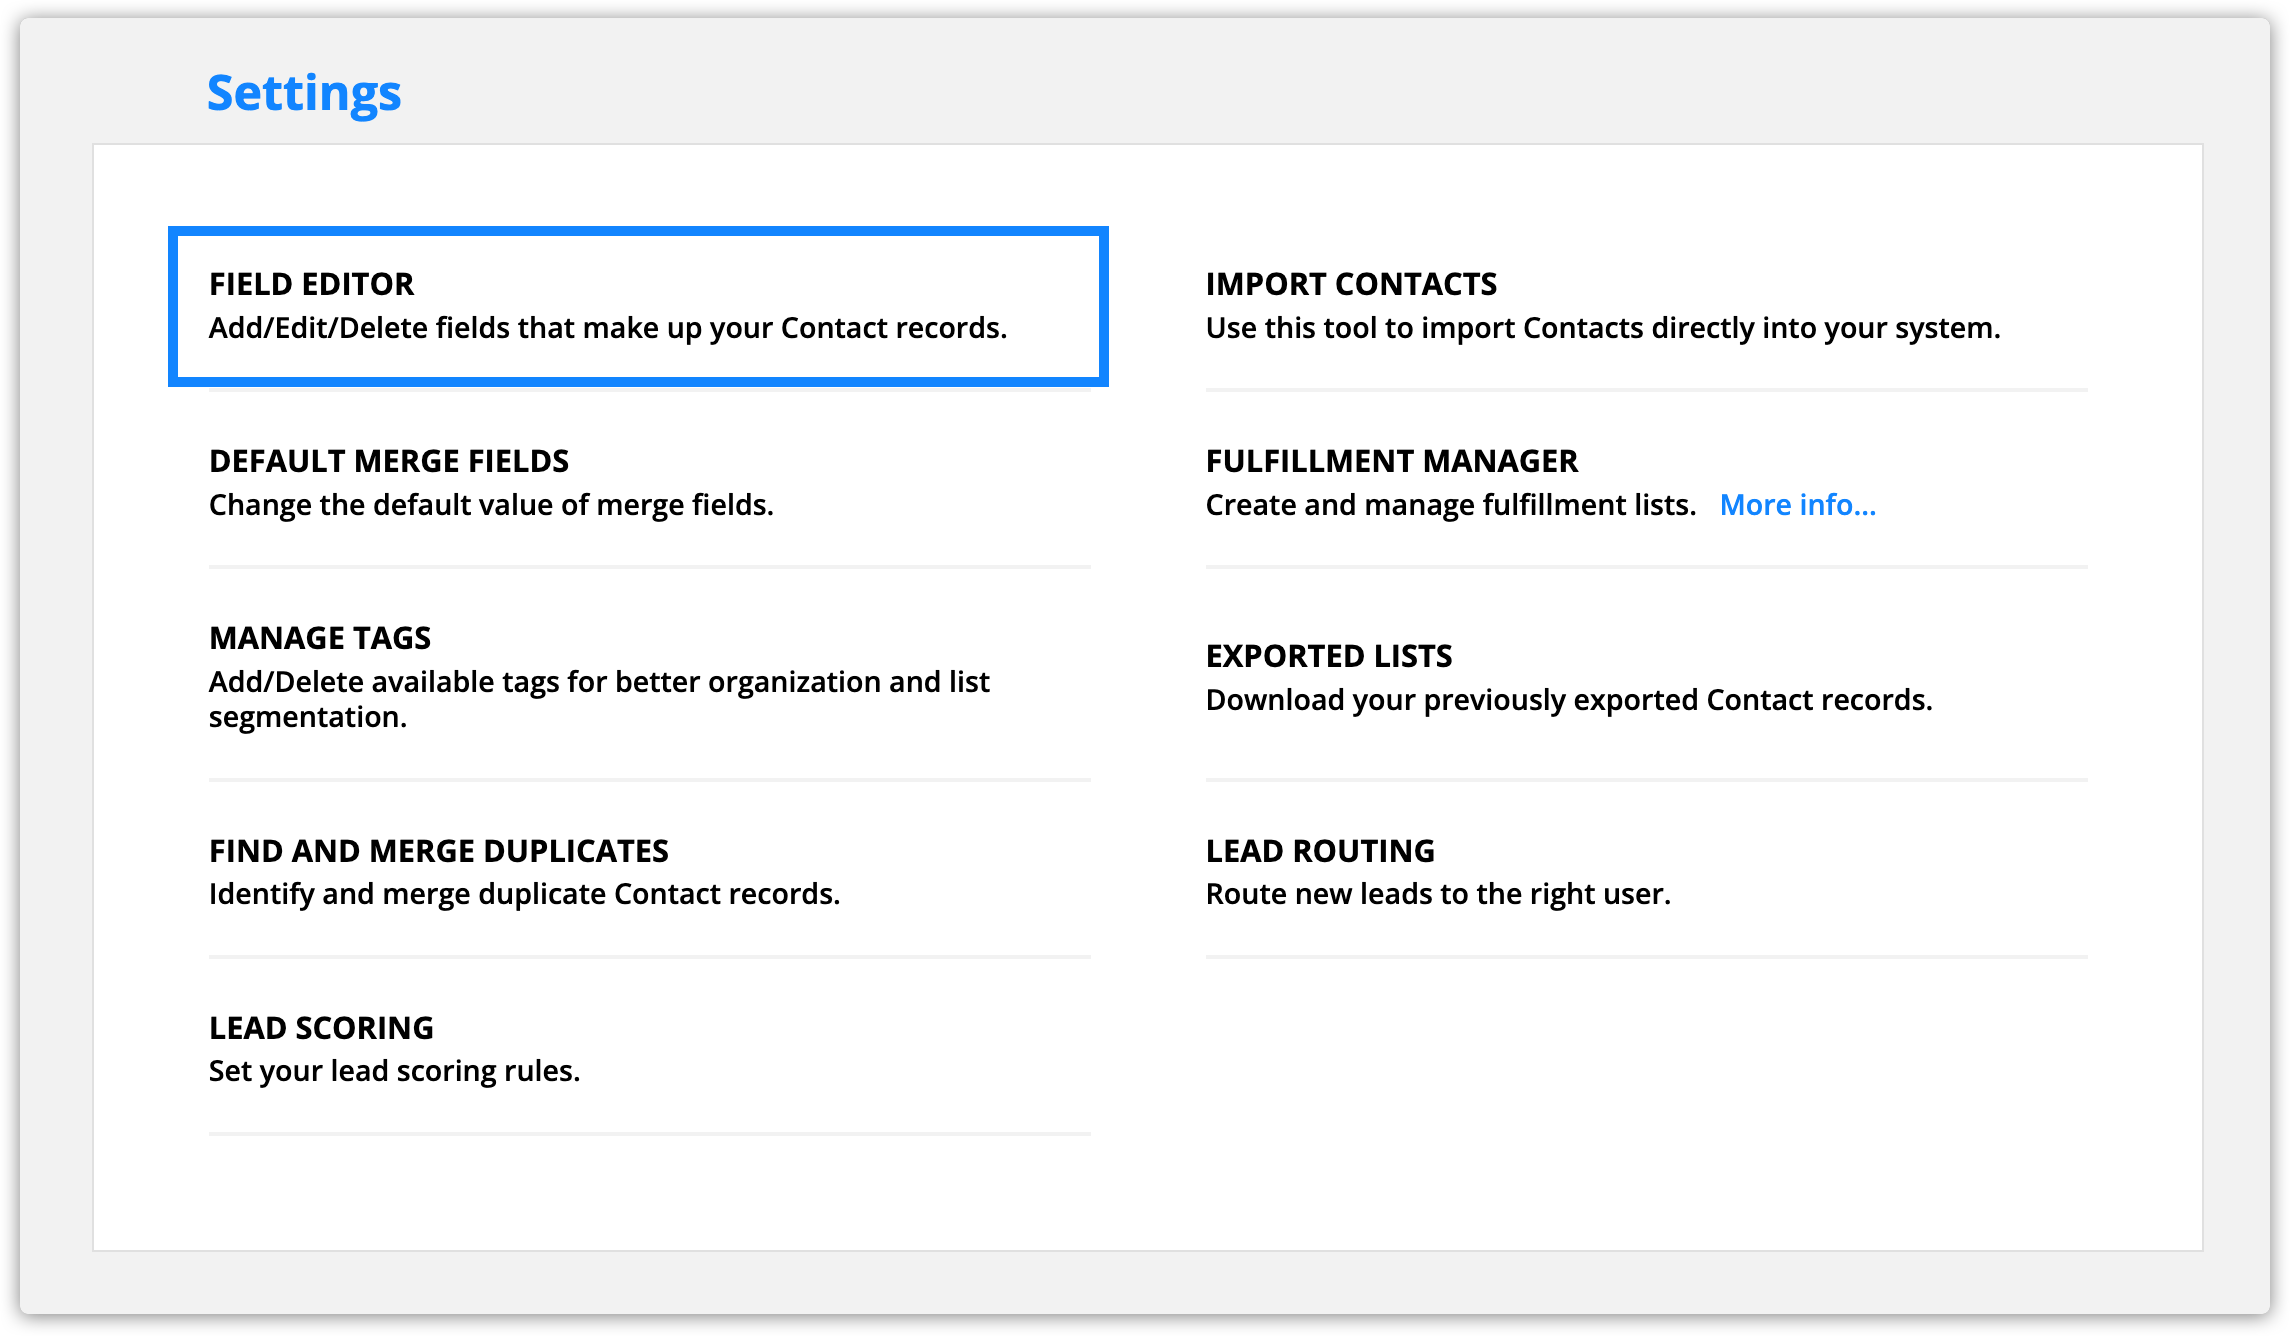
- If you want to create custom fields for custom objects, hover over your object’s navigation button, then select Settings → Field Editor.
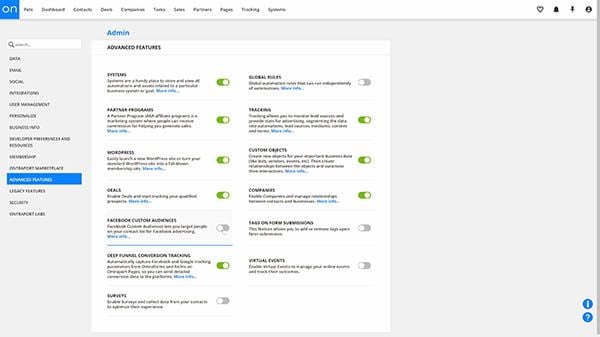
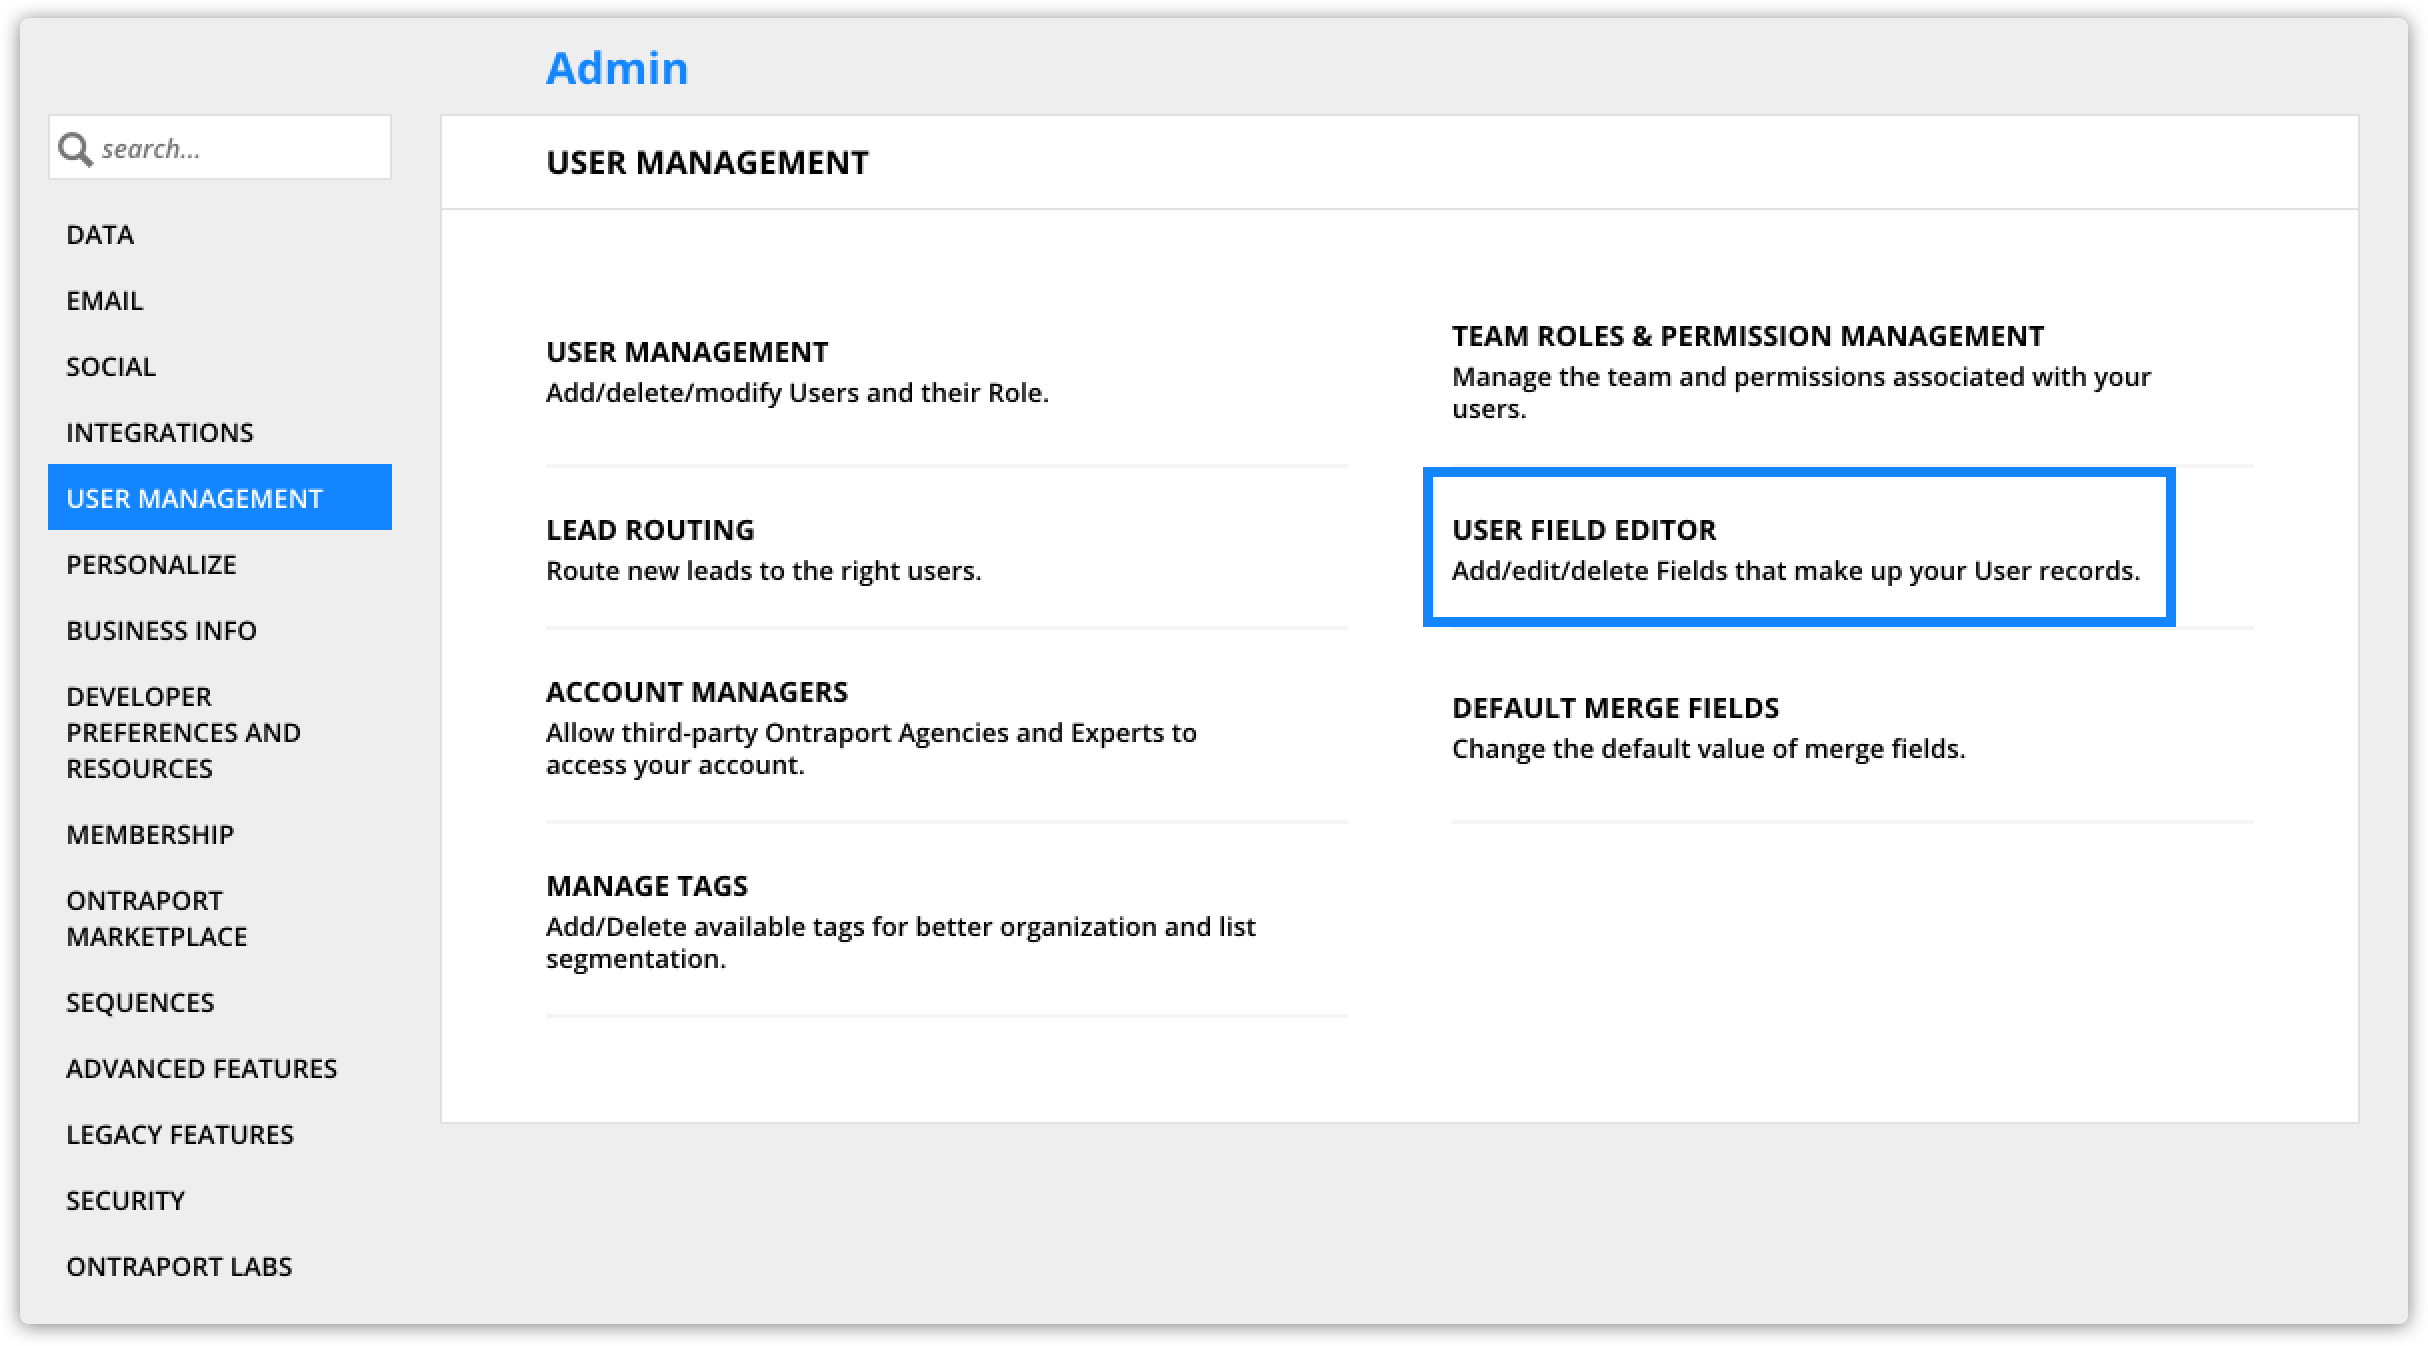
- To create custom fields for your users, go to
.png) → Administration → User Management → User Field Editor.
→ Administration → User Management → User Field Editor.
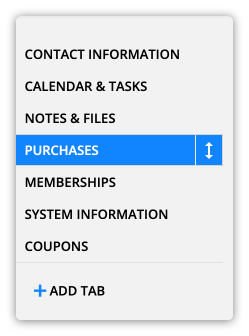
- On the left side, click on the tab where you’d like to add a new field.
- Click Add Field at the bottom of the section where you want to save your field.
- Add your field name.
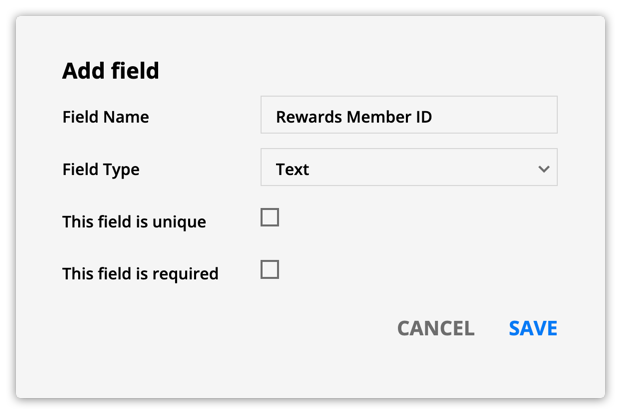
- Select a field type. Choose from these options.
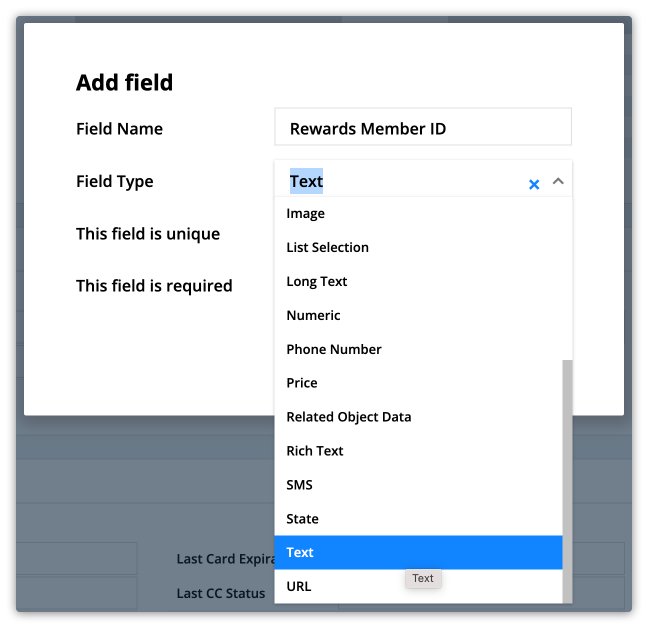
- (Only for accounts with custom objects enabled) Optionally make your field unique or required.
.png)
- Click Save.
Field type reference
Use the chart below to see the type of data each field type can store.
Field type | Description |
| Address | Field for a street address |
| Checkbox | Checkbox for yes and no |
| Color | Dropdown list of values allowing the selection of one of the values and colors |
| Country | Dropdown list of countries |
| Date | Calendar box to select date |
| Date and Time | Calendar box to select date and clock dial to select time |
| Dropdown | Dropdown list of multiple values allowing the selection of one of the values |
| Field for email address | |
| File | Upload and store files in records.
|
| Image | Upload and store images in your records for profile images, product photos, blogs, etc.
|
| List Selection | List of multiple values, allows selection of one or more items |
| Long Text | Text field for long descriptions |
| Numeric | Field for whole numbers only
|
| Phone | Field for phone numbers |
| Price | Field for entering a price up to two decimal points
|
| Related Object Data | Display a field from a related object’s record.
|
| Rich Text | Text field that allows you to edit the styling of your stored text.
|
| Rollup | Rollup fields allow you to save information about subcollections in your records and default system objects. Create count, average, minimum, maximum, median and sum rollup fields. Learn more here. |
| SMS | Field for a phone number that can receive SMS messages |
| State | Contains a list of states and regions |
| Text | Field for alpha-numeric values such as proper names and serial numbers |
URL | Field to store links and add them to pages and messages
|

Default system fields
There are several default fields in records in Ontraport. These default fields are not editable, and you can’t delete them. These default fields ensure you can use Ontraport’s CRM features.
All Ontraport accounts come with contact records, and all the fields included are default, which means you can’t edit or delete them.
The only default fields in custom objects are the standard system information fields. If you can’t edit or delete a field, the field is either default or a relational field created by a custom object relationship.
- If you want to delete relational fields, you must delete the relationship that created the field.
Here are descriptions of some of the most critical default fields in all records:
Date Added – Stores the date the record was added to the database
Date Modified – Stores the date and time the record’s saved information changes
Last Activity – Stores the date and time the contact was last active
- It updates every time your contact interacts with your content. Clicking an email link, visiting a tracked page, logging in to a membership site and submitting a form will all update this field.
Contact or Object ID – A numeric identifier automatically added to each record
Unique ID – A unique, random alphanumeric identifier
- This field is helpful for passing data through URLs without exposing a contact’s information.
Unique and required fields
If you’ve enabled custom objects or Ontraport Apps, you can also set some fields to be unique and/or required. These advanced field settings give you more control over the values stored in your contact records.
Unique fields
Unique fields can’t have the same field value in more than one record. They help create custom identification. For example, you can make rewards member IDs, personal access tokens, permit numbers, etc.
- You can’t modify unique fields through automation or group actions.
Required fields
Required fields must have a value saved in records. That means you can’t save a record unless the required field has a value.
We only recommend making fields required if you have a specific use case where this is crucial. For example, if you’d only like to create new contact records if they contain a membership ID.
- If you have a required field, make sure to mark the field as required on all your forms and API calls that create new records.
/forms-required_field_checkbox_example.png)
Organize your records
Organize your records to fit your needs and workflow. You can move fields into any section and move sections into different tabs. This record customization helps you store information so it’s easy to find what you need.
Delete fields
Delete any of your custom fields that you don’t need. Note, when you delete a field, you also delete all the data saved in that field. Export your data before deleting fields from your records to ensure you don’t lose any critical information.
- You cannot delete default record fields.
- Click
.png) next to the field.
next to the field. - Type “DELETE” in the dialog to confirm.
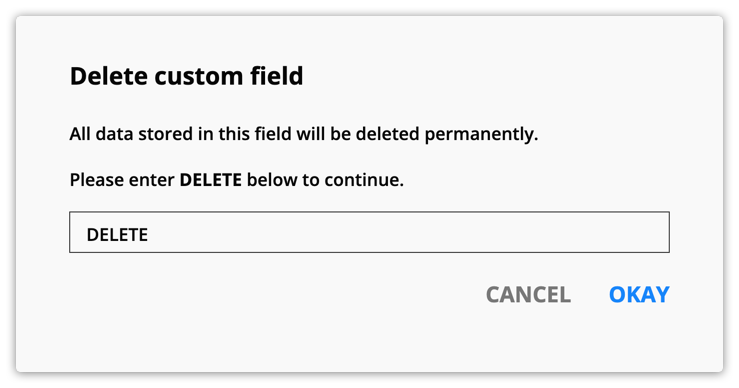
- Click Okay.
- Click Save in the top right corner of the field editor.
Move fields
Move your fields to different locations to customize your records. This allows you to control exactly what you see in each tab and section.
- Hover your cursor over the field you want to move, and click
.png) .
. - Drag the field to any section or tab.
- Click Save in the top right corner.
Add new sections
Create custom sections in your account to hold similar fields and make your records easier to navigate. Here’s how:
- Click Add New Section.
- Your new section will appear at the very bottom of the tab.
- Scroll down to the new section.
- Click UNTITLED to add the name of the section.
- Click Section Description to add your description (optional).
- Click Save in the top right corner of the field editor.
Move sections
Move sections to different tabs in your records to customize what you see on each page of the detail view of your records.
- Click and drag
.png) in the upper left corner of the section you want to move.
in the upper left corner of the section you want to move.- Move the section to a different position in the same tab or a new tab.
- Click Save in the top right corner of the field editor.
Add a new tab
New tabs create a new page in your records. You can move existing sections into those tabs or create new sections to fit your needs.
- On the bottom left, click .
- Click UNTITLED and name your tab.
- Click Save in the top right corner of the field editor.
Reorder tabs
All the tabs in your records are displayed on the left side of your record. You can reorder your tabs to put your most important information at the top of your list.
- Hover over your tab, and click and drag the
.png) into the position you want.
into the position you want. - Click Save in the top right corner.
Add permissions
You can determine which roles in your account should be able to view and/or edit sections in your records.
- Click Permissions on the top right corner of the section you want to edit.
- On the permissions dialog, choose which roles should be able to view and/or edit the section.
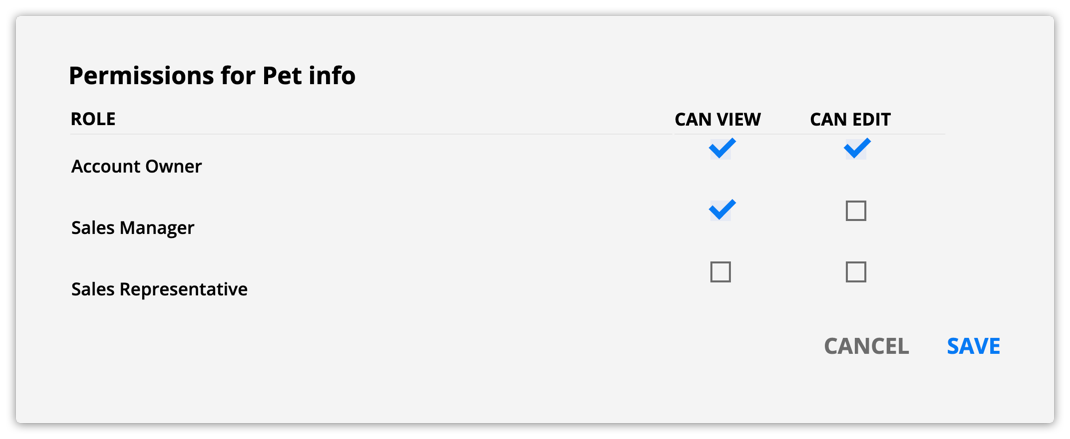
- Click Save.
- Click Save in the top right corner of the field editor.