Ontraport Systems is a tool you can use to create, maintain and organize the marketing and business assets in your account.
Think of the systems as folders in your account where you can store all of your related assets so you can stay organized, make quick edits and get an overview of your system’s performance.
Enable/disable Ontraport Systems
Ontraport Systems are an optional organizational tool for your account, and if you’d like to disable this feature your account will continue to function normally.
- Go to
.png) → Administration → Advanced features.
→ Administration → Advanced features. - Toggle on/off Systems.
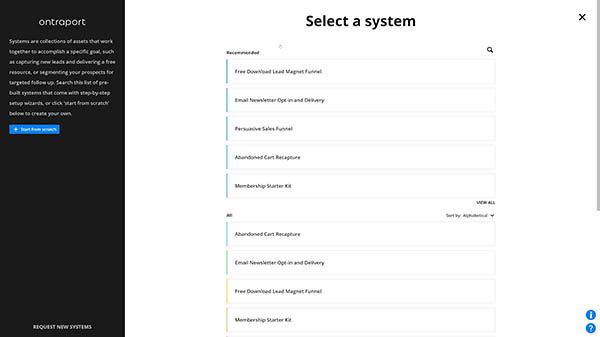
Install a prebuilt system
Once you pick your system, you’ll need to complete all of the steps below before it’s installed in your account.
- Click Systems → New System.
- Hover over the system you want to install and click Start.
- Follow the instructions on each step and click Next when you’re ready for the next step.
- You can always click
 to go back a step.
- You can always click
- When you complete all the steps in the Setup Wizard, click Finish on the “Publish your system” step to install your assets.
- Once your system assets are installed, click View system to go to your system’s notes to learn more about your system, how it works and any next steps you may be interested in.
- To come back to this page, click Notes from inside your system.
Create a new system from scratch
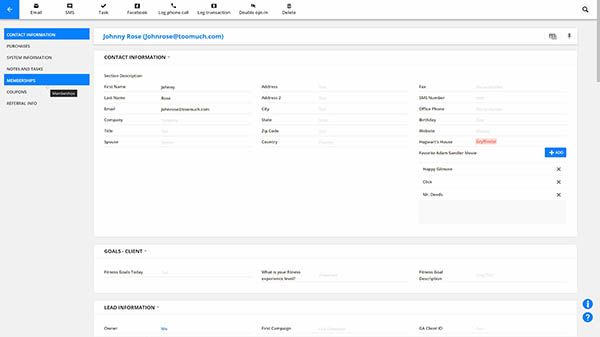
When you create a new system, you’ll start on your asset overview page. From there you will see at least five tabs (if you have custom objects set up in your account you’ll also see those here), and each tab has sections to add your system’s assets.
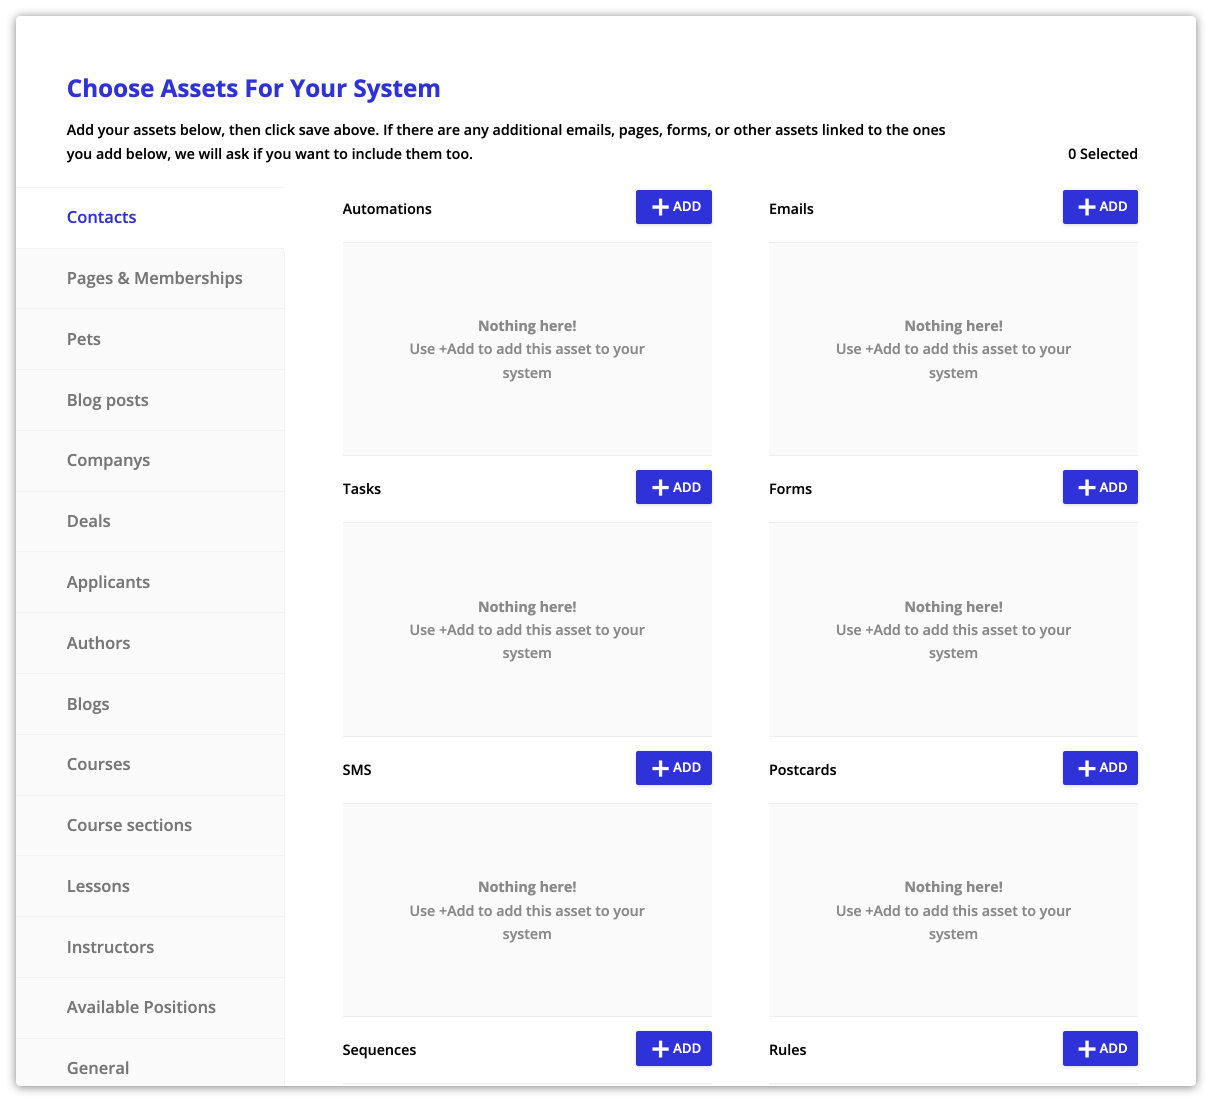
Here’s what you can add in each section:
Contacts
- Automations
- Tasks
- Forms
- SMS
- Postcards (if enabled)
- Sequences (if enabled)
- Rules (if enabled)
- Fulfillment lists
Pages and Memberships
- Pages
- Membership Sites
- WordPress Memberships (if enabled)
General
- Products
- Files
- Partner programs (if enabled)
- Tracked links
- Invoices
Companies, Deals and all other custom objects
- Automations
- Tasks
- Forms
- SMS
- Sequences (if enabled)
- Rules (if enabled)
- Fulfillment lists
Add assets to a new system
- Click Systems → New System → Start from scratch.
- Name your system.
- Find the section that matches the asset you’d like to add, then click Add.
- Select your asset from the dropdown list or create a new one as you go.
- Click Save.
View your systems
System collection
All of your systems are stored in your system collection, and to get there simply click Systems from your main navigation bar.
.png)
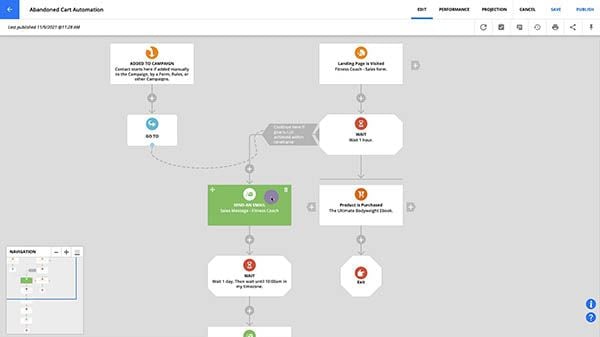
Individual system records
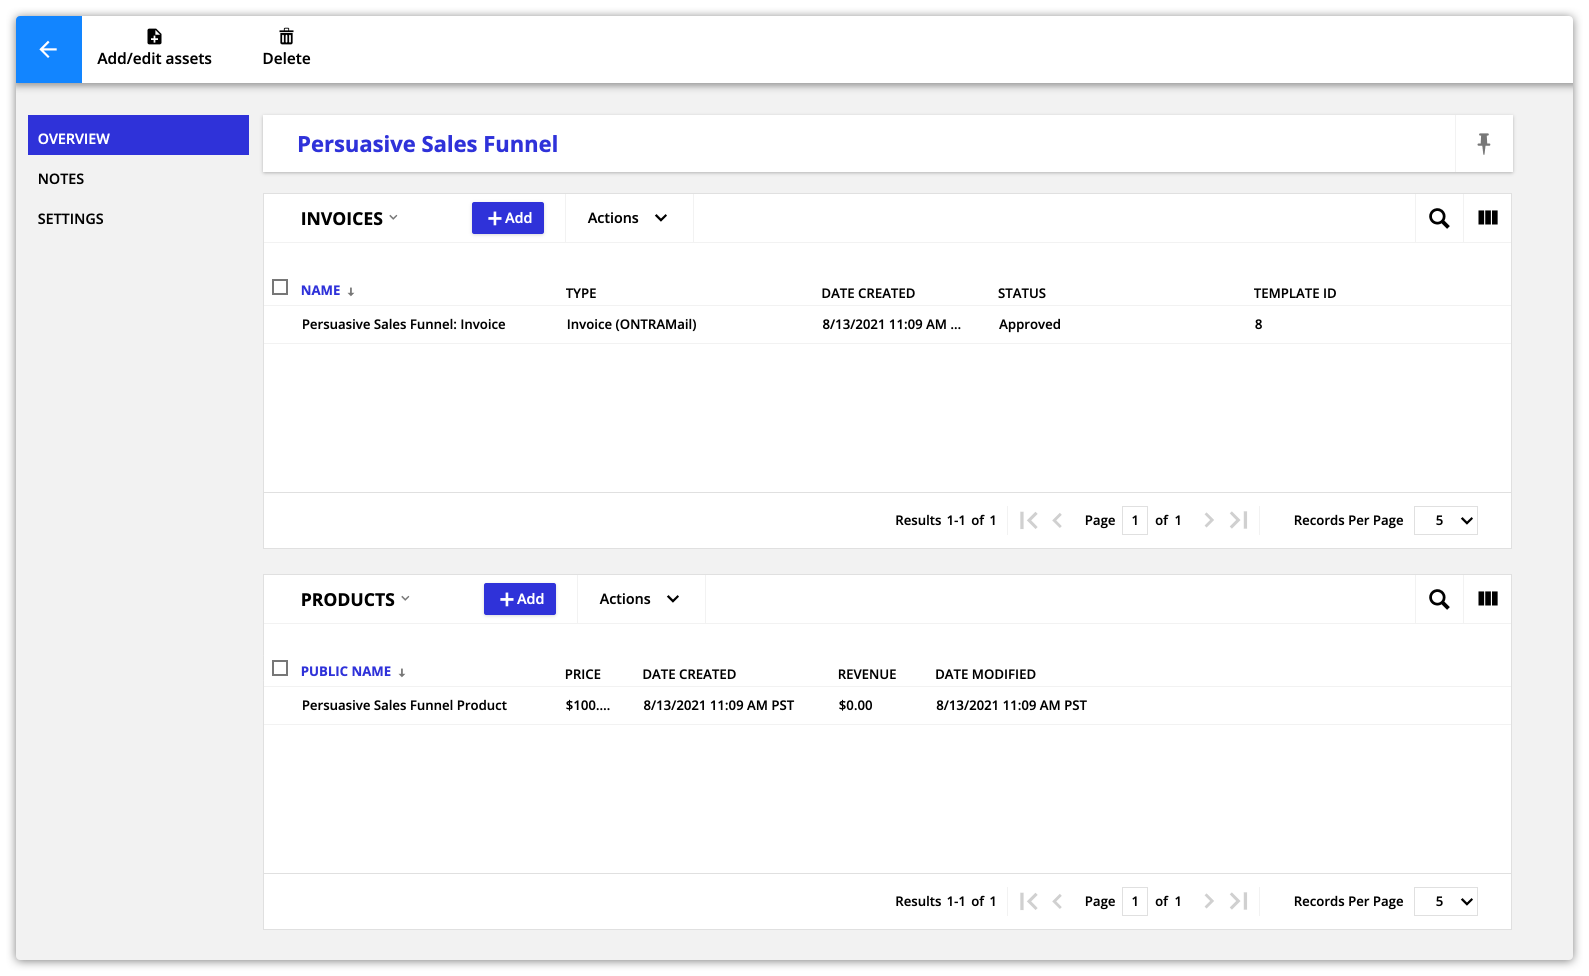
Click on your system’s name from your collection to view individual systems.
From your system record you can add, edit and remove assets from your system and view stats for each type of asset, such as the number of contacts who opened or clicked an email.
Add/edit system assets
There are two ways you can add assets to an existing system — from the system overview and from your asset subcollections.
Add assets from your system overview
Use this option if you’d like to add a new type of asset to your system, such as adding an SMS message to a system that didn’t include one before.
- From your system record, click Add / edit assets.
- Find the section that matches the asset you’d like to add, then click Add.
- Select your asset from the dropdown list or create a new one as you go.
- Click Save.
Add assets from your asset subcollections
- Find the section that matches the asset you’d like to add, then click New.
- Select your asset from the dropdown list or create a new asset as you go.
Delete your system
You can delete systems from your systems collection or from inside of your system’s record.
To delete systems from your collection
- Select the system you’d like to delete.
- Click Delete.
- Confirm that you’d like to delete your system.
To delete systems from their record
- Click Delete on the top left.
- Confirm that you’d like to delete your system.