Get expert tips, tricks, and scripts from Ontraport's Founder and CEO, Landon Ray. These insights help you easily add powerful functionality to your account and tackle specific use cases. In this article, you'll find videos previously posted on Facebook, along with steps and code examples when you need them.
This article includes code examples intended to support advanced customizations. Please note that our support team does not provide assistance with writing, modifying, or troubleshooting custom code. For implementation support, we recommend contacting an Ontraport Expert. |
Table of contents
Ontraport Pages (design + functionality)
• Add animation to Ontraport Pages
• Add Google Fonts to Ontraport Pages
• Break out of the block-based grid with CSS
• Break out of the block-based grid with gradient backgrounds
• Build a sliding FAQ’s section
• Create a signature field in Ontraport Pages
• Create a ‘text me’ popup
• Display list selection fields as checkboxes
• Dynamic sidebar navigation demo
• Embed a booking calendar in an Ontraport Page
• Embed Ontraport Page forms into your WordPress site
• Generate 1-10 star ratings
• Pass URL variables to personalize pages
Automation + Integrations
• Automate Slack reminders
• Create an SMS chatbot
• Send automated postcards and letters using Thanks.io
Sites + Portals
• Create a bullet-proof referral system with Dynamic CMS
• Create a customer referral portal
• Create a dynamic multi-language site
• Create a ticketing/reservation system
• Create a video sharing and commenting system
• Create internal pages for your team
Data + Compliance
• Keep your data clean for high-touch B2B sales processes
• PSA: Don't get sued for sending SMS during quiet hours
• Send from name deliverability tip
Ontraport Pages (design + functionality)
These videos show you how to customize and add functionality to your Ontraport Pages, from design adjustments to embedding tools and interactive elements.
Add animation to Ontraport Pages
Back to top
This video shows you how to add eye-catching animations to your pages in just a minute using custom classes. Animations can bring your design to life, draw attention to key elements, and create a more engaging experience for visitors, all with minimal effort.
Join us on Facebook to watch.
- Then check out the comments or add your own question to the thread.
Use this code to get set up.
Add Google Fonts to Ontraport Pages
Back to top
Learn how to use the custom classes feature to add hundreds of free Google Fonts to your pages quickly. Expanding your font options gives you more control over your brand’s look and feel so you can create a polished, professional site that stands out.
Join us on Facebook to watch.
- Then check out the comments or add your own question to the thread.
Break out of the block-based grid with CSS
Back to top
This video shows you how to use custom classes and a bit of CSS to create seamless designs by sliding elements across multiple blocks. It’s a quick way to break up the boxy feel of block-based layouts and give your pages a more modern, cohesive look.
Join us on Facebook to watch.
- Then check out the comments or add your own question to the thread.
Use this code to get set up.
Break out of the block-based grid with gradient backgrounds
Back to top
This video shows you how to use the “Prevent color blend” setting on gradient block backgrounds to create a clean, horizontal break between sections. It’s a simple way to add visual interest and create smooth transitions between blocks so your pages feel more polished and less boxy.
Join us on Facebook to watch.
- Then check out the comments or add your own question to the thread.
Build a sliding FAQ’s section
Back to top
Learn how to create a sliding FAQ section that will improve your website by organizing common questions in a compact, easy-to-navigate format. Visitors can quickly find answers without scrolling through long blocks of text, which enhances their experience and helps reduce support requests. It keeps your page clean and professional while making important information readily accessible.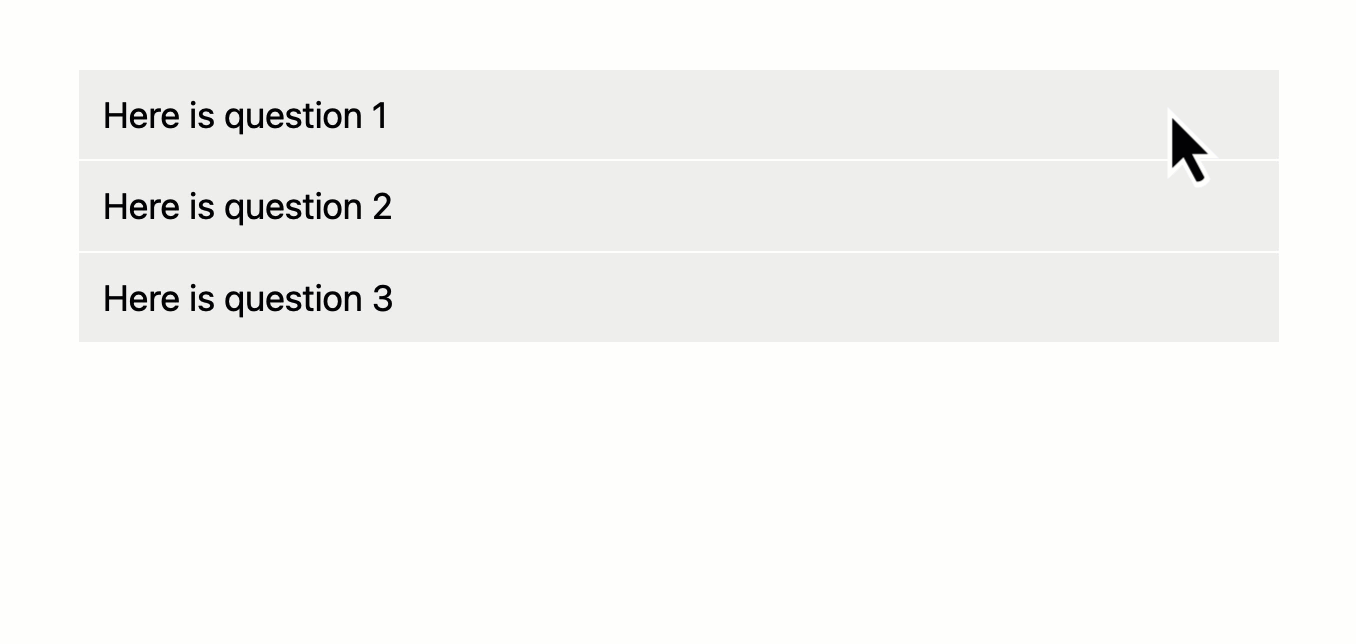
Join the discussion on Facebook.
- See what others are asking or drop your own question in the comments.
Follow these steps to get set up.
Create a signature field in Ontraport Pages
This video shows you how to add a signature field to your Ontraport pages so you can capture signed agreements, waivers, approvals, and more at the moment of form submission. It’s a quick way to streamline processes that require consent or sign-off, all without leaving your CRM./pages-signature_example.gif)
Join us on Facebook to watch.
- See what others are asking or drop your own question in the comments.
Follow these instructions to get set up.
Create a ‘text me’ popup
Back to top
In this video, you'll learn how to add a 'Text Me' popup to your site so visitors can instantly start a one-on-one SMS conversation with you. This makes it easy for people to reach out without hunting for a contact form or waiting for an email reply. Every form submission creates a new Inbox conversation so your team can jump in right away. Text messages get opened and responded to far more often than emails. So this simple popup gives you a direct, high-engagement way to connect with visitors and capture the information you need.
Join the discussion on Facebook.
- See what others are asking or drop your own question in the comments.
Use this code to get set up.
Display list selection fields as checkboxes
Back to top
In this video, you’ll learn how to display list selection fields as checkboxes on your pages. This helps avoid confusion with traditional multi-select fields, where visitors often don’t realize they need to hold down the command or control key to select more than one option. Using checkboxes makes it clear and straightforward for people to choose multiple values, and it ensures you get the data you need.
Join the discussion on Facebook.
- See what others are asking or drop your own question in the comments.
Use this code to get set up.
Dynamic sidebar navigation demo
Back to top
This video walks you through how to build dynamic side navigation that automatically shows each contact the courses they’ve purchased. By following this process, you’ll create a personalized experience for every visitor, which helps them easily find and access their content without clutter or confusion.
Step 1
Setup dynamic side nav:
Use this code to get set up.
Step 2
Setup automatic many/many relationships:
Join the discussion on Facebook.
- See what others are asking or drop your own question in the comments.
Embed a booking calendar in an Ontraport Page
Back to top
This video shows you how to embed a calendar directly into your Ontraport Page, making it simple for visitors to book appointments without navigating away. It also explains how to set your thank you page to open as a full page rather than inside an iframe, creating a smoother, more seamless experience that feels professional and builds trust with your visitors.
Join us on Facebook to watch.
- Then check out the comments or add your own question to the thread.
Follow these steps to get set up.
Embed Ontraport Page forms into your WordPress site
WordPress users might think they can’t use Ontraport’s updated form features like file and image uploads, hidden fields, and conditional redirects. This video shows you how to embed Ontraport Pages in WordPress and make them pop up when visitors click a button so you can easily add advanced, interactive forms to your site without complicated setups or extra plugins.
Join us on Facebook to watch.
- Then check out the comments or add your own question to the thread.
Follow these steps to get set up.
Generate 1-10 star ratings
Back to top
Want to let contacts rate you, or anything else, on a scale of 1–10 stars? This video shows you how to customize numeric fields to display a list of stars, so you can collect clear, visual feedback that's simple for contacts to give and easy for your team to review and act on.
Join us on Facebook to watch.
- Then check out the comments or add your own question to the thread.
Use this code to get set up.
Pass URL variables to personalize pages
Back to top
Watch this video to learn how to pass URL variables across your site to personalize content for each visitor, not just on the first page they land on but throughout their entire visit. This process ensures that personalization tied to ad clicks or targeted links stays intact as visitors navigate your site so that you can maintain a consistent, relevant experience from page to page.
Join us on Facebook to watch.
- Then check out the comments or add your own question to the thread.
Use this code to get set up.
Automation + Integrations
Back to top
These videos show you how to set up automations and connect your Ontraport account with other services to extend its capabilities.
Automate Slack reminders
Back to top
In this video, Landon uses Ontraport and Zapier to solve a real business problem in just 10 minutes. A sales rep wasn’t updating lead statuses after calls, so we set up automated Slack reminders that keep prompting them until the task is complete. It’s a simple, practical example of how Ontraport skills can help you fix everyday issues quickly.
Join us on Facebook to watch.
- Then check out the comments or add your own question to the thread.
Create an SMS chatbot
Back to top
This video helps you discover cool ideas to get more out of SMS, Inbox automation, and AI. You’ll see how to use AI to categorize inbound messages and automatically send relevant responses quickly. Automatically sorting messages and responding promptly helps businesses stay organized, reduce response times, and provide better customer service.
Join the discussion on Facebook.
- See what others are asking or drop your own question in the comments.
Send automated postcards and letters using Thanks.io
Back to top
This video shows you how to integrate Thanks.io with Ontraport to send postcards and letters to your contacts automatically. Direct mail is a powerful way to stand out in a digital world, making it ideal for building stronger relationships with high-value leads and customers through personalized, tangible outreach.
Join us on Facebook to watch.
- Then check out the comments or add your own question to the thread.
Sites + Portals
Back to top
The videos in this section cover how to build larger projects such as full websites, referral portals and private spaces for your team or customers.
Create a bullet-proof referral system with Dynamic CMS
Back to top
This video shows you how to use Ontraport’s Dynamic CMS to create a bullet-proof referral system that gives your partners the credit they deserve every time.
By building dedicated, hard-coded referral pages, you’ll bypass the common issues with cookies so your partners never miss out on credit for the traffic they drive. It’s a simple way to build trust with your referrers and keep your program running smoothly.
Join the discussion on Facebook.
- Then check out the comments or add your own question to the thread.
Use this code to get set up.
Create a customer referral portal
Back to top
This video shows you how to create a referral portal that tracks who is making referrals and displays a monthly leaderboard. This system motivates your network by recognizing top referrers and provides clear visibility into the number and value of leads each person contributes, helping you build stronger, more productive business relationships.
Join us on Facebook to watch.
- Then check out the comments or add your own question to the thread.
Create a dynamic multi-language site
Back to top
This video shows you how to use Ontraport’s DCMS and AI Assistant to build a dynamic multi-language site in about 30 minutes. Offering your site in multiple languages helps you reach a broader audience, deliver a more personalized experience and build trust with visitors by speaking their language.
Here’s a demo of the build from the video.
Join the discussion on Facebook.
- See what others are asking or drop your own question in the comments.
Create a ticketing/reservation system
Back to top
This video demonstrates how to set up a simple ticketing system using Ontraport and Dynamic CMS. The system streamlines the reservations process, allowing visitors to easily book and manage their own sessions. It also illustrates the flexibility of Ontraport, showing how you can create custom solutions without needing custom development.
Join the discussion on Facebook.
- See what others are asking or drop your own question in the comments.
Create a video sharing and commenting system
Back to top
In this video, you’ll learn how to create a video sharing and commenting system. The example shows how golf coaches can give 1-on-1 swing feedback, but you can use the same build for any video-uploading needs. It gives you a distraction-free, branded space where visitors can share videos and get direct feedback.
Part 1
Part 2
Here’s a demo of the build from the video.
Join the discussion on Facebook.
- See what others are asking or drop your own question in the comments.
Create internal pages for your team
Back to top
Learn how to use the prefill and “do not track” form settings to create internal forms your team can use without logging into Ontraport. This setup is perfect for companies with team members handling basic tasks. This setup allows them to submit or update contact info easily without needing to learn the system or risk making changes to your data.
Join us on Facebook to watch.
- Then check out the comments or add your own question to the thread.
Data + Compliance
Back to top
These guides focus on managing your data, setting up fields and following best practices for compliance and deliverability.
Keep your data clean for high-touch B2B sales processes
Back to top
Learn how to keep your data clean and accurate without hours of manual work.
This video walks through a simple 20-minute setup using AI and Zapier to protect your contact records during high-touch B2B sales processes. You’ll learn how to prevent overwriting valuable contact or company data when someone submits a form and automatically relate new leads to the correct company in your database. Perfect for teams working with a small number of high-value leads.
Join us on Facebook to watch.
- See what others are asking or drop your own question in the comments.
PSA: Don't get sued for sending SMS during quiet hours
Back to top
Did you know that sending SMS messages outside of legal “quiet hours” (8am–8pm, or all day Sunday in some states) can expose you to lawsuits and massive fines?
Watch this video to learn how to use Ontraport’s features to avoid these issues.
Join the discussion on Facebook.
- See what others are asking or drop your own question in the comments.
Send from name deliverability tip
Back to top
Watch this video to learn why using only a first name as your email "from" name can hurt your deliverability and land your messages in the spam folder. As Google's spam filters become more strict, making minor adjustments like this can help ensure your emails reach your audience.
Join us on Facebook to watch.
- Then check out the comments or add your own question to the thread.