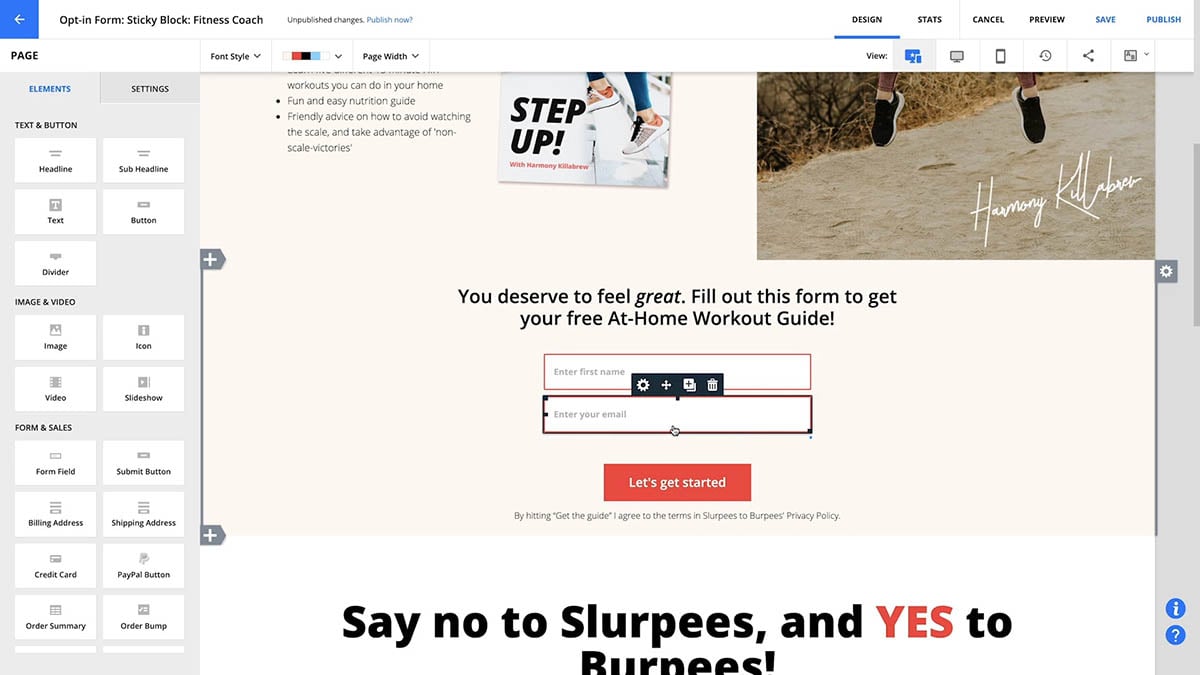
When someone submits the form, their information goes straight into Ontraport with the form's tags, automations, opt-in and tracking applied, just like any other Ontraport form. You don't need to write code or set up a separate form service.
Table of contents
What you need before you start
Add a form to a website
• Example requests
Supported fields and settings
• Field types
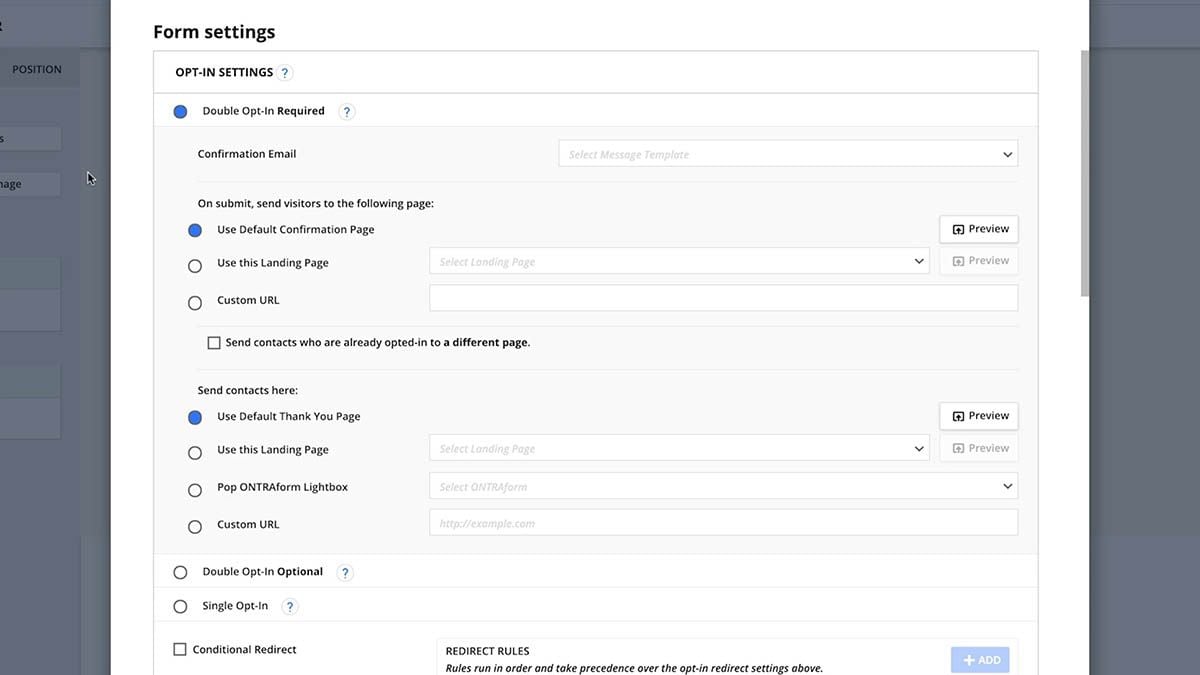
• Form settings
• Contacts and custom objects
Where your form shows up in Ontraport
Test your form before publishing
Make changes to your form
Troubleshooting
What isn't supported yet
What you need before you start
- An Ontraport account with permission to create forms.
- Claude or another MCP-compatible AI connected to your Ontraport account through the Ontraport MCP server. See Getting started with Ontraport’s MCP server to connect it.
- A website project your AI can edit.
- An email address you can use for a test submission.
Add a form to your website
- Open your AI tool and make sure it's connected to the right Ontraport account.
- Ask it to add a form to your website. Say what the form is for and which fields you want.
- Review what your AI proposes before it creates anything: the fields, which ones are required, tags, automations, opt-in, and what visitors see after submitting.
- Approve the form. Your AI creates it in Ontraport and adds it to your website, styled to match your site.
- Test the form (see Test your form before publishing below), then publish your website.
Example requests
You can ask in your own words. These are good starting points:
Create a new form
Reuse a form you already have
“Add my existing Ontraport form named ‘Consultation request’ to the contact section of this website. Reuse that form instead of creating a new one, and match the site's colors and fonts.”Change the design
“Make the form one column on mobile and change the button text to ‘Book my consultation.’ Keep the same Ontraport form.”
Add a field
“Add a ‘How did you hear about us?’ dropdown to the form.”
Field types
You can use these field types:
- Text and long text
- Rich text
- Email
- Phone and SMS number
- URL
- Address, state and country
- Number and price
- Checkbox
- Dropdown and list (multi-select)
- Date, and date and time
These field types aren't supported: image, file, parent, rollup, related data and password. If you ask for one, the assistant tells you and leaves it out.
Form settings
- Where visitors go after submitting (the default thank-you page or a URL you choose)
- A notification email
- Tags
- Automations
- Owner
- Opt-in
Note: Sequences, payments, captcha and conditional redirects aren't supported.
Contacts and custom objects
Forms can create or update contacts or records in your custom objects. The tags, automations and owner you choose need to be set up for that object.
If someone submits the form with an email address that's already in Ontraport, Ontraport updates that record instead of creating a new one. Fields left blank on the form won't erase information already saved.
If you build a form for a custom object, run a test submission and check the record before you publish.
Where your form shows up in Ontraport
Forms created with AI appear in your Forms collection with the name you gave them, labeled API Form.
You can't edit these forms in the Ontraport form editor. When you click one, you’ll see a read-only summary. To change a form, ask your AI. It updates the same form instead of creating a new one.
If you use a name that already exists, Ontraport adds a number, like "Contact form (1)".
Test your form before publishing
- Open your website in a browser from a web address (http or https). Opening the file directly from your computer, or submitting the form inside the AI app, won't work.
- Check the form on desktop and mobile.
- To test tracking, add ?utm_source=test to the end of the page URL.
- Submit the form with an email address you control.
- Find the contact or record in Ontraport and check the values, including the UTM source.
- Check that the right tags, automations and opt-in were applied, and that you landed on the right page after submitting.
After you publish, submit the form once more from your live website.
Make changes to your form
Troubleshooting
The form doesn't submit. Make sure your page is opened from a web address, not a file on your computer. Check that your AI didn't remove the Ontraport script or put the form inside an iframe. If it still won't submit, check your account's Disable Custom HTML Forms setting. These forms follow it the same way smart forms do.
The form looks wrong on my website. Ask your AI to fix the design. Design changes don't affect the form in Ontraport.
Submissions aren't showing up correctly in Ontraport. Check the form's fields and settings, then ask your AI to update them if needed.
I can't edit the form in Ontraport. That's expected. Forms created with AI are read-only in the form editor. Ask your AI to make the change.
A tag, automation or owner was rejected. It needs to be set up for the object the form uses. For custom object forms, choose tags, automations and an owner from that object.
A duplicate form was created. Tell your AI which form to keep and ask it to reuse that one.
A field I asked for is missing. It may be a field type that isn't supported yet. See Field types above for a list of supported fields.
What isn't supported yet
- Editing these forms in the Ontraport form editor
- Order forms and payments
- Image, file, parent, rollup, related data and password fields
- Sequences, captcha and conditional redirects
- Publishing your website for you. You stay in control of when your site goes live.