This app helps you quickly build your own blog — no design experience required! Blogs enhance your online brand by attracting leads and establishing authority in your niche.
Learn more by watching this app walkthrough video:
Before this app is ready, you’ll need to add your content. This article explains how to customize every piece of your app and provides a reference section so you can learn more about your new records and relationships.
Table of contents
App functionality tips• Blog domain
• Default records
• Dynamic content
What you get
• Publish your blog posts using your template
• Direct traffic to your blog home page
• Stay on schedule with automated reminders
• Easily manage your blog comments
• Give administrative access to a user
Customize your app
• Step 1: Update your header and footer blocks
• Step 2: Remove the default blog posts and comments
• Step 3: Add your SEO
• Step 4: Write your first blog articles
• Step 5: Select your reviewer in your automation
• Step 6: Publish your content
• Step 7: Moderate your blog comments
• Monitor your results
• App record and field reference
App functionality tips
Here’s some important information about this app.
Blog domain
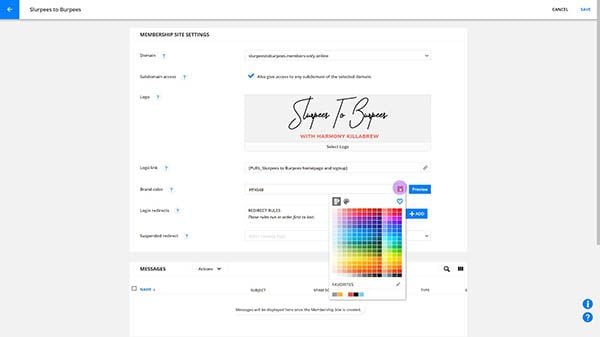
This app uses Ontraport's Membership Sites feature to allow your blog admin to log in and easily access admin features.
The domain you chose when you installed this app determines the URLs of all your published pages.
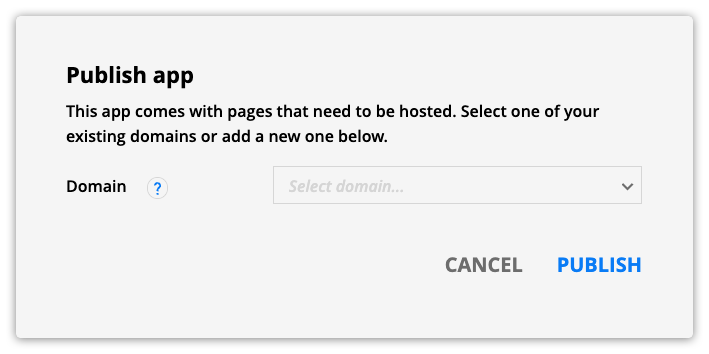
- If you selected an existing membership site's domain, you connected your blog pages to that site.
- If you selected a new domain, you created a new membership site to host your blog.
Default records
This app comes with default blog posts and comment records. These default records allow you to preview the app assets and features before your members add their content.
When you’re ready to launch your blog, you can delete your default blog posts and comments.
- Check out “Step 4: Remove the default blog posts and comments” below to learn how.
Dynamic content
This app uses Ontraport's dynamic content features to publish content saved in your Blog Post and Blog Comment records.
If you are unfamiliar with dynamic pages, dynamic blocks or page types, check out this Ontraport University course to learn more.
What you get
Here’s the pages, templates, emails and automations that come with this app!
Publish your blog posts using your template
Blog post templates make it easy to publish new content using a professional design. Each of your blog posts allows visitors to leave comments to encourage engagement with all your posts.
Visitors can sign up to receive notifications when you publish a new blog post.
Each blog post includes a related posts section at the bottom of your template. This section keeps your visitors on your page by showing them more exciting content.
Direct traffic to your blog home page

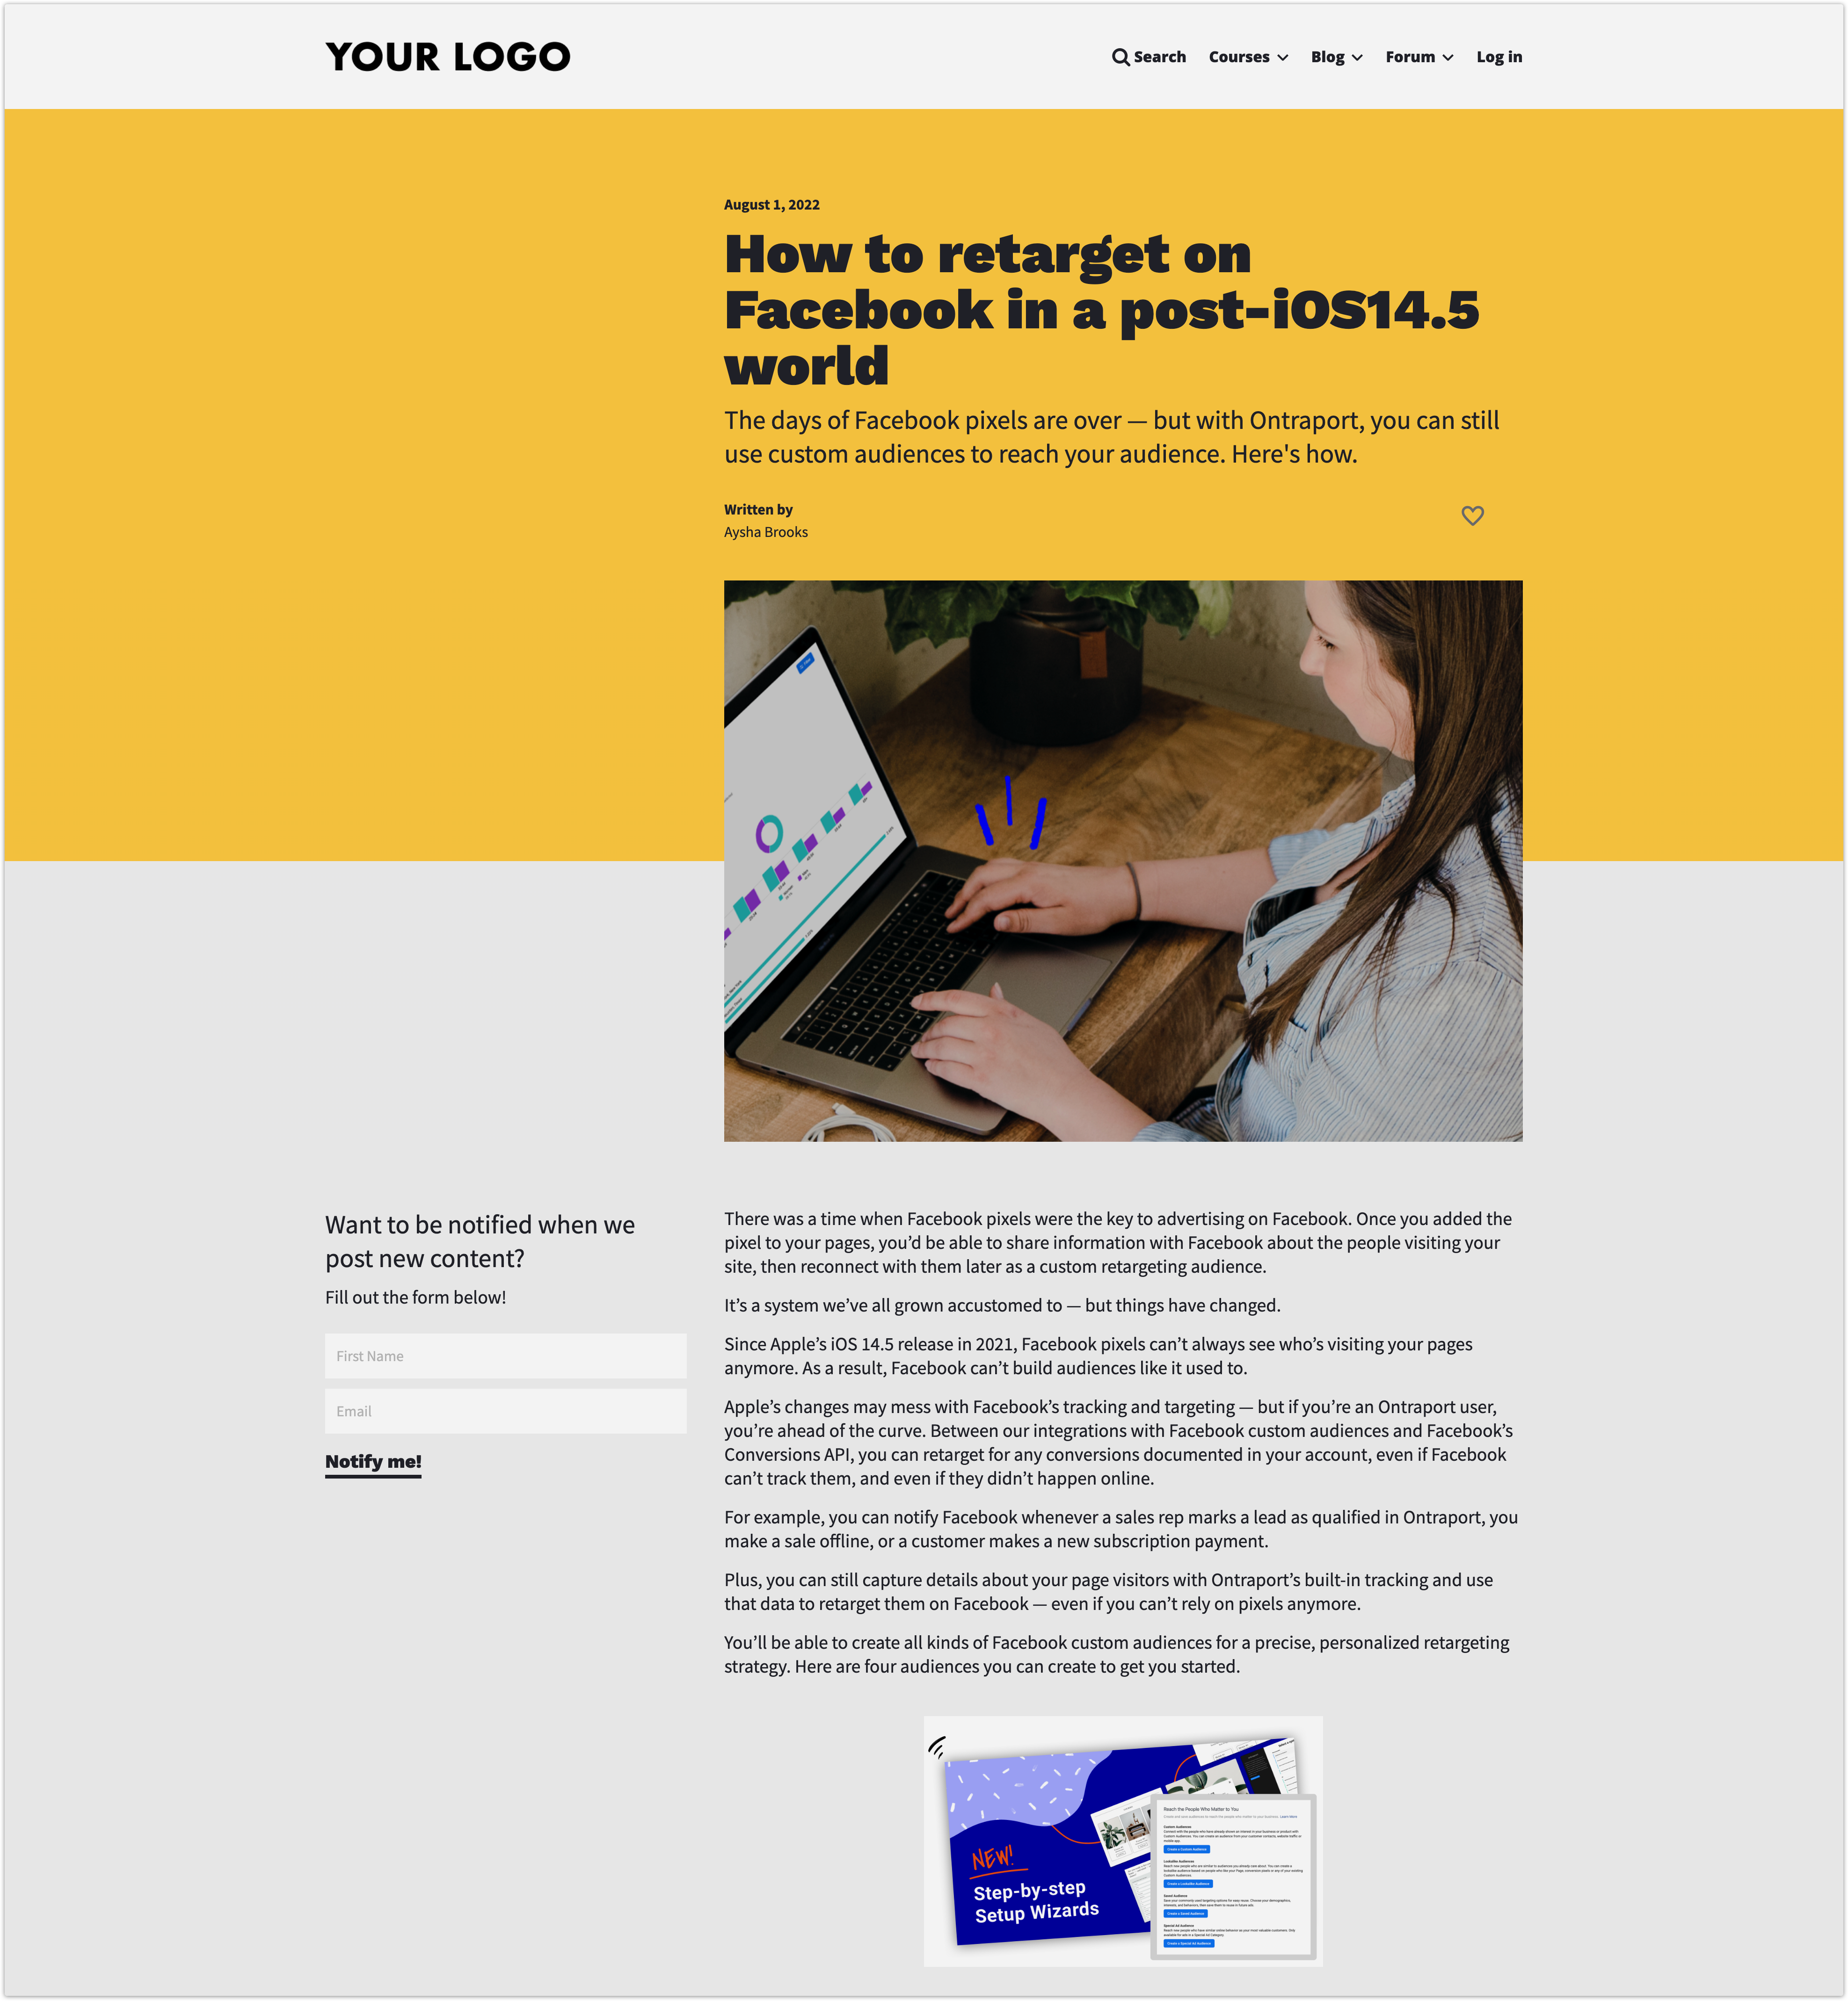
Your home page is the hub of your blog. It attracts visitors with featured blog posts. And it encourages visitors to read more by linking to your recent posts.
Your visitors can also sign up for new post notifications from this page.
Stay on schedule with automated reminders
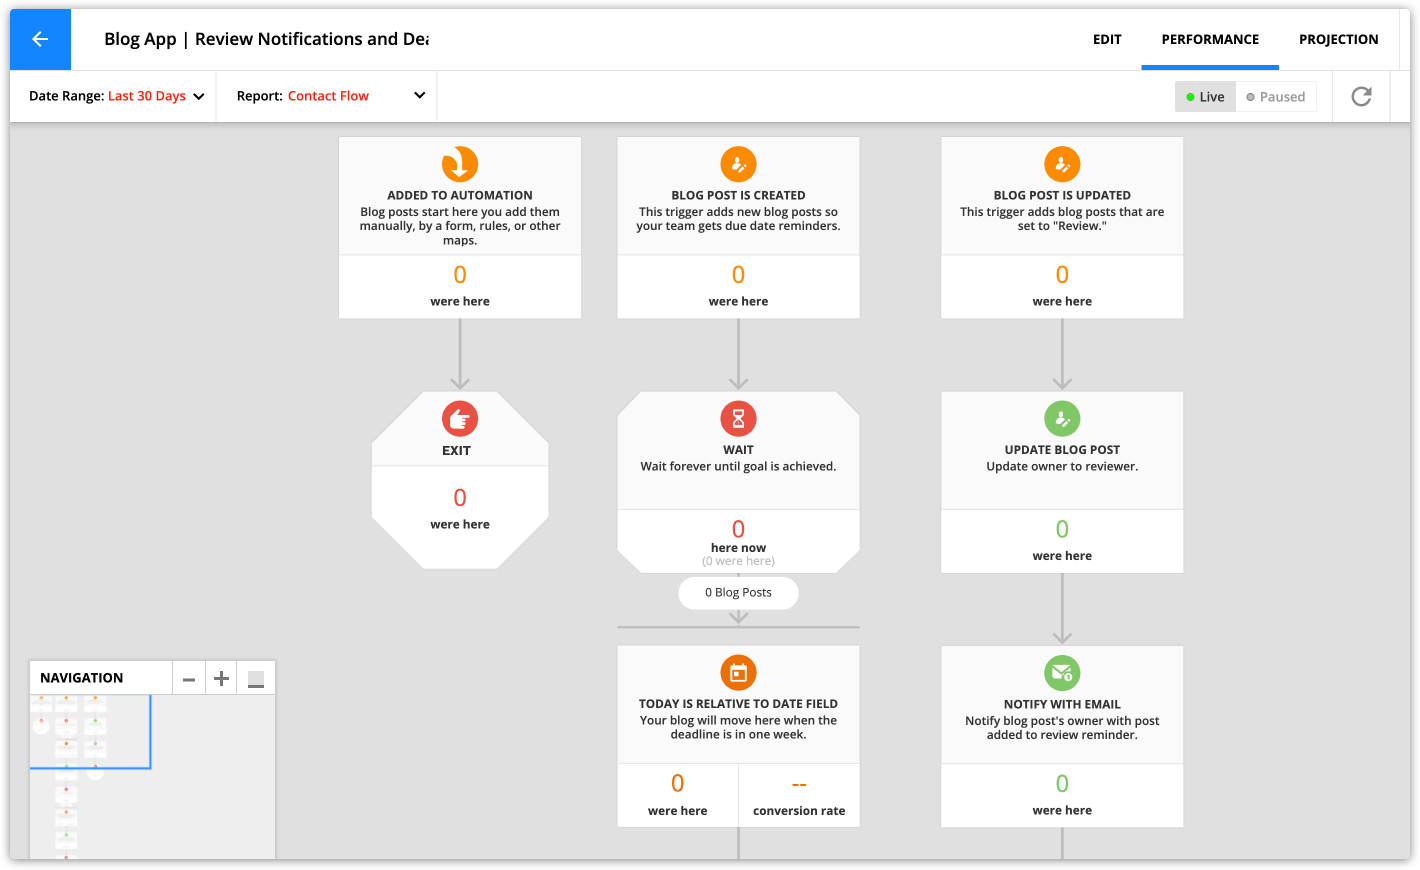
This automation ensures that you publish your posts on time. When you set a deadline, your writers will get reminders as it gets closer. And when your article is ready for review, the app will send a notification to a user you've selected.
This automation also includes these emails:
- One week reminder
- Three day reminder
- Post is due today reminder
- Post is added to review notification
Easily manage your blog comments
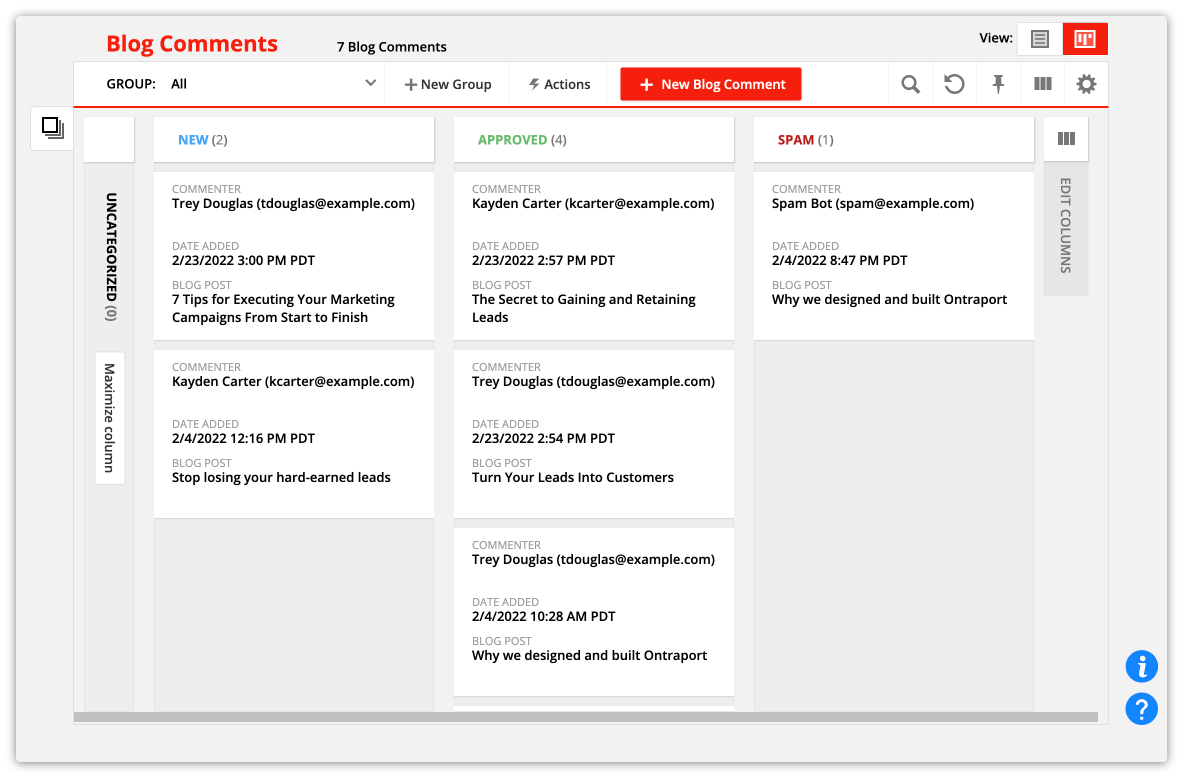
All new comments appear in one column, so you can see which comments you need to approve. Drag approved comments into the “Approved” column. Drag any unwanted comments to the “Spam” column, and the app will remove them from your blog.
The app adds new comments to an automation that manages your comment's status and sends a new comment notification email.
Give administrative access to a user
Although your blog pages are not protected, they are part of your Ontraport Apps Membership Site.
When members with the tag "Blog Admin" log into your site, they can see admin-only blocks on your pages.
Those blocks help you and your team moderate comments and maintain your blog content.
To view these assets, go to the Overview tab on the left side of your screen. From there you can click on any asset to further tweak your copy, design and automation settings.
Customize your app
Your blog app is installed. Here are the steps to personalize it with your own content.
Step 1: Update your header and footer blocks
Your header and footer blocks are global. That means that when you want to update your navigation, you only need to do it once to update that block on all your pages. The only step you need to complete to customize your app is to add your logo to your header navigation block. You can also customize your navigation links.
- Go to the Blog Home Page.
- Then hover over your navigation blocks and click Edit global block.
- Click on the image on the left and replace it with your logo.
- Your global blocks also include links to the forum app and courses and lessons app home pages. If you don’t want to install those apps, simply remove the links from your navigation bar.
- Click Publish.
Step 2: Remove the default blog posts and comments
Your app comes with default content so you can see how your content will look when you publish it. But you won’t want to keep the default posts and comments on your blog site. You can either delete the default content or unpublish it.
Here’s how:
- Click here to go to your Blog Post collection and select all of the default blog posts.
- Click Delete to remove the blog posts from your account.
- Type “DELETE” in the pop-up confirmation and click Okay.
- Or click Change field then change the “Blog Post Template Published” toggle to off.
- Click Change field to confirm.
Step 3: Add your SEO
SEO makes your site more visible, which leads to increased traffic and opportunities. When your SEO is unique to your business, it’s considered a "high quality" website. And high quality websites are more likely to appear in searches. That's why this app requires this manual step to customize your settings.
Check out Google's search quality guidelines for more information on optimizing your SEO.
Note, Ontraport adds SEO data for each blog post based on what you add to the SEO fields in each blog post record. This step only applies to the pages in this app that do not use a template.
- Go to the Blog Home Page.
- Click the Settings → SEO and social settings on the left.
- Add your page’s title, description and social image.
- Click Done and save and publish your changes.
Repeat the steps above for the other pages in this app. You only need to update the template you want to publish.
- Membership Suspended Page
- New Post Notification Thank You Page
- Logged out page
Step 4: Write your first blog articles
All you need to do to start adding posts to your blog is add your own content.
Note, you don’t have to wait until your blog articles are complete before adding them to Ontraport. You can save your work as you write and edit your post. It won’t be published until you follow the instructions in “Step 6: Publish your content.”
When you create a new blog post and add the deadline date, you’ll receive automatic reminders as the date gets closer. Your reminders help ensure that you publish posts on schedule.
Here’s how to create a new blog post:
- Click here to go to your Blog Post collection.
- Click New blog post.
- Fill in your “Blog Post Settings.”
- The fields in your “Blog Post Settings” section includes basic information about your post, such as title, author and if your blog is an “Editor’s pick” (used to highlight specific articles in your blog).
- Fill in your “Post Content” fields.
- This is where you add your actual blog post. You can add images and customize your post content’s styling from the “Post Content” field.
- Fill in your SEO Settings.
- This is the info that will be added into your blog post’s settings.
- Click Save at any point to save your work.
- Your blog post will not be published (viewable on the web) when you save your work.
You can also import your blog posts, check out this video to learn more:
Step 5: Select your reviewer in your automation
The notifications and reminders automation includes one item to complete on your automation checklist. You'll designate the user who will be responsible for reviewing your blog articles.
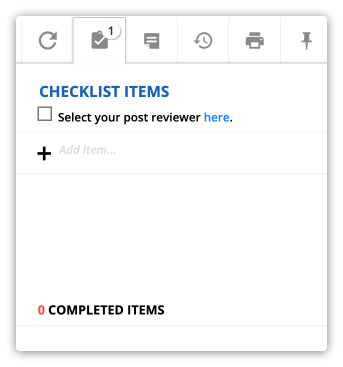
The automation also sends a notification to this user when you update your post's status to "review."
Here’s how to select your reviewer:
- Go to the "Blogs App | Review Notifications and Deadline Reminders Automation" map.
- Click Edit.
- Click on your automation checklist for instructions to update your reviewer.
- Publish your automation to make your changes live.
Step 6: Publish your content
When you’re happy with your blog’s content and settings, you can flip the switch and make it live. Here’s how:
- From your blog post’s record, scroll to the "Default Blog Post Page Type" section.
- Select the template you want to use from the “Blog Post Template” dropdown.
- Toggle “Blog Post Template Published” to on.
When you do this, a link to your blog post will appear in the “Blog Post Template URL” field. Click on that link to view your published post. When you publish new posts, they'll appear on your home page automatically.
Step 7: Moderate your blog comments
When you get a new comment on your blog, the app will send your admin a notification. When you drag a comment's card to the "Spam" column, your app will hide it from your comment thread.
- Click here to go to your comment moderation card view.
Monitor your results
Now that your system is up and running, here’s how you can keep an eye on how it’s doing.
Blog App | Signed up for notifications group
This is the group of contacts who have signed up for new blog post notifications. You can either select all contacts in this group and manually send notifications. Or create an automation map and add these contacts to it.
App record and field reference
Here’s some important information about your app.
Blog Posts records
Your blog post records contain the content you want to publish. It also includes SEO and publishing options. And you can customize how your blog posts will appear on your site.
Here’s a description of essential sections in your record and the fields stored there:
Post settings section
This section controls how your post behaves when you publish it. You can also set up deadline notifications by adding a post deadline to your records.
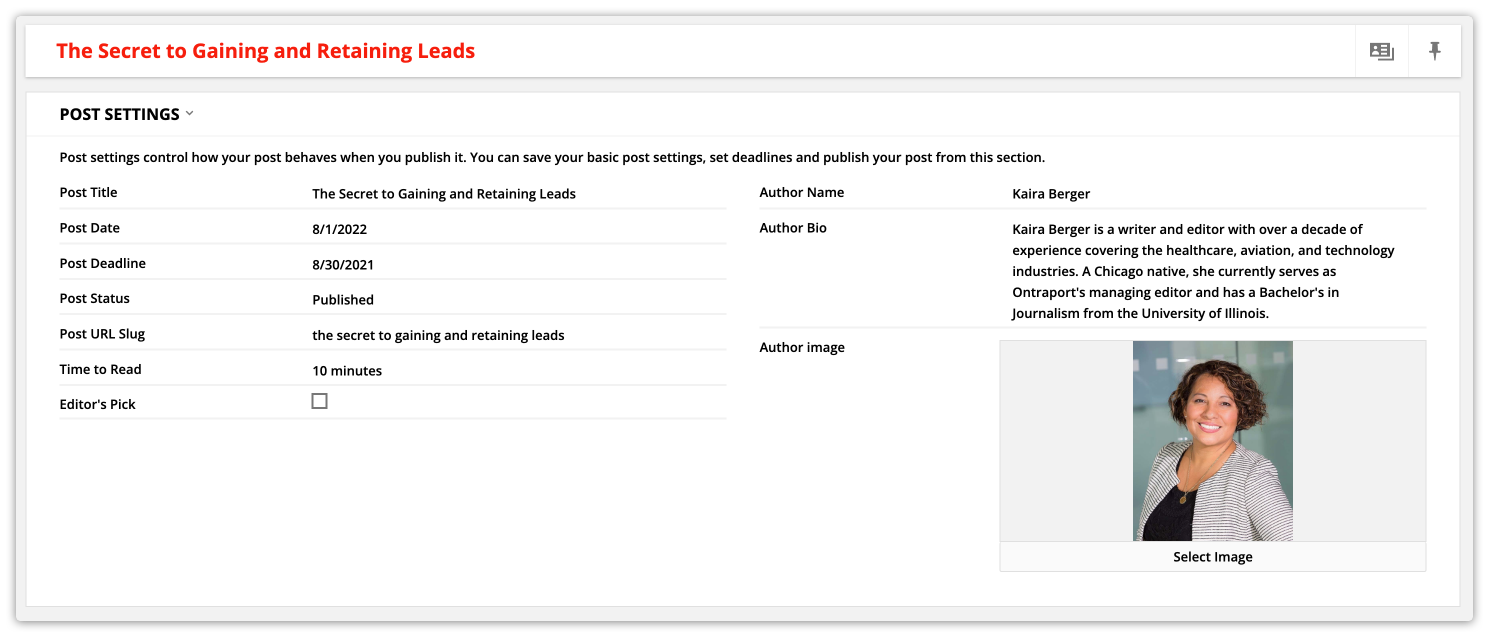
Post title: This is the internal name of your post that you’ll see in your blog post collection.
Post date: This is the date you published your post. Your blog post template and home page use this date to tell your visitors when you published your posts.
- The "Manage Post Status Automation" map updates this field.
Post deadline: Enter the date you want to publish your post to your record. This date isn’t published on your site. The app will use this date to send reminders with the “Review Notifications and Deadline Reminders Automation” map.
Post status: This field shows you the status of your blog post. This status is not published on your site. The values in this dropdown field are the columns in your blog post Card View.
- The "Manage Post Status Automation" map updates this field.
Post URL slug: The value you add to this field customizes your URL. Whatever you add here will appear at the end of your blog post's URL. Post slugs are usually simplified versions of your post’s title.
Time to Read: Enter into your records how long it takes to read your blog post. Your visitors will see this next to your blog’s headline on the list of blog posts on your home page.
Editor’s pick: There is a special “Editor’s pick” block on your blog home page. When you check this box, your post will appear in that section.This field doesn't display on any of your pages.
Author name: Add the name of your author. Each of your blog post pages displays this information so your readers know who wrote your post.
Author bio: Add a simple biography of your blog post’s author. Each blog post displays this information to tell your readers more about the author.
Author image: Add an image of your blog post’s author. This image accompanies your author’s name and bio on your blog post pages.
Post publish settings
Manage your blog post's page settings from this section.
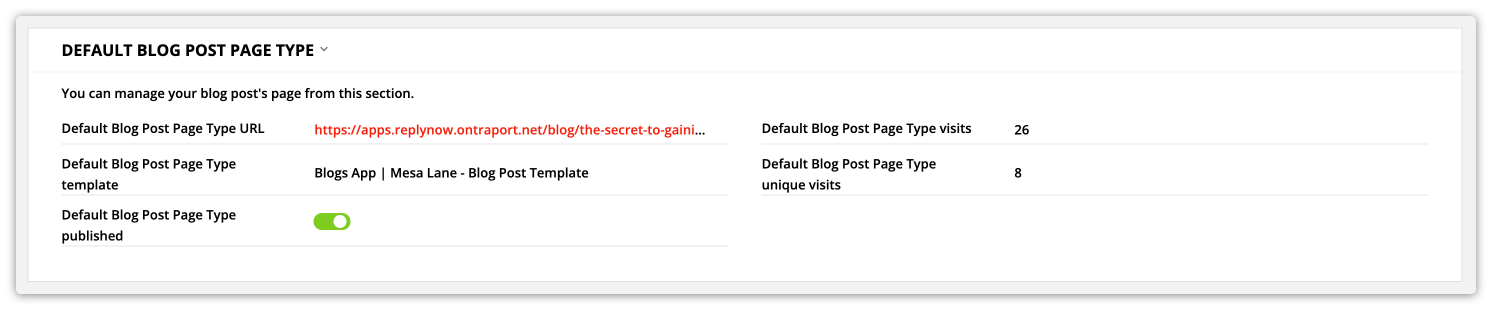
Default blog post page type URL: Click on this URL to visit your published blog post.
- You cannot type in this field to change your URL. You must edit your page type's settings if you want to change your URL's structure.
Default blog post page type template: Use this dropdown field to control which dynamic template you want to use to publish your post. Check out “Step 8: Publish your content” for more information.
Default blog post page type published: This toggle controls if your post is published or not. You can use this toggle to publish or unpublish any forum post manually.
- The "Post Moderation Automation" map automatically updates this field.
Default blog post page type visits: This field shows you the total visits your blog post has received.
Default blog post page type unique visits: This field shows you the number of unique visitors that have viewed your blog post.
Post content section
This section contains your blog post's content. Your blog post templates use this saved information to publish your posts to make them live.
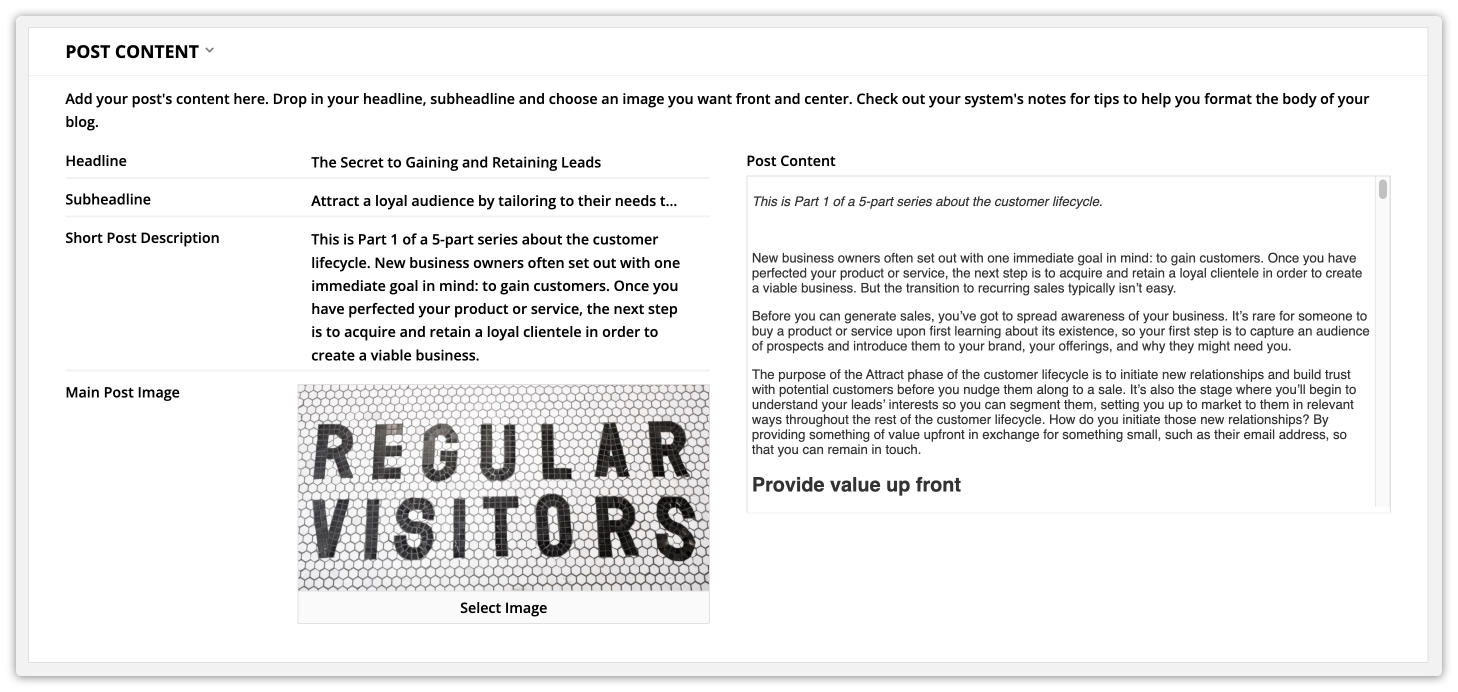
Headline: This text will display as your article’s headline in your blog template.
Subheadline: This content will display as your article’s subheadline in your blog template.
Short post description: The copy you add to this field will be used as an article description on your blog’s home page and in the list of articles at the bottom of your blog template.
Main post image: Your site visitors will see this image next to your blog's description on your home page and at the bottom of your blog template.
Post content: Add the content of your blog post to this field. This field is a rich text field (RTF), which means you can add images and styling to your text.
SEO settings section
These SEO settings control how your page appears in search results and when you share links to your page on social media.
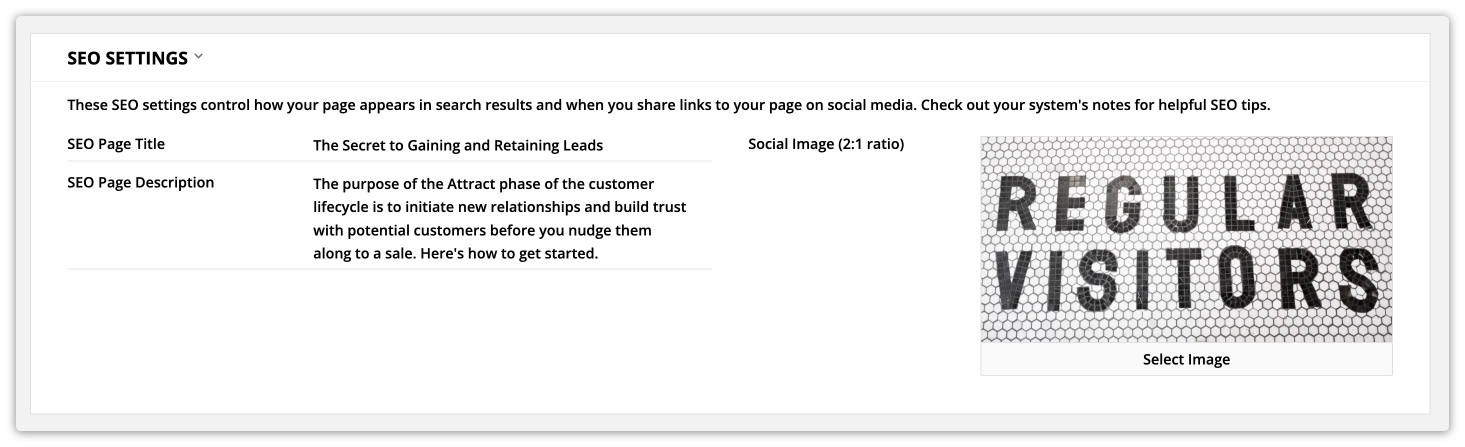
SEO page title: People will see this title when they share a link to your blog posts and when they search for your post.
- A good page title should include your focus keyword — the search term you want to bring up your post.
SEO page description: This is the description people will see when they share a link to your blog post and when they search for it.
A good SEO page description should:
- Be between 120 and 156 characters
- Use active voice
- Include a call to action
- Include your focus keyword
Social image (2:1 ratio): People will see this image when they share a link to your blog post and when they search for it.
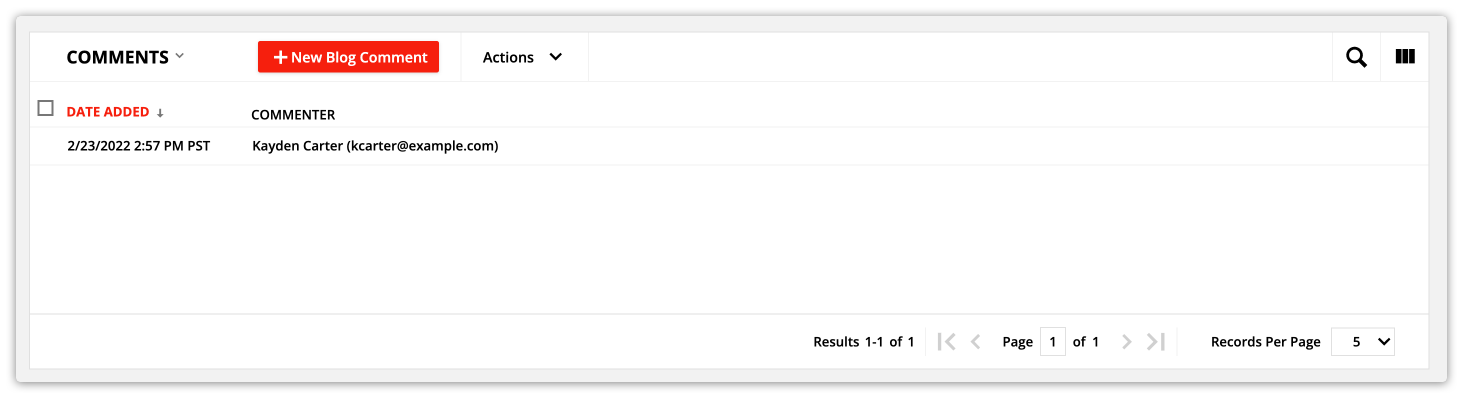
Comments subcollection
This subcollection lists all of the comments left on the post. You can click on the commenter’s name to visit the specific comments record.
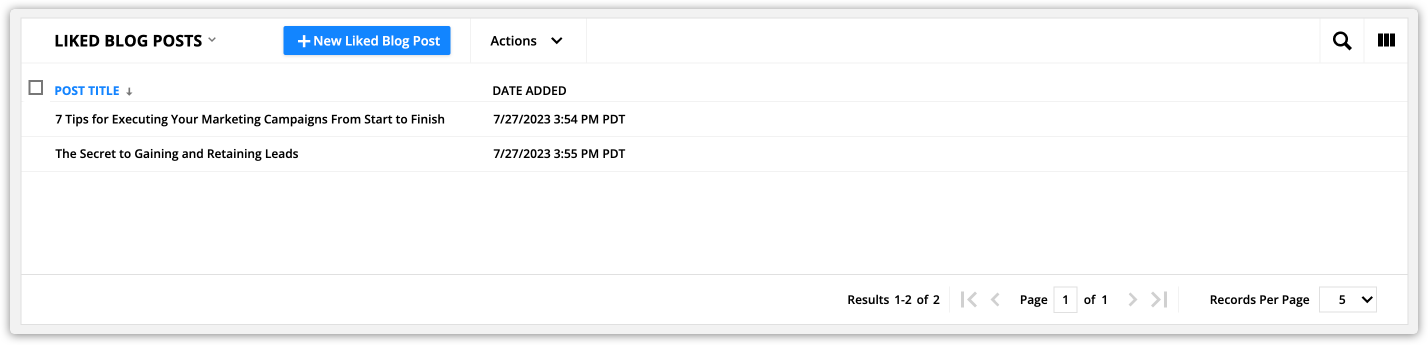
Member likes subcollection
This subcollection lists all of the contacts who liked the post.
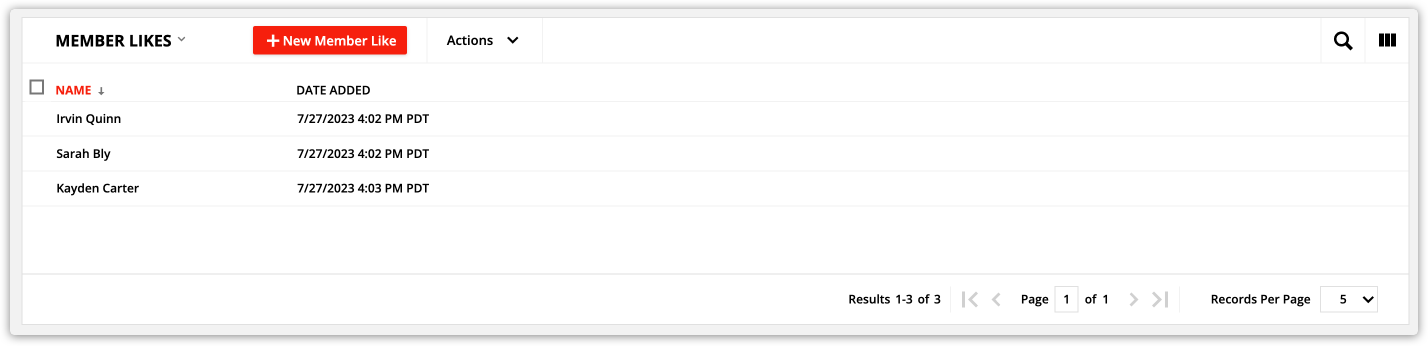
There is also a “Liked blog posts” subcollection in the membership tab of your contact records that lists all of the posts each contact liked.