This app adds a knowledge base to your website to empower your customers to find answers on their own. When your customers can resolve their problems and get information about your products, it reduces support ticket volume and frees up your team.
Beyond efficiency, a well-crafted knowledge base builds trust and brand loyalty. It shows customers you value their time and understand their information needs. Satisfied customers who find quick solutions are more likely to return and recommend your brand. With this app, you can launch your own knowledge base using a pre-designed framework that saves you hours of setup time. Just add your content, and you're good to go!
Explore this app’s functionality using this interactive demo.
This article explains how to customize every piece of your app and provides a reference section to learn more about your new records and relationships.
Note that the links to app assets in this article will only work when you:
- Have the app installed
- Are logged in to Ontraport
Table of contents
App functionality tips
• Knowledge Base app domain
• Default records
• Dynamic content
What you get
• Knowledge Base home page
• Category page template
• Article template
• Article card view
• Comment moderation card view
• Background automation
Customize your app
• Step 1: Navigate the knowledge base pages
• Step 2: Customize your pages
• Step 3: Delete your default records
• Step 4: Create and publish category pages
• Step 5: Write your articles
App record and field reference
App functionality tips
Here’s some important information about this app.
Knowledge Base app domain
Back to top
This app uses Ontraport's Membership Sites feature to protect comments on your articles from spam submissions.
When you install this app, the domain you choose determines the URLs of all your published pages.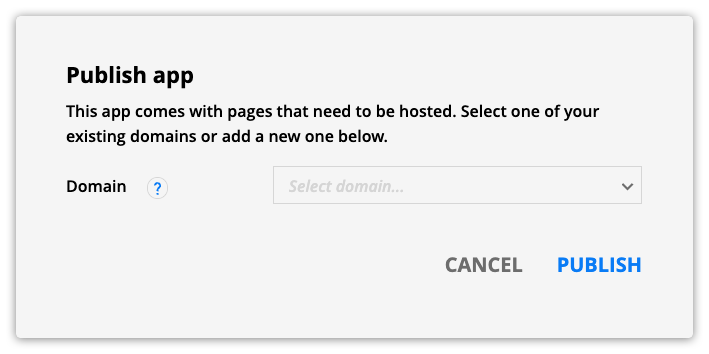
- If you select an existing membership site's domain, you connect your Knowledge Base app pages to that site.
- If you select a new domain, you create a new membership site to host your Knowledge Base app.
Default records
Back to top
This app comes with default knowledge base categories, articles and comments. These default records allow you to preview the app assets and features before your members add their content.
When you’re ready to launch your Knowledge Base app, you can delete your default records.
- Check out “Step 3: Delete your default records” below to learn how.
Dynamic content
Back to top
This app uses Ontraport's dynamic content features to publish content saved in your knowledge base category, article and comment records.
If you are unfamiliar with dynamic pages, dynamic blocks or page types, check out this Ontraport University course to learn more.
What you get
Back to top
Here are the pages, templates, emails and automations that come with this app!
Knowledge Base home page
Back to top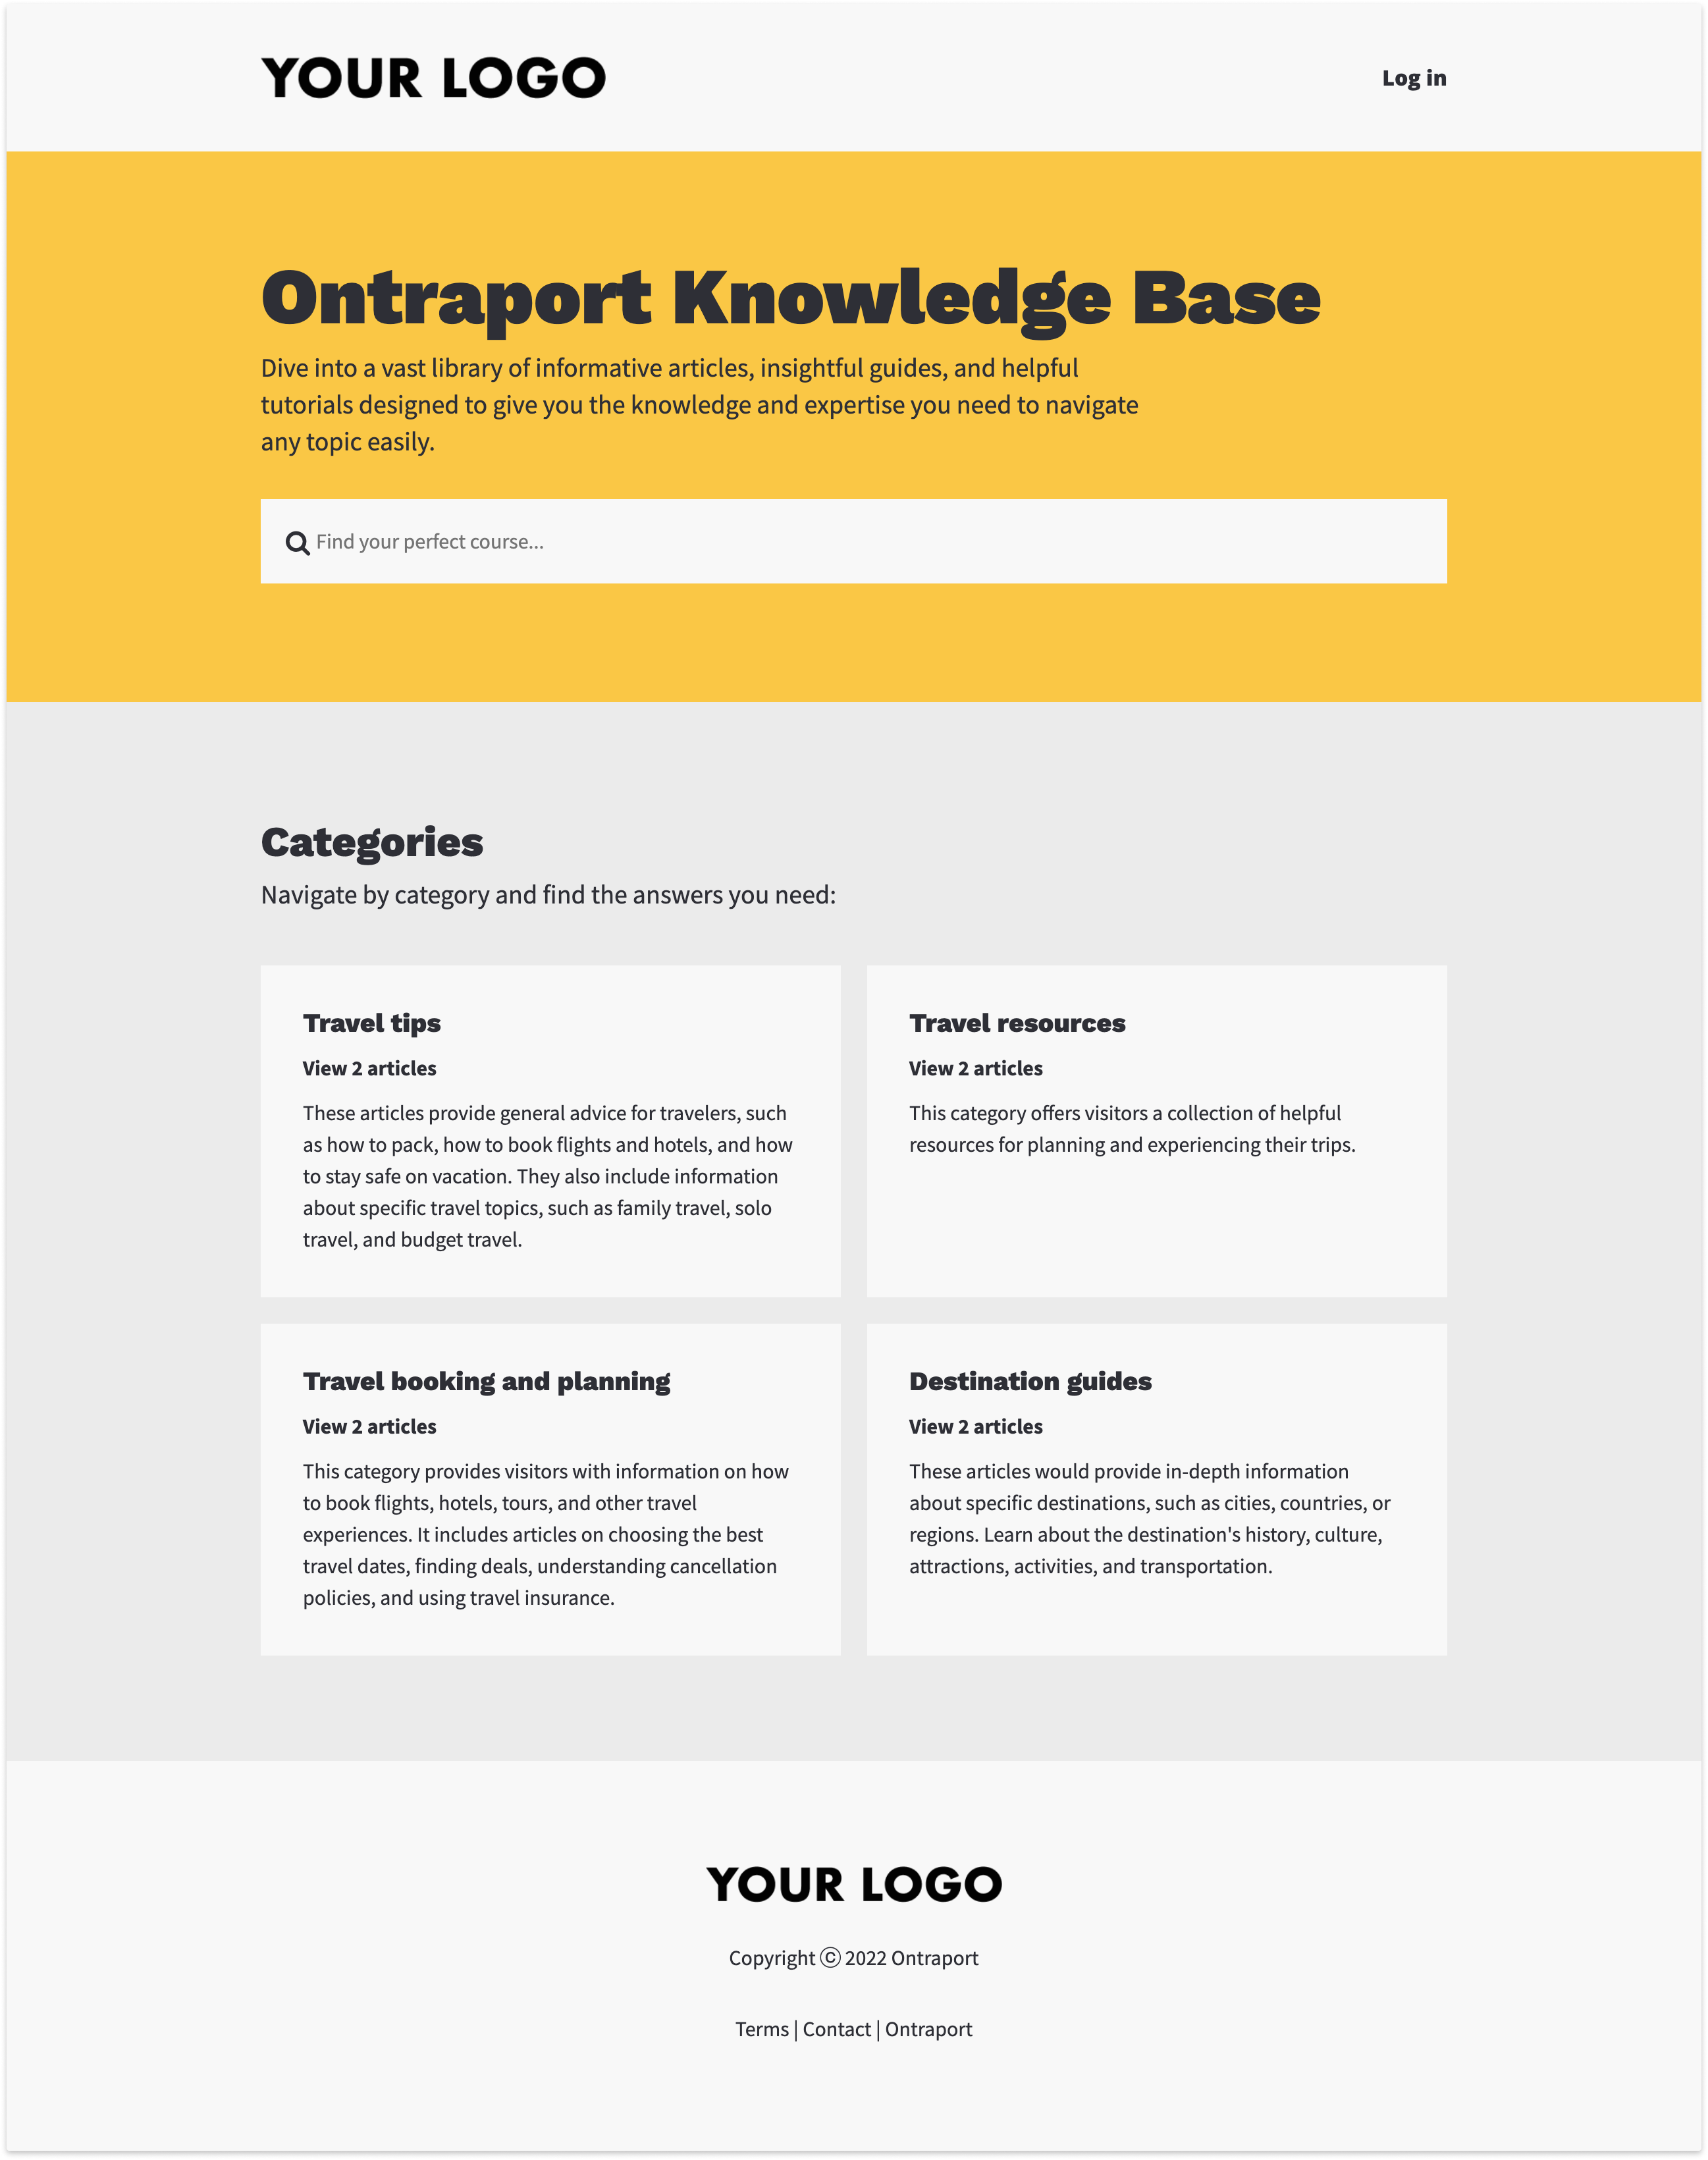
Your Knowledge Base home page allows visitors to browse your article categories or search for topics they’re interested in. When visitors search your posts, they’ll see their results on the search results page.
Category page template
Back to top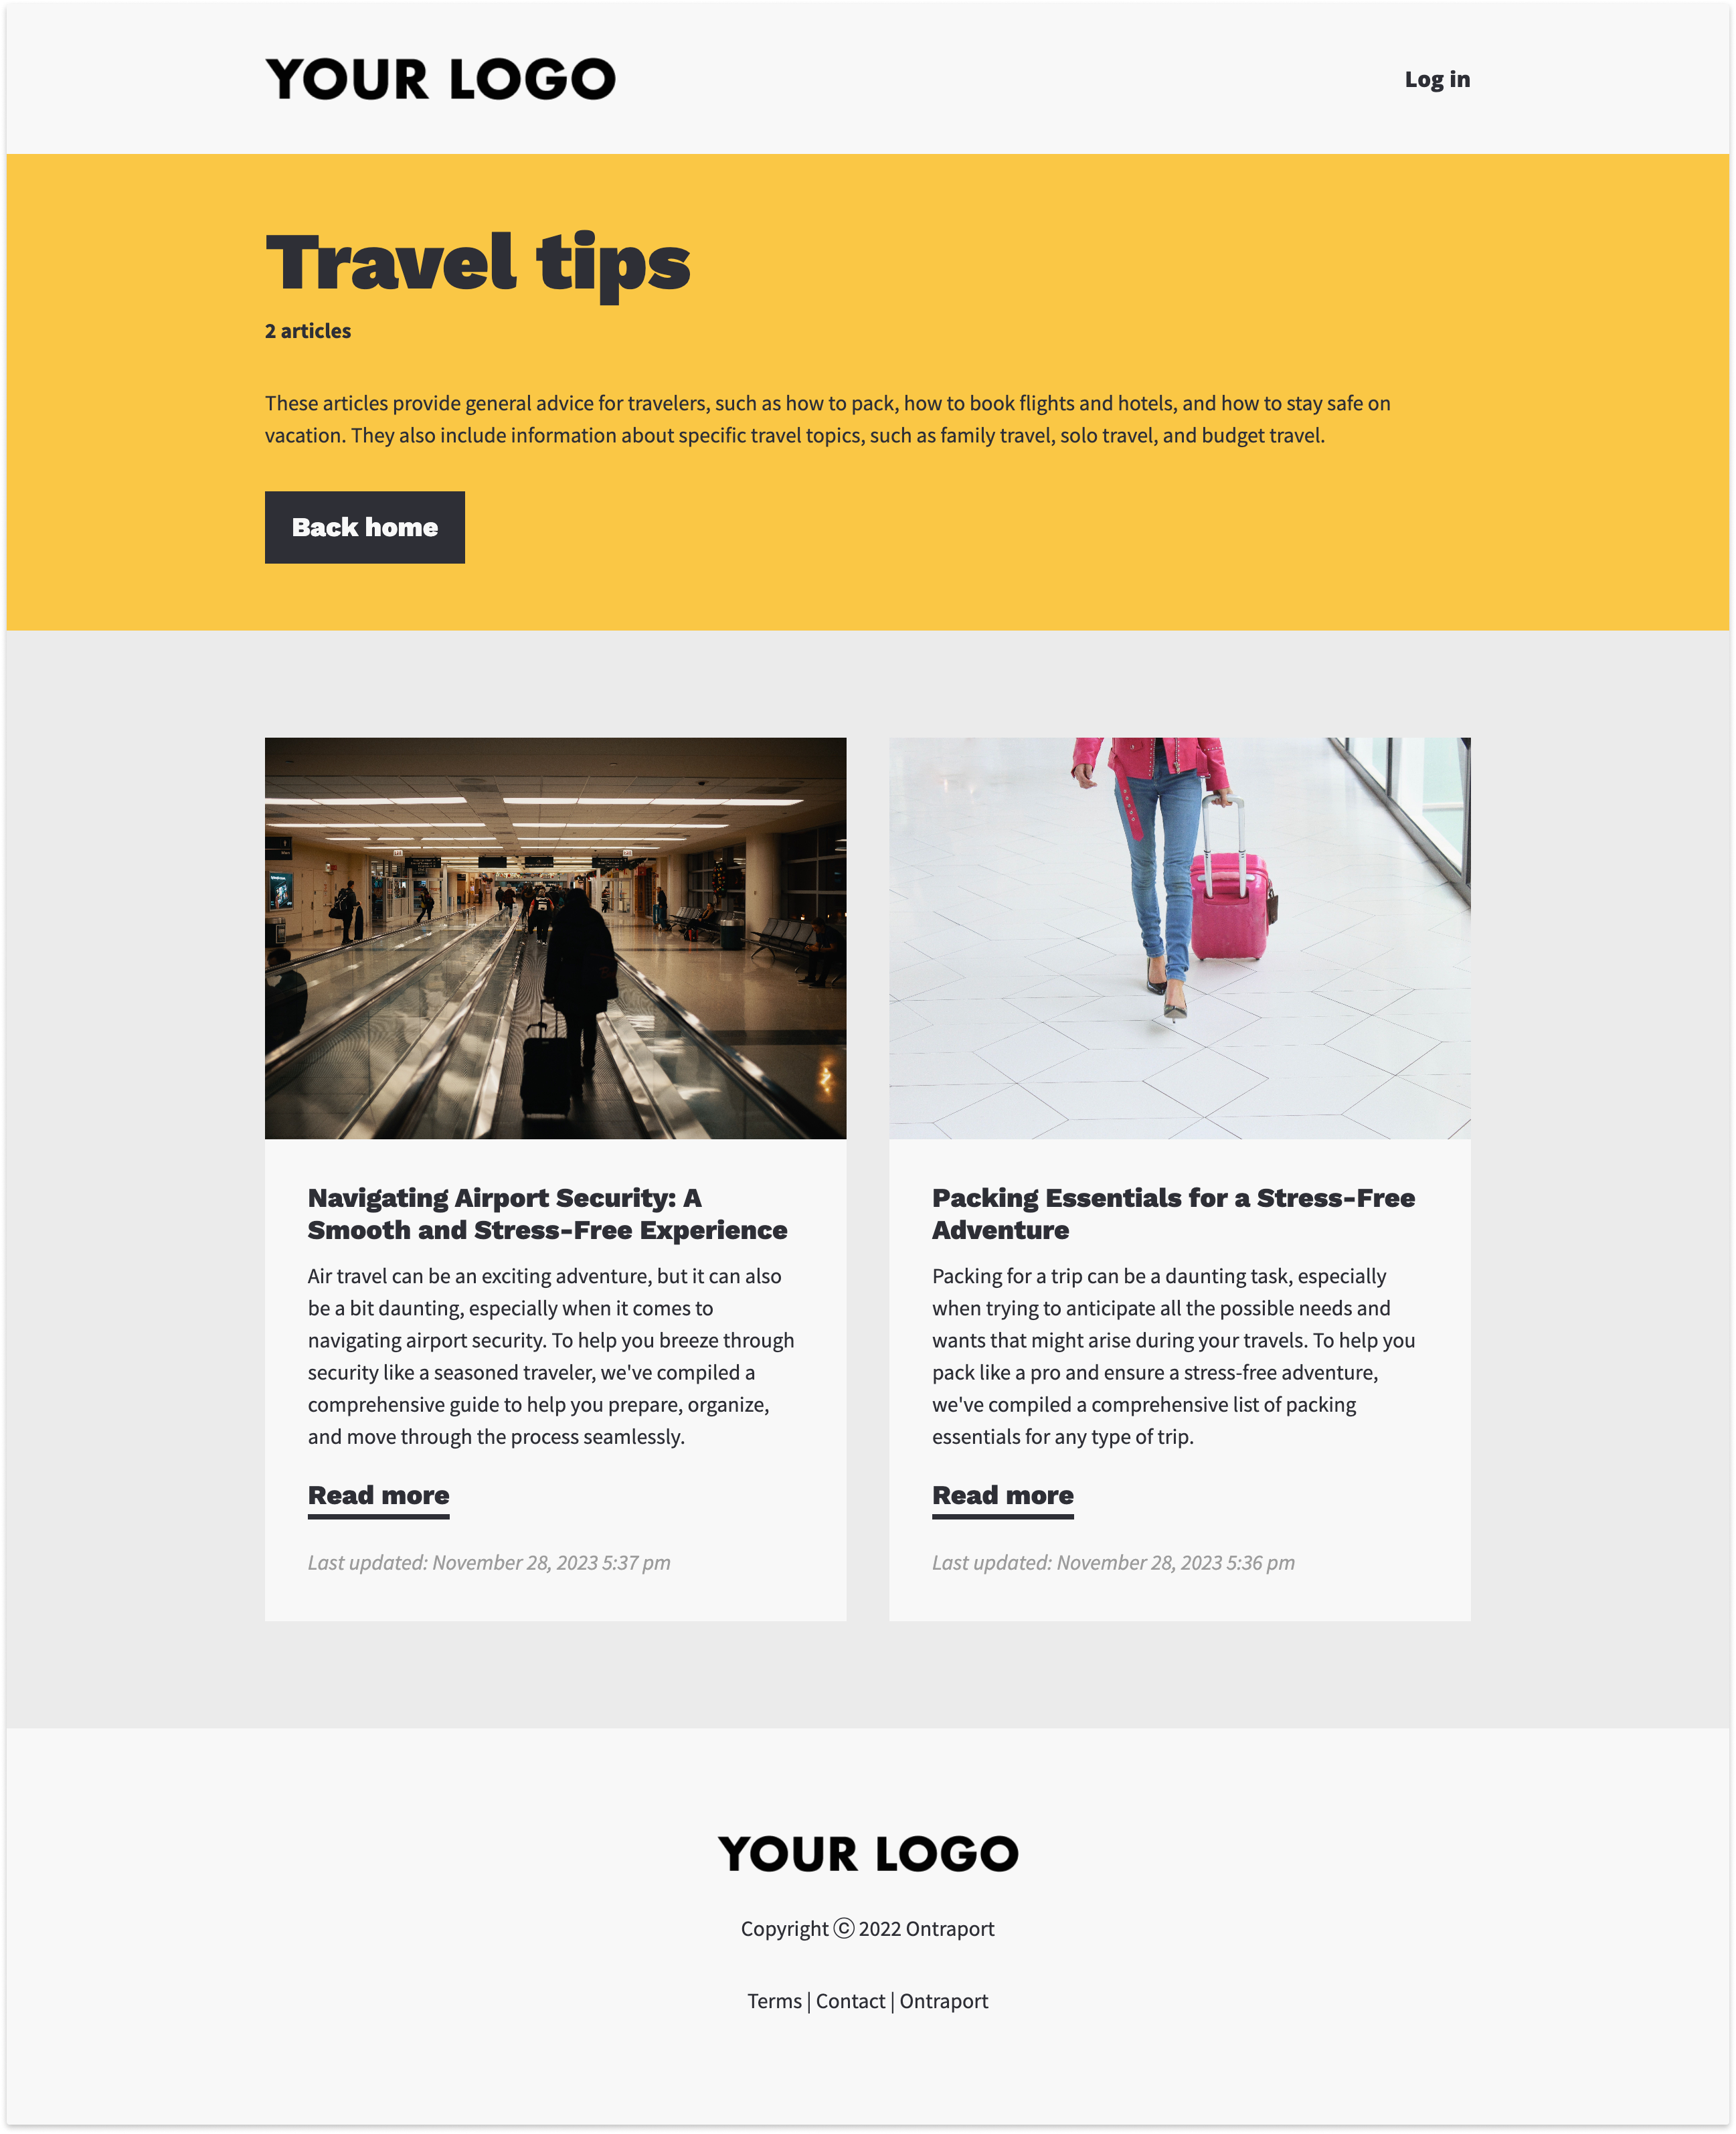
When visitors click on a category on your home page, they’ll go to the category page. This page is where they can browse all of the articles that belong to a specific category.
Article template
Back to top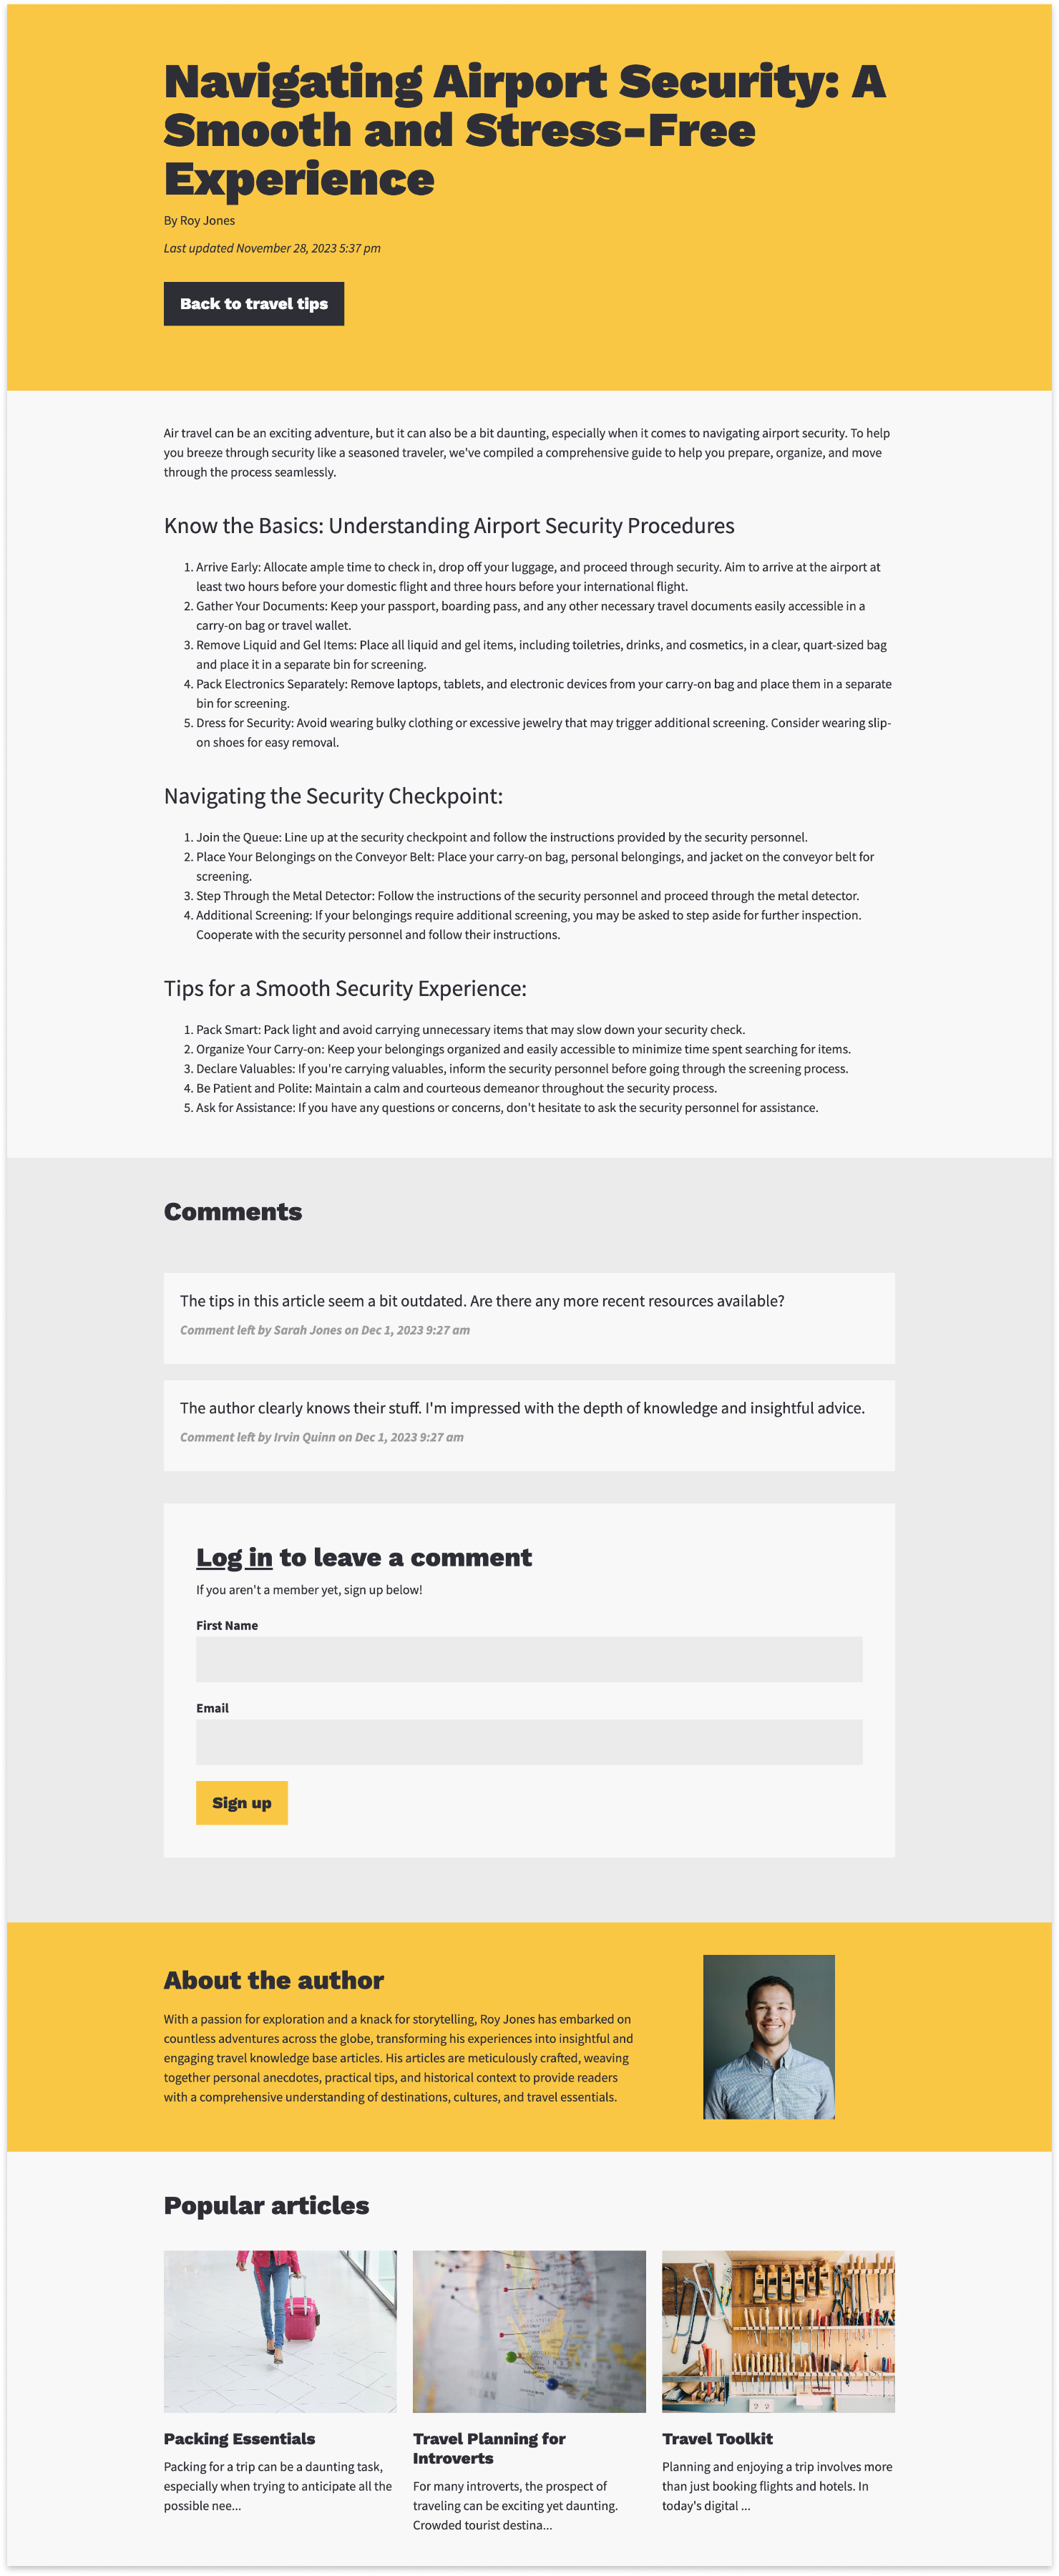
You'll use this template to publish your knowledge base article content. Logged-in members can interact with your content and community by leaving comments. You can collect new leads because the app prompts visitors who are not members to sign up so they can leave a comment. When visitors sign up, the "Give membership access" automation delivers their credentials.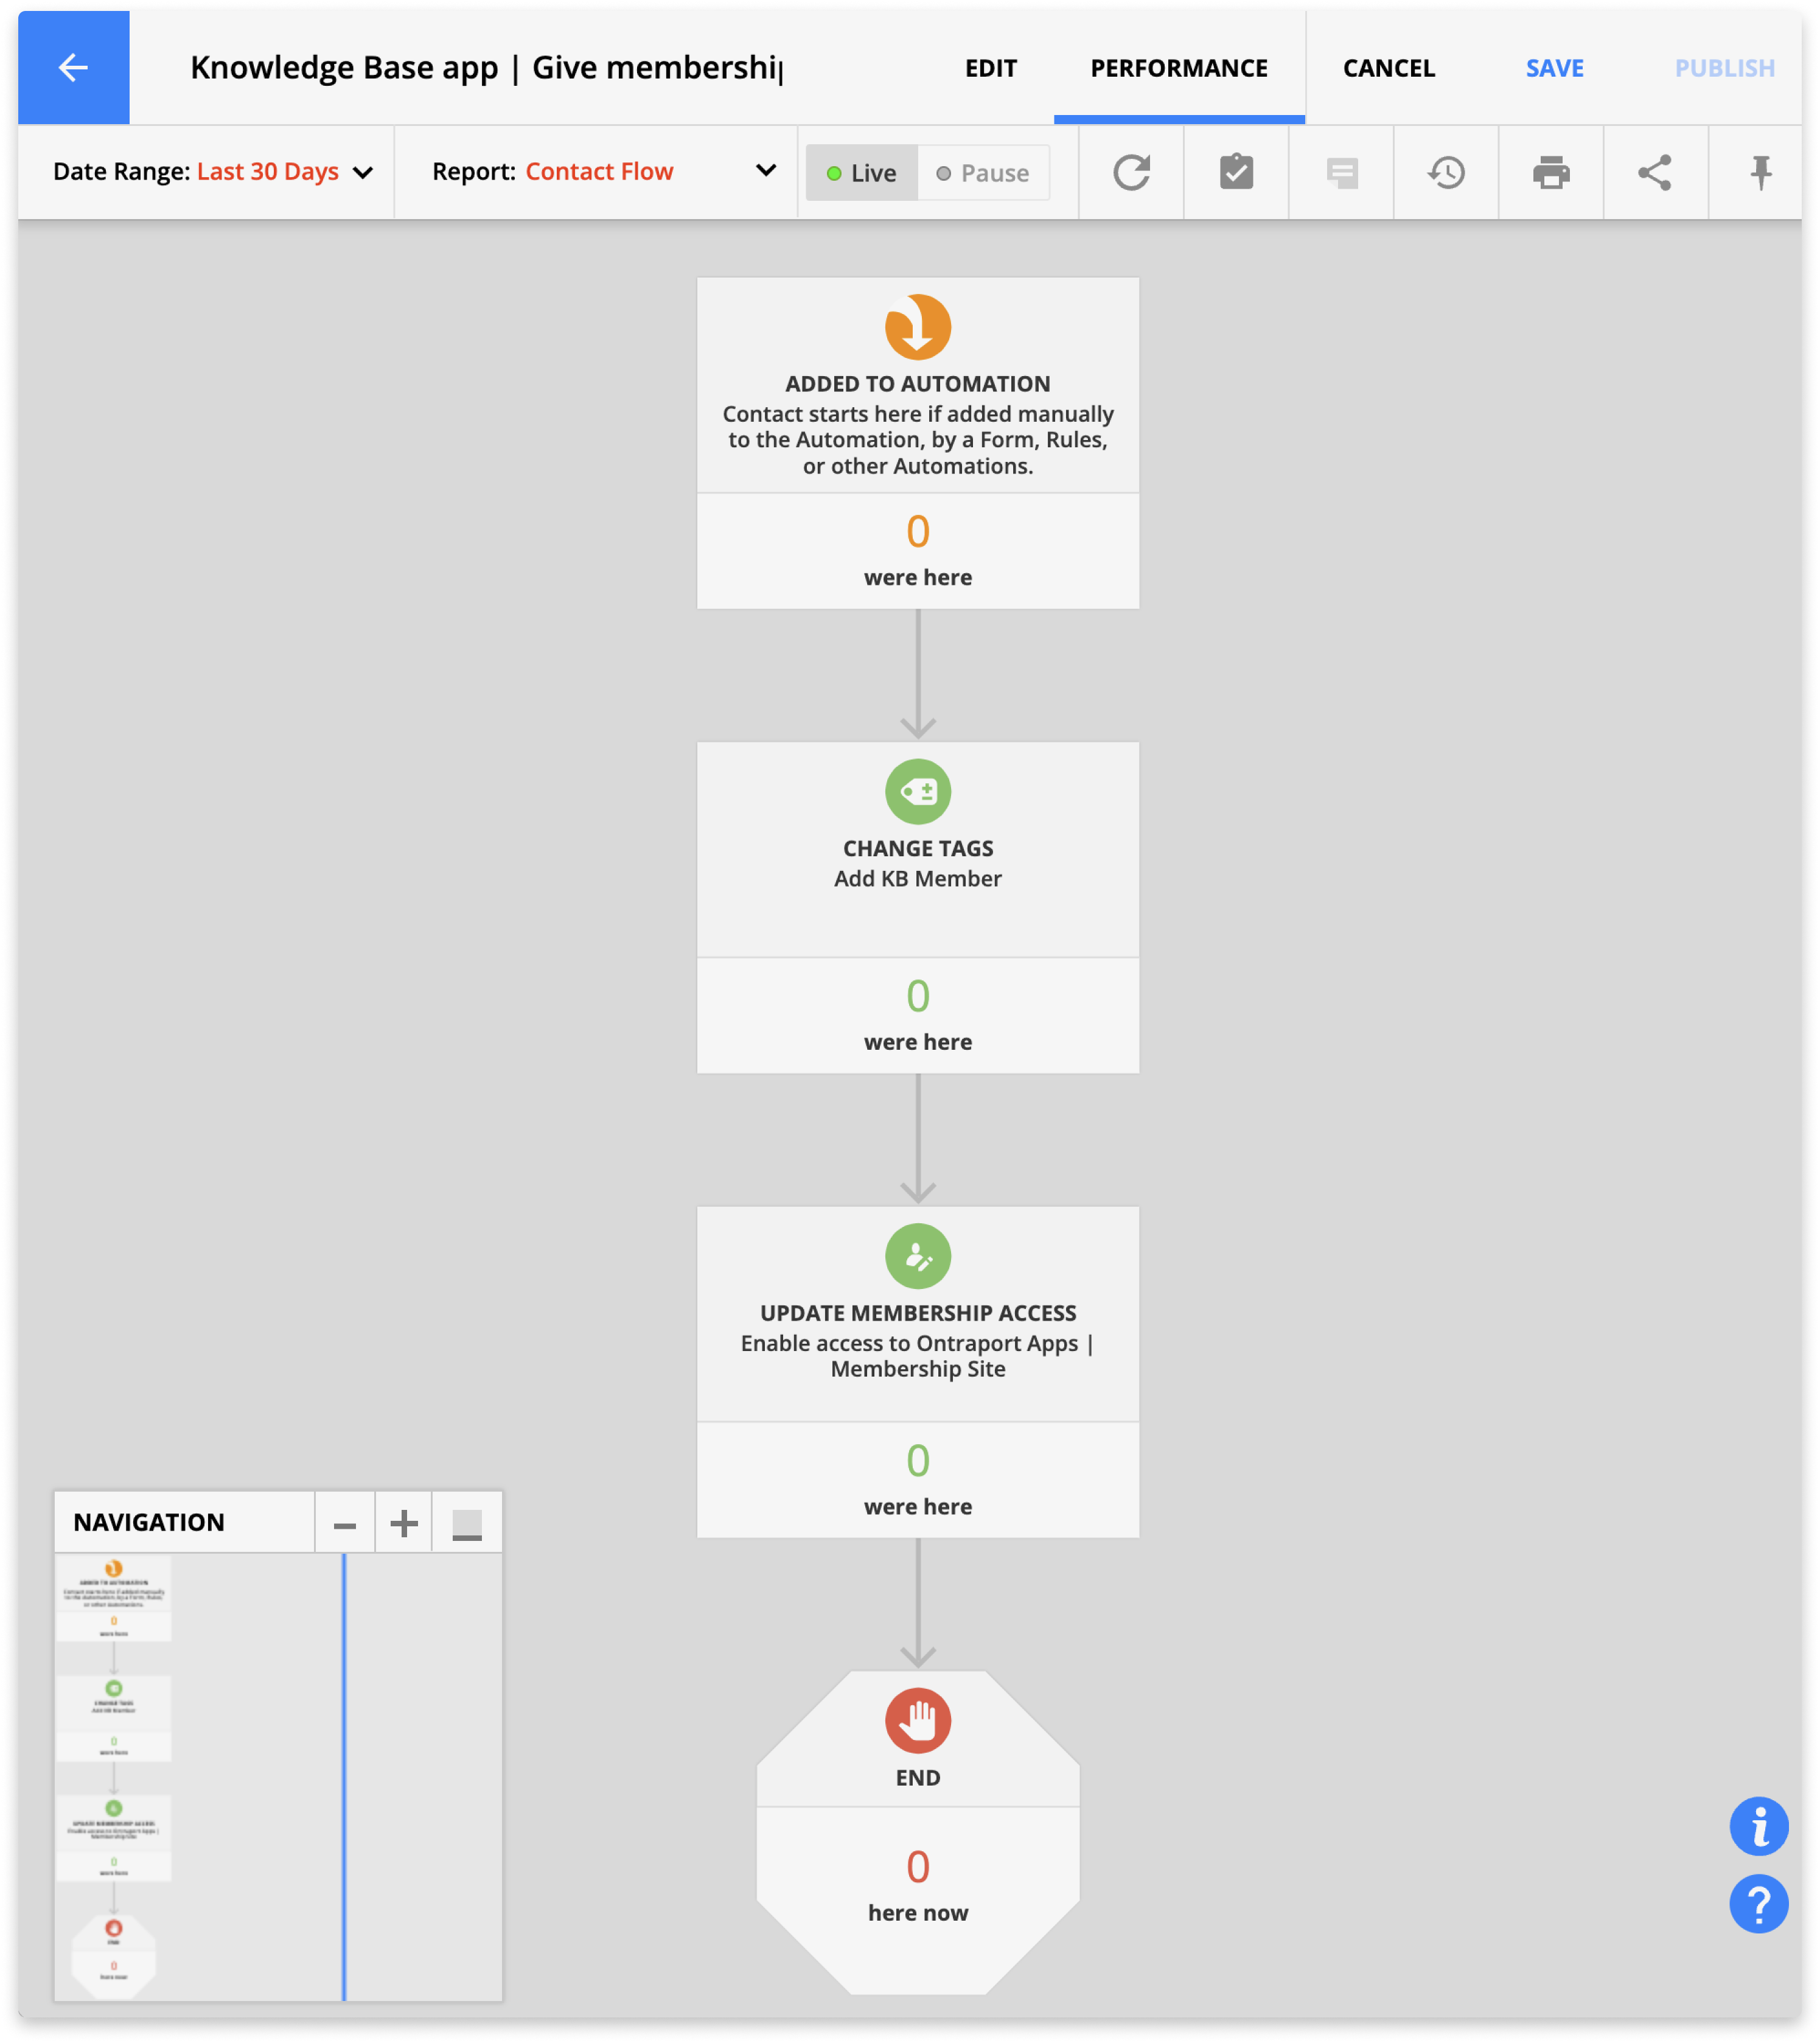
Article Card View
Back to top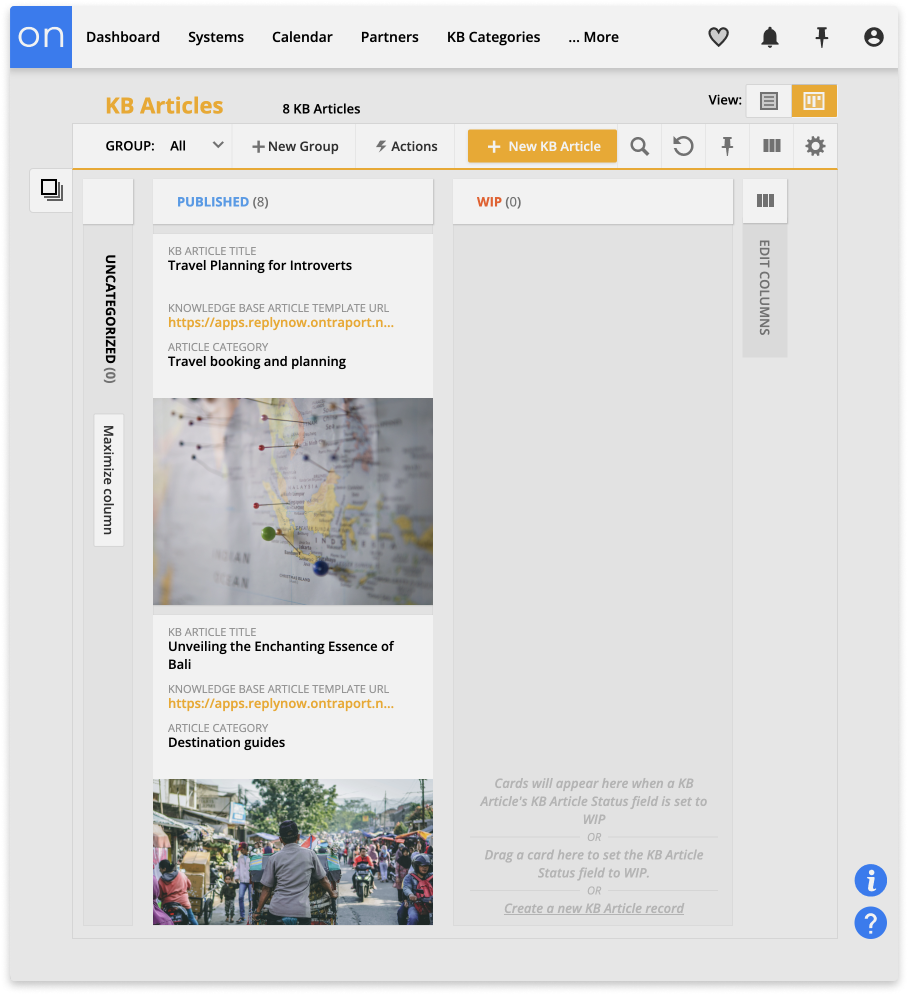
It’s easy to manage the published status of your articles with the Card View. Drag articles to the “Published” column to make them live, and drag them back to the “Work in Progress” column to remove them from your site.
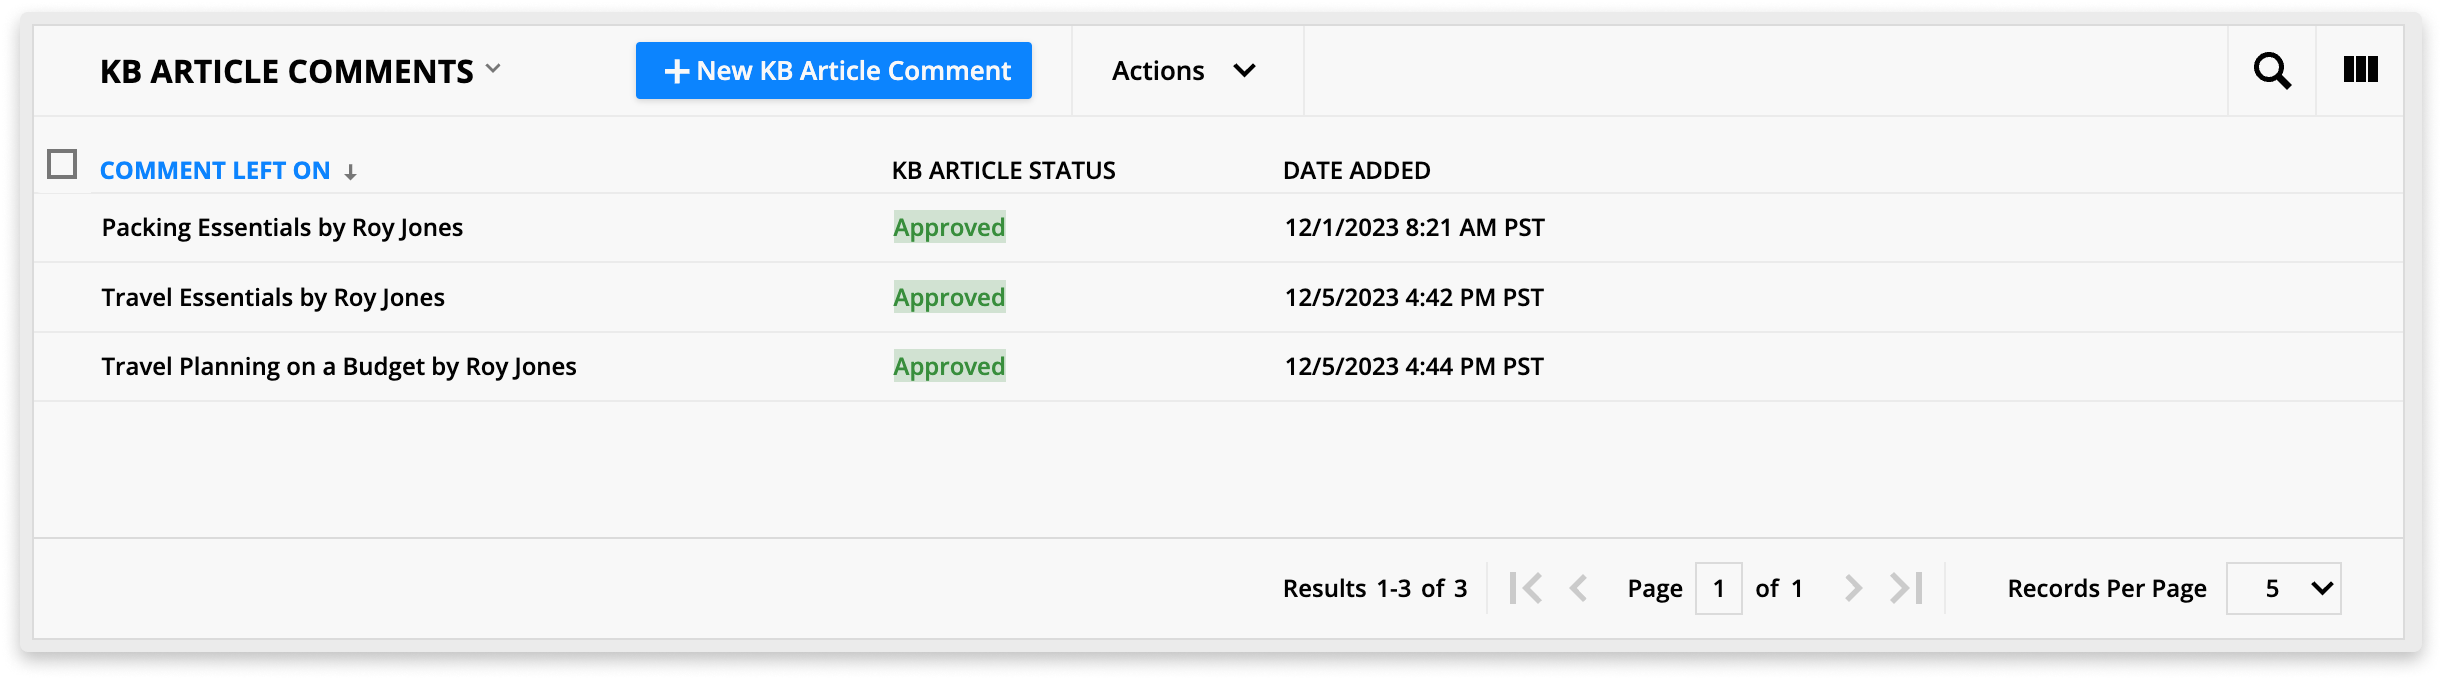
Comment moderation Card View
Back to top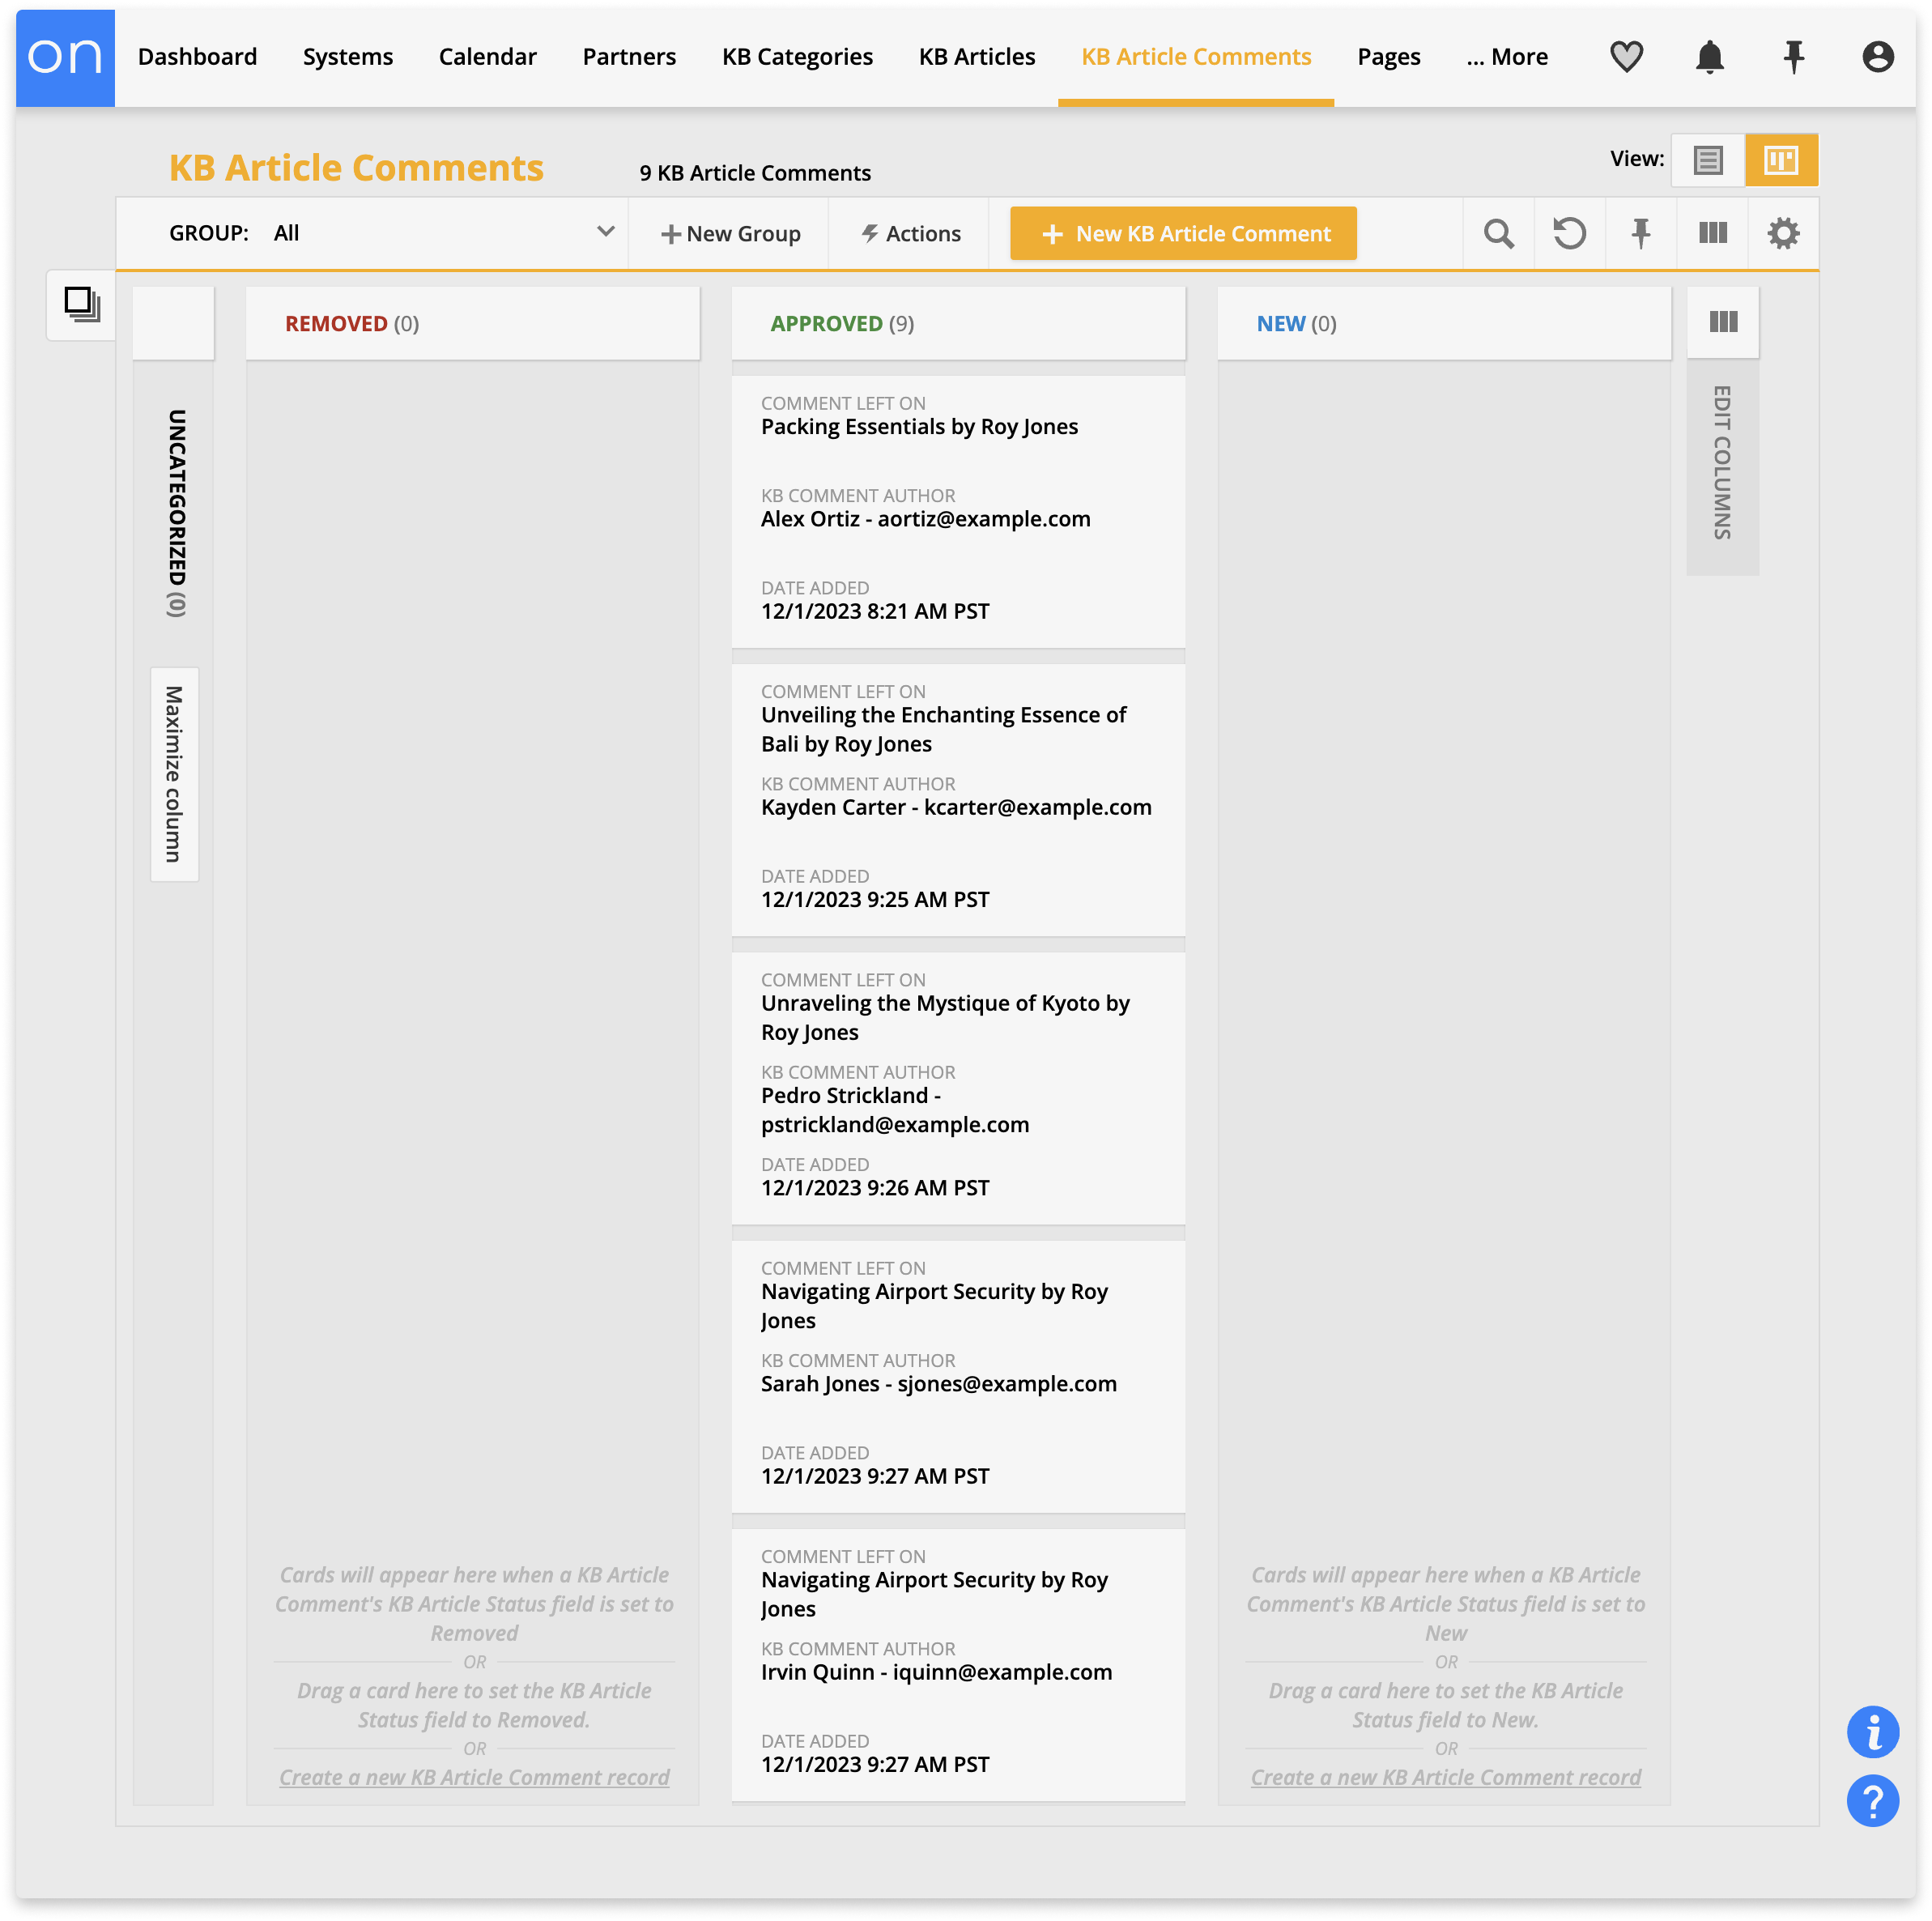
Manage your comments using the card view. All of your new comments will appear in the “New” column, and you can drag them to the “Approved” column to keep them up on your site or drag them to the “Removed” column to remove them from your article.
Background automation
Back to top
This app includes two automation maps that run silently in the background to ensure your data is always up to date.
The “Set status” map ensures that your article publishing Card View is always accurate.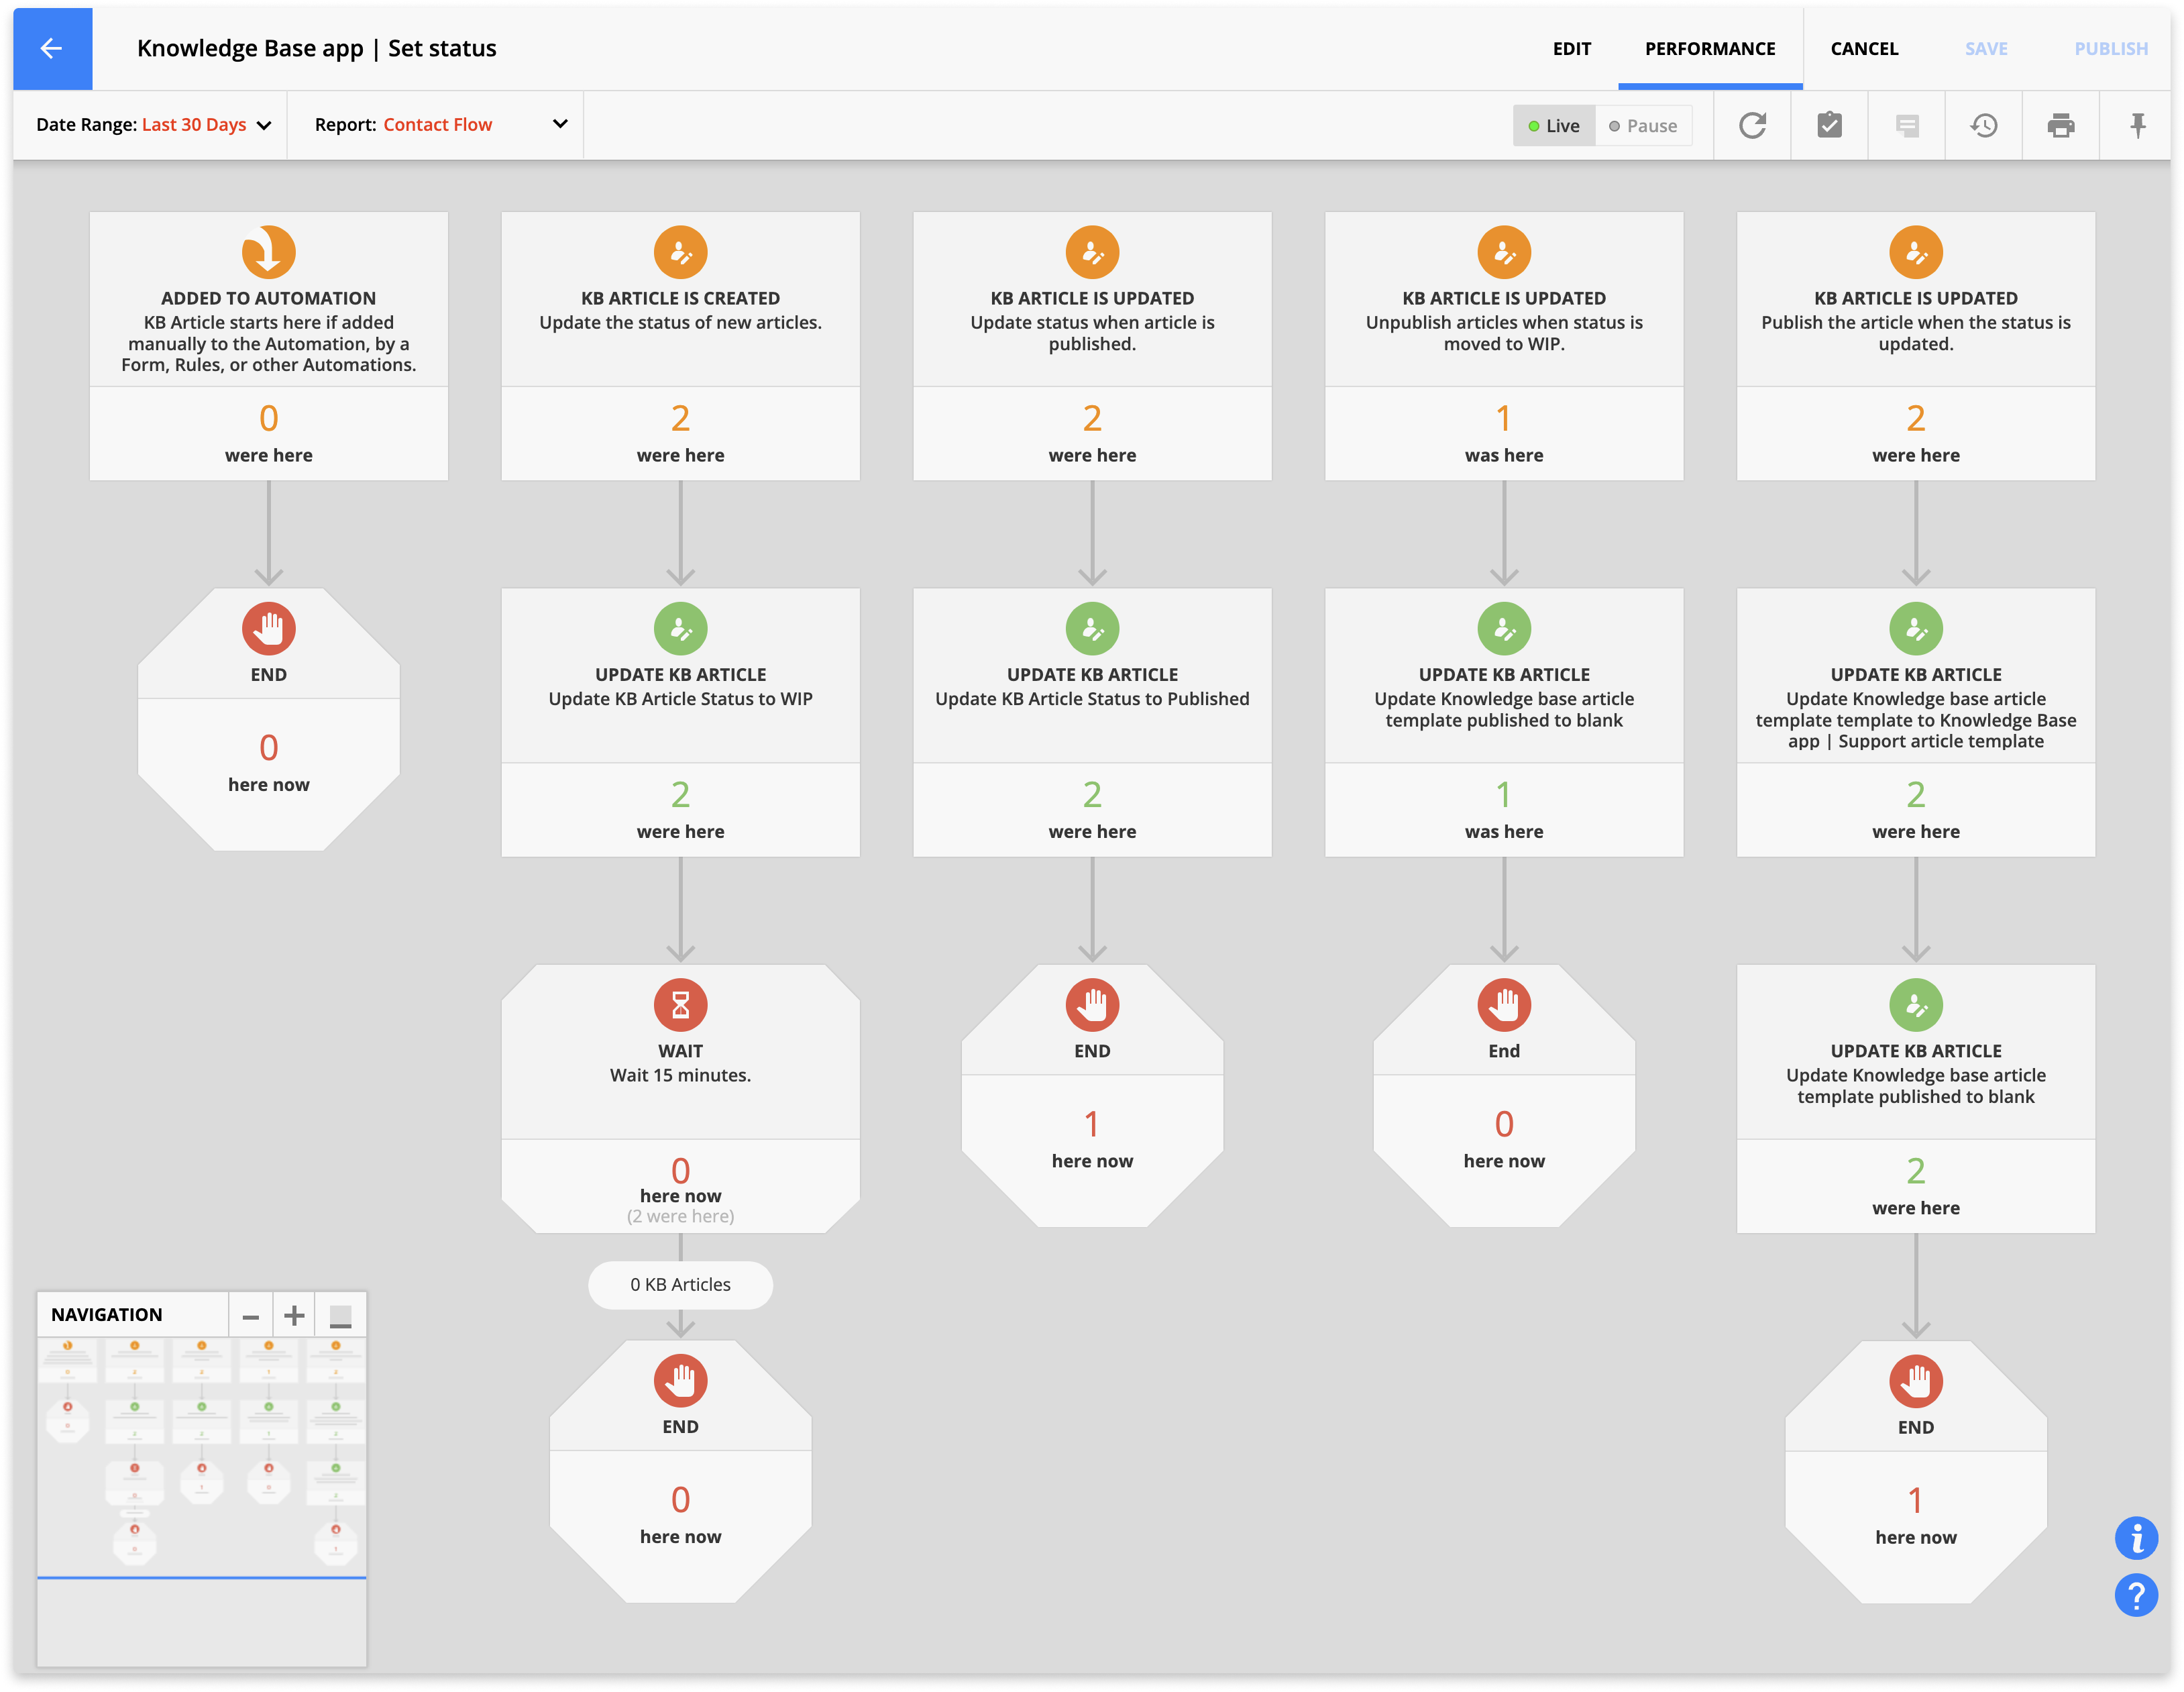
The “Article last updated” map ensures that whenever you update your article’s content, the “Last updated” field saves the date.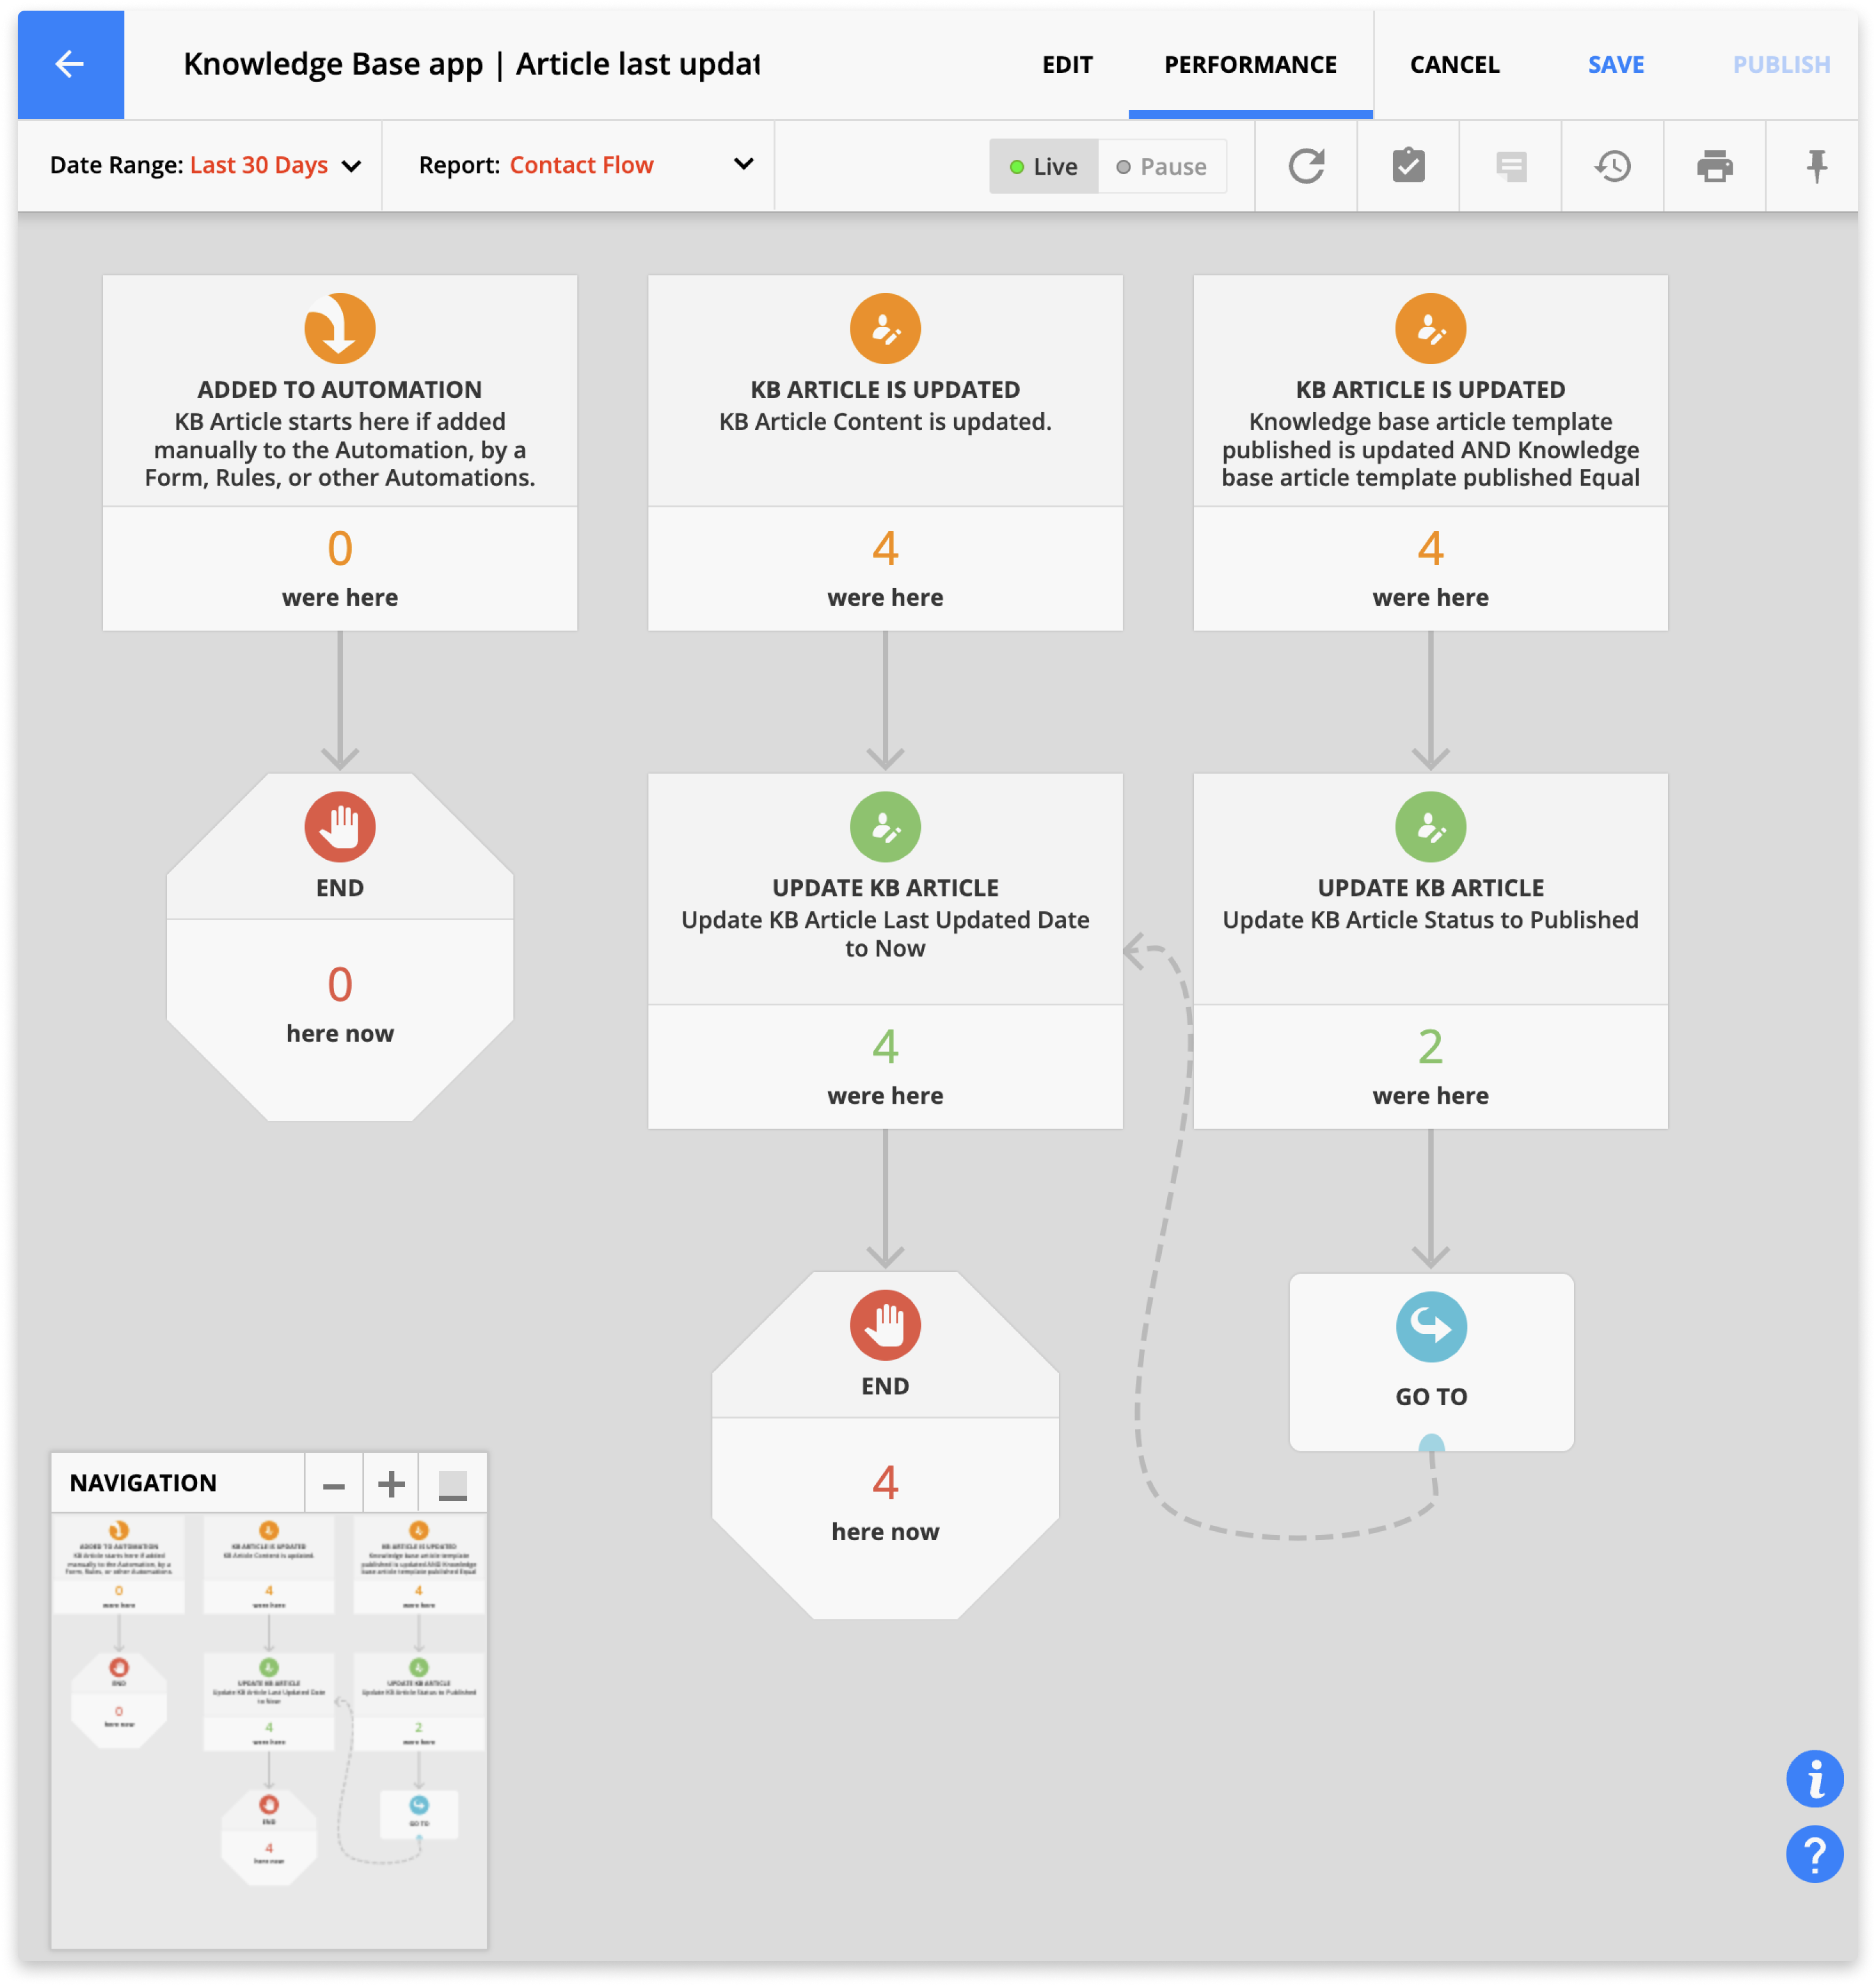
Customize your app
Back to top
Here are the steps to personalize your Knowledge Base App with your content.
Step 1: Navigate the knowledge base pages
Back to top
The first step is to check out your app!
- Visit your knowledge base home page and check out the app's pages. Note anything you want to change for the next step.
Step 2: Customize your pages
Back to top
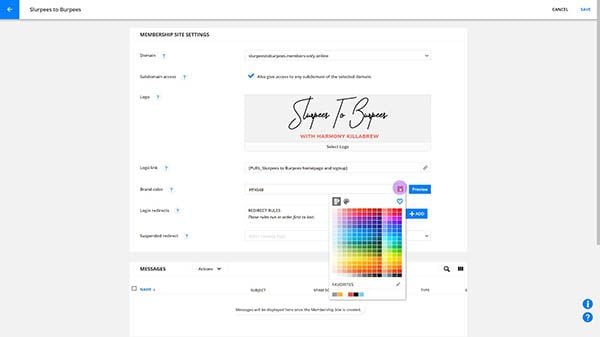
Add your brand colors, fonts and logo to your pages to make them your own.
- Check out this Ontraport University lesson to see how you can customize your pages.
- Go to your system and edit the app’s pages and templates.
Step 3: Delete your default records
When you’re ready to start adding your own content, you can remove your default records.
- Click here to go to your category collection.
- Select your default records and click Delete from the top action bar.
- Click here to go to your article collection and repeat step 2.
- Click here to go to your comment collection and repeat step 2.
Step 4: Create and publish category pages
Back to top
It’s easy to add new categories to your knowledge base. Simply fill out a few fields to customize the content.
- Click here to go to your categories collection.
- Click New KB Category at the top of the page.
- Fill in the fields in the “Knowledge Base Category Information” and “Category Page SEO” sections.
- In the “Knowledge Base Category Page” section, choose your template from the template dropdown, then toggle the published option on.
- Click Save in the top right corner.
Step 5: Write your articles
Back to top
Once you have categories on your site, you can add articles to them!
- Click here to go to your article collection.
- Click New KB Article at the top of the page.
- Fill in the fields in the “Knowledge Base Article Information,” “Knowledge Base Article Content,” “Knowledge Base Article Author Information” and “Knowledge Base Article SEO” sections.
- You don’t have to finish an article in one go. You can save your work; it won’t publish until you complete step 5.
- Click Save in the top right corner.
- To make your article live, drag its card from the “WIP” column to the “Published” column.
- If you want to take down a published article, just reverse the steps and drag the card to the “WIP” column.
App record and field reference
Back to top
Here’s some important information about your app.
KB Category records
These articles contain the information the app will publish to your category page. It also includes all of the articles that belong to specific categories.
Here’s a description of essential sections in your record and the fields stored there:
Knowledge Base Category Information section
The fields in this section include the basic information displayed on your category pages.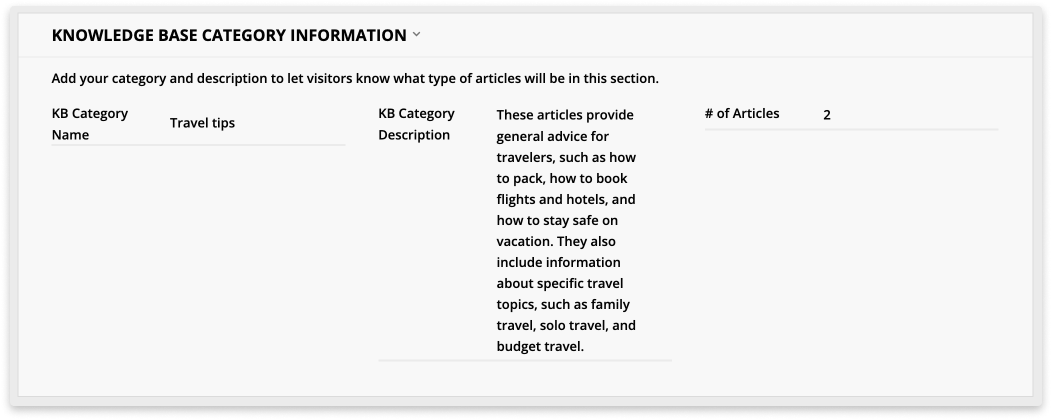
KB Category Name: This is the name of your category. This name appears on your home page and is the headline of your category page.
KB Category Description: Visitors can see this description on your home and category pages. This description should give readers an idea of the type of articles they’ll find in this category.
# of Articles: This is a rollup field that counts the number of articles that belong in your category. The app updates this field automatically.
Category Page SEO section
The fields in this section customize the SEO of each of your category pages.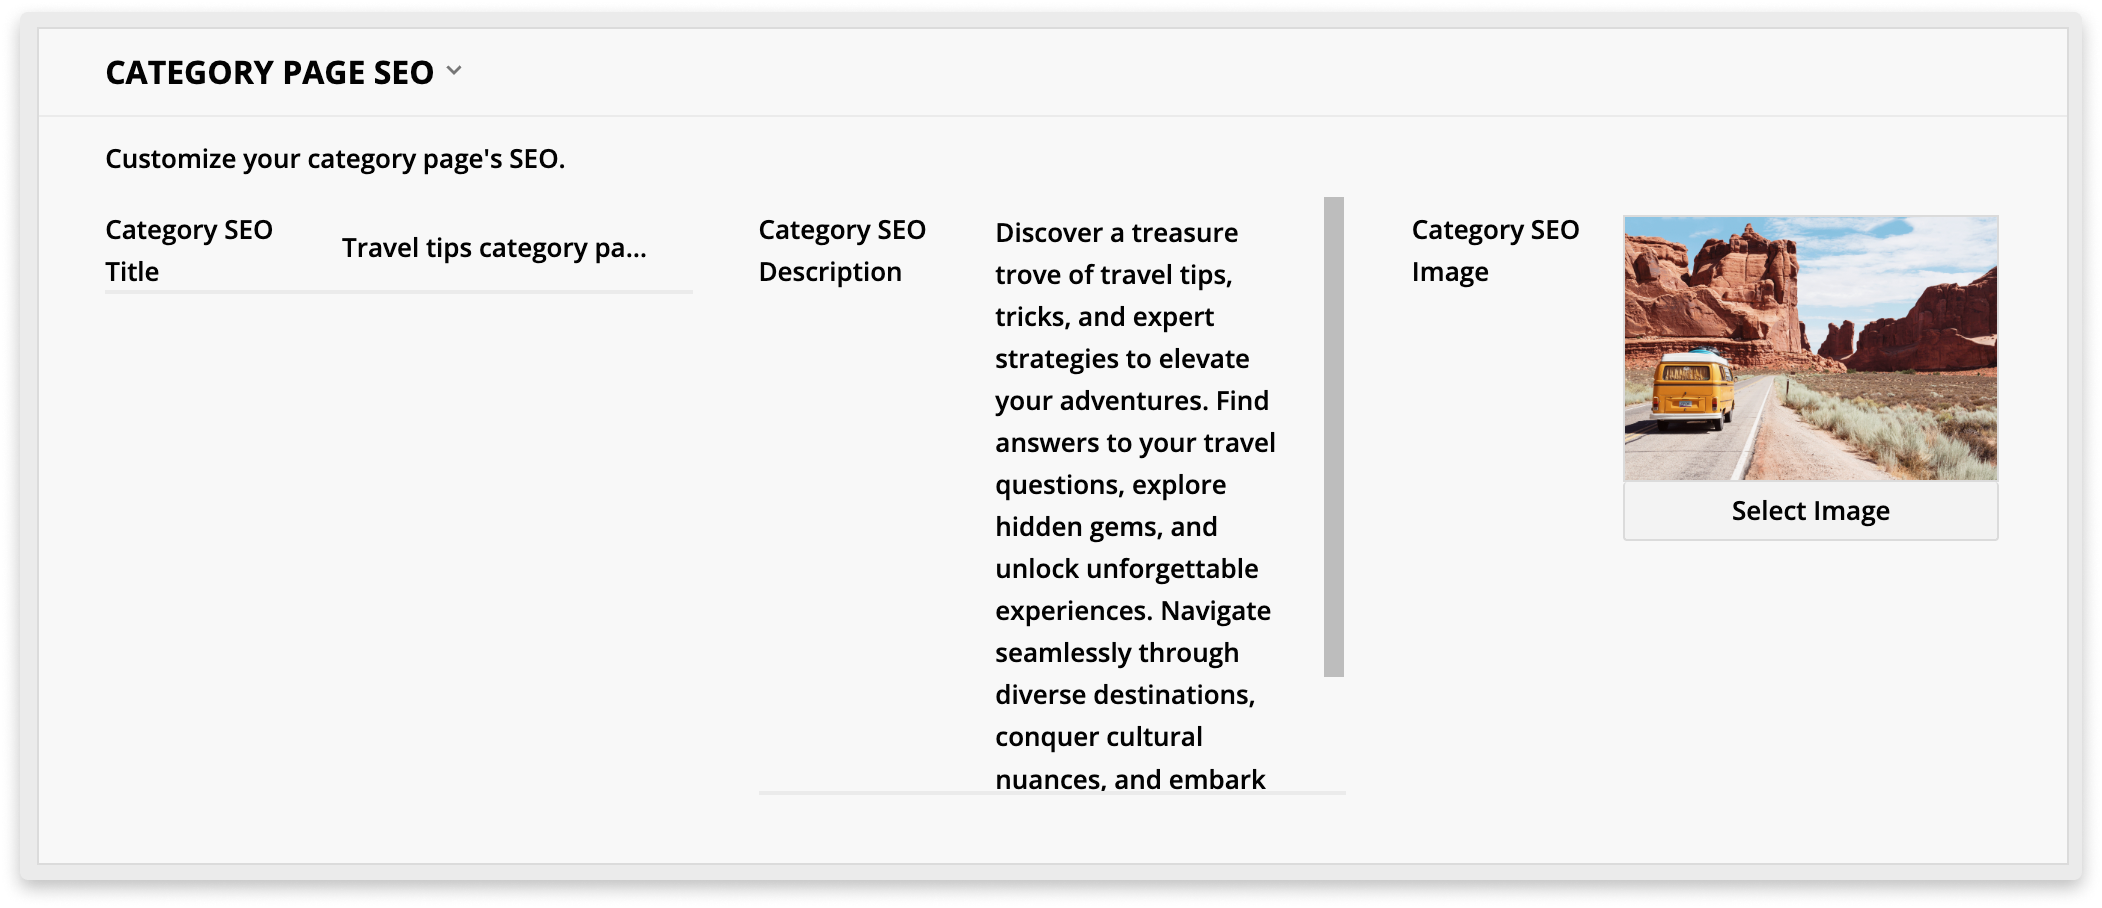
Category SEO Title: This field customizes the SEO title tag of your event detail pages.
Category SEO Description: This field customizes the SEO meta tag of your event detail pages.
Category SEO Image: This field customizes the SEO image of your event detail pages.
Articles in this Category Subcollection
This subcollection shows you all of the articles that belong in this category. You can click on the article's name to go to its record.
Knowledge Base Category Page section
This section controls the published status of your category pages.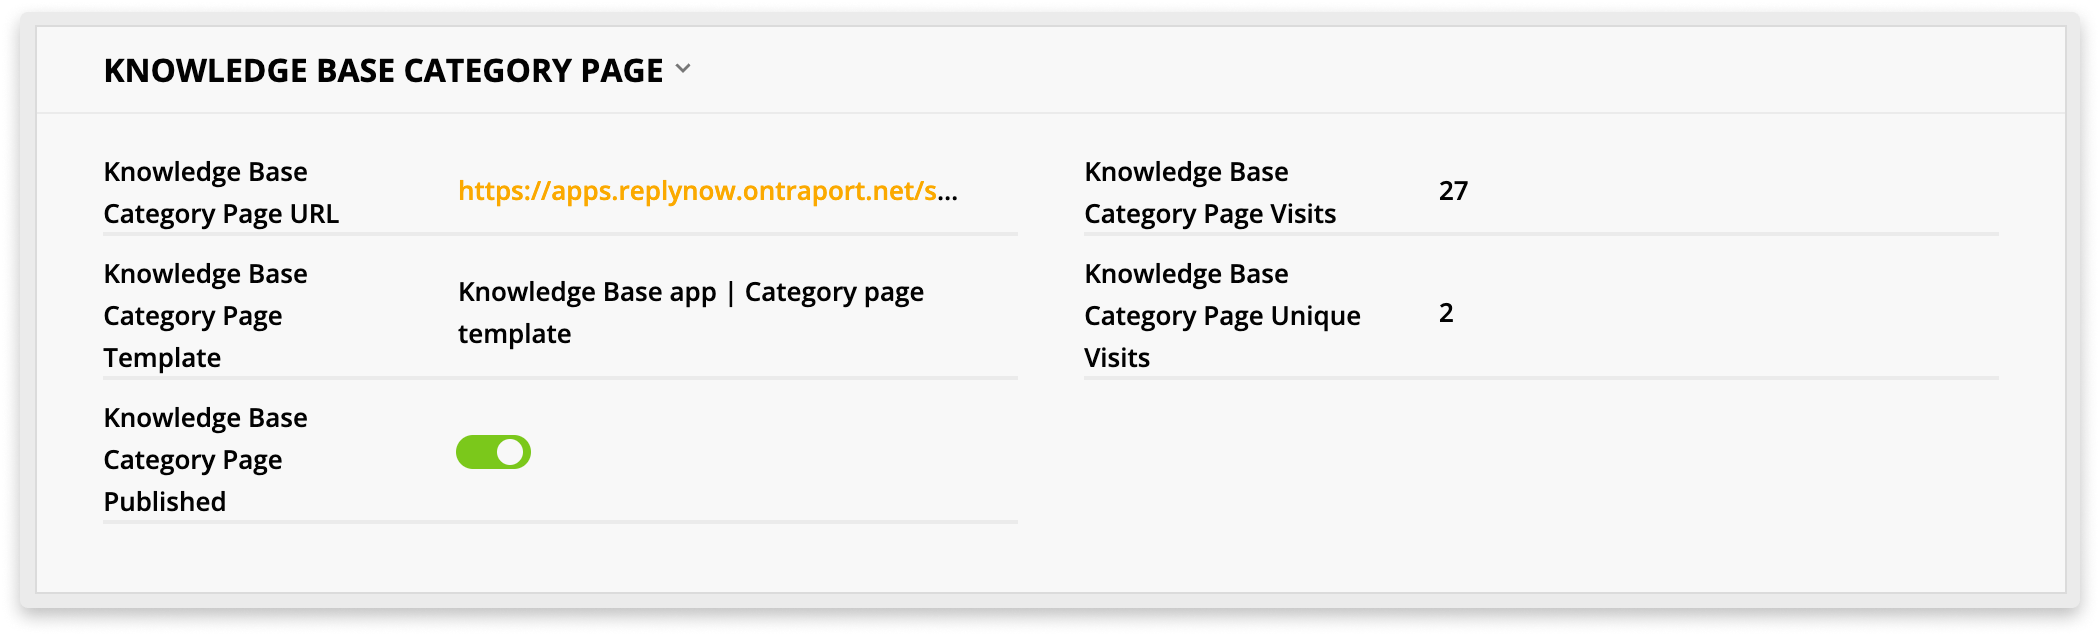
Knowledge Base Category Page URL: This field contains the URL of your category page. Your Knowledge Base Category page type determines the URL structure.
Knowledge Base Category Page Template: This field determines the template you’ll use to publish your category page. This app comes with one template.
Knowledge Base Category Page Published: This toggle determines whether your category page is published.
Knowledge Base Category Page Visits: This field shows your category page's total number of visits.
Knowledge Base Category Page Unique Visits: This field shows the total number of unique visits to your category page.
KB Articles records
Your KB Article records contain the actual content of your knowledge base articles. They also show you all the comments left on specific articles.
Knowledge Base Article Information section
This section contains the fields that have the basic information about your article.
KB Article Title: This is the internal title of your article.
KB Article Status: This field determines the published status of your article, and it’s the field your Card View columns are based on. If you update the value in this field to "Published," your article will move to the "Published" column, and your article will be live.
Article Category: This relational field determines which category your article belongs to.
KB Article Last Updated Date: This field tells you the last time you updated your article’s content. The “Article last updated” automation keeps this field up to date.
Knowledge Base Article Content section
The fields in this section customize the content of your article and the description visitors will see on your category page.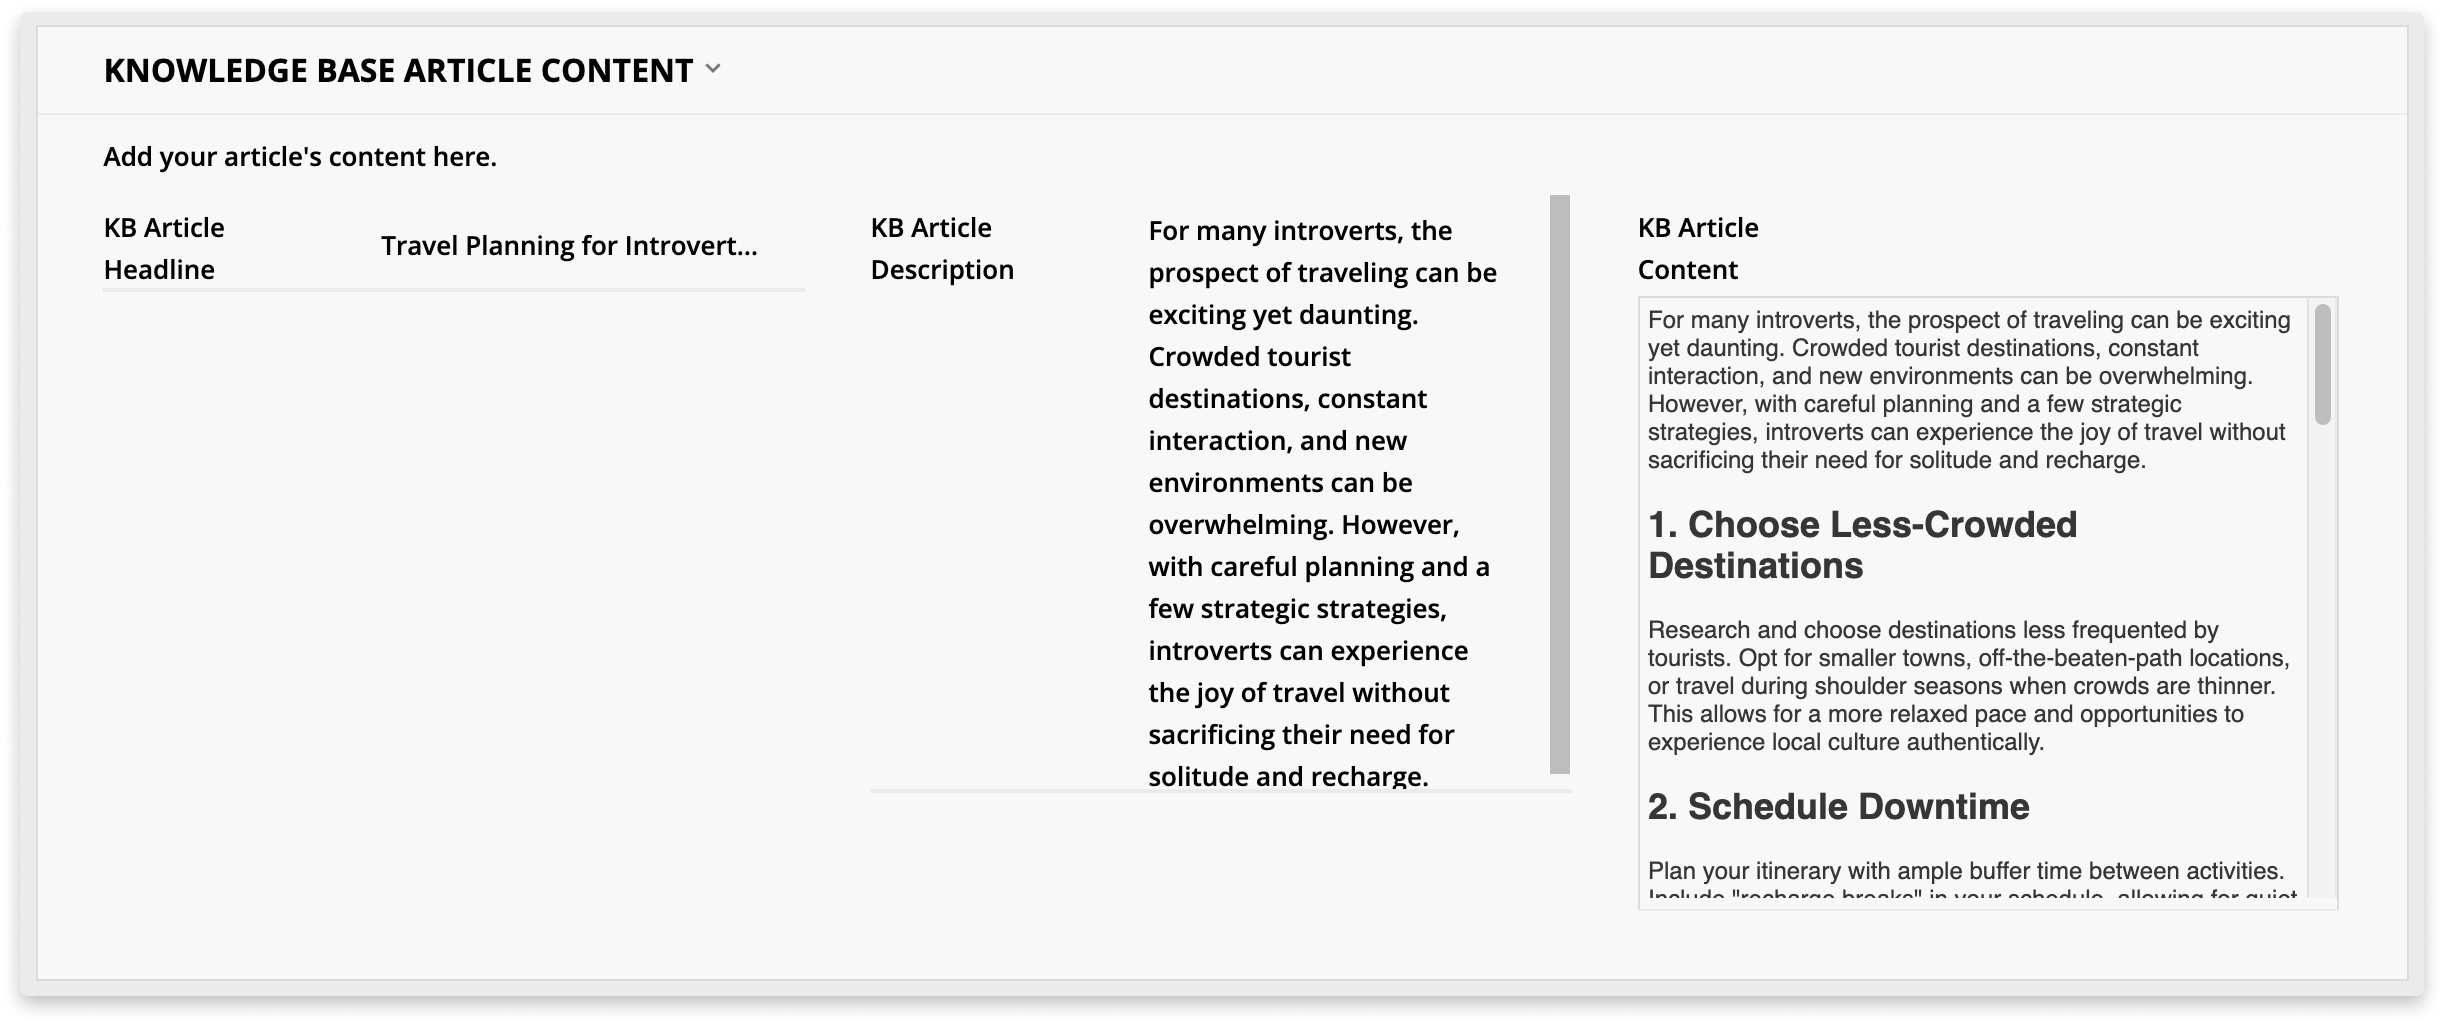
KB Article Headline: This is the name of your article. Visitors will see it on your category page, search results page, and article page.
KB Article Description: Add a short description of your article in this field. This description appears on your category page and search results page.
KB Article Content: This field contains the actual article. It is a rich text field to which you can add formatting, links and images.
Rich text fields allow you to select a font style from the paragraph formatting dropdown. You might use one font for your headline and use large body text for the rest of your page's content. The paragraph formats you selected in your rich text fields determine where each font style is used. If you want to change the font family, weight, height or size, update your dynamic template’s font styles.
Knowledge Base Article Author Information section
The fields in this section customize the author section of your knowledge base articles.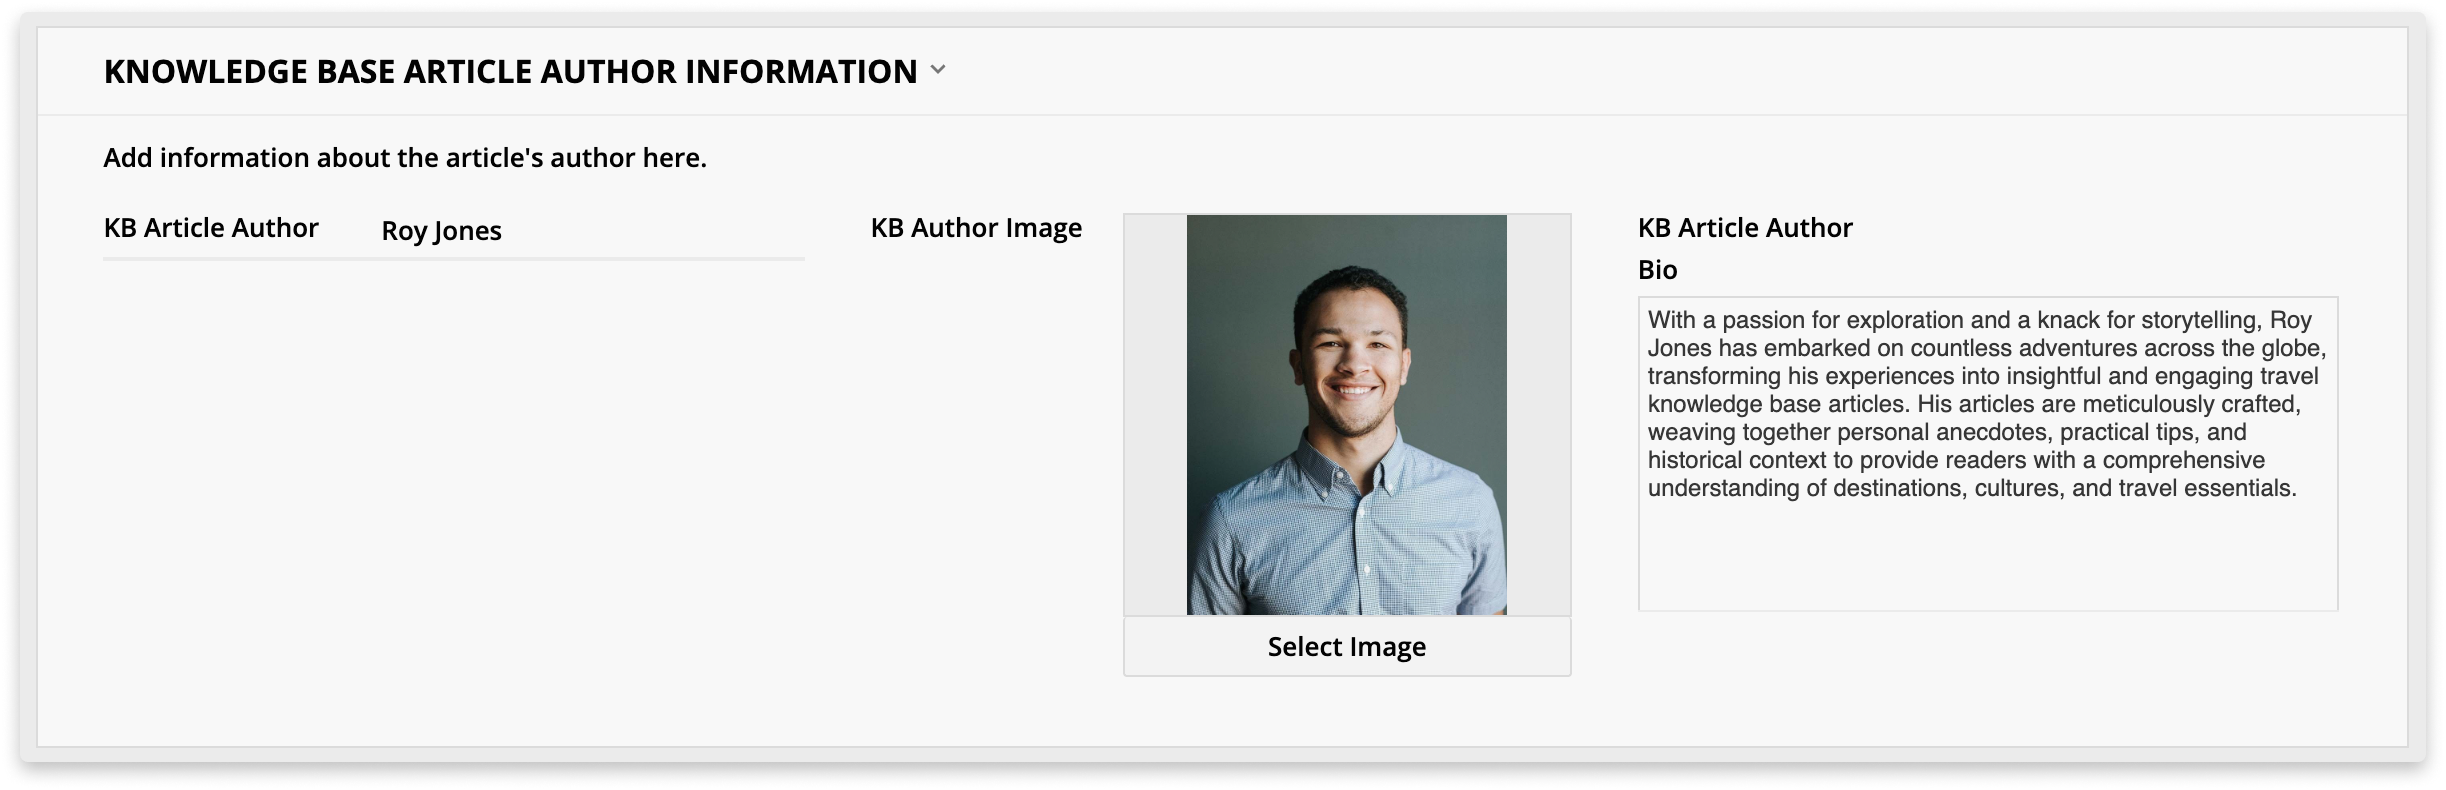
KB Article Author: Add the name of the article’s author so your visitors know who wrote it.
KB Author Image: Add an image of the article’s author to provide a face to the name in your author bio section.
KB Article Author Bio: Add a short bio of the article’s author to establish credibility.
Knowledge Base Article SEO section
This section contains fields that customize the SEO for each of your articles.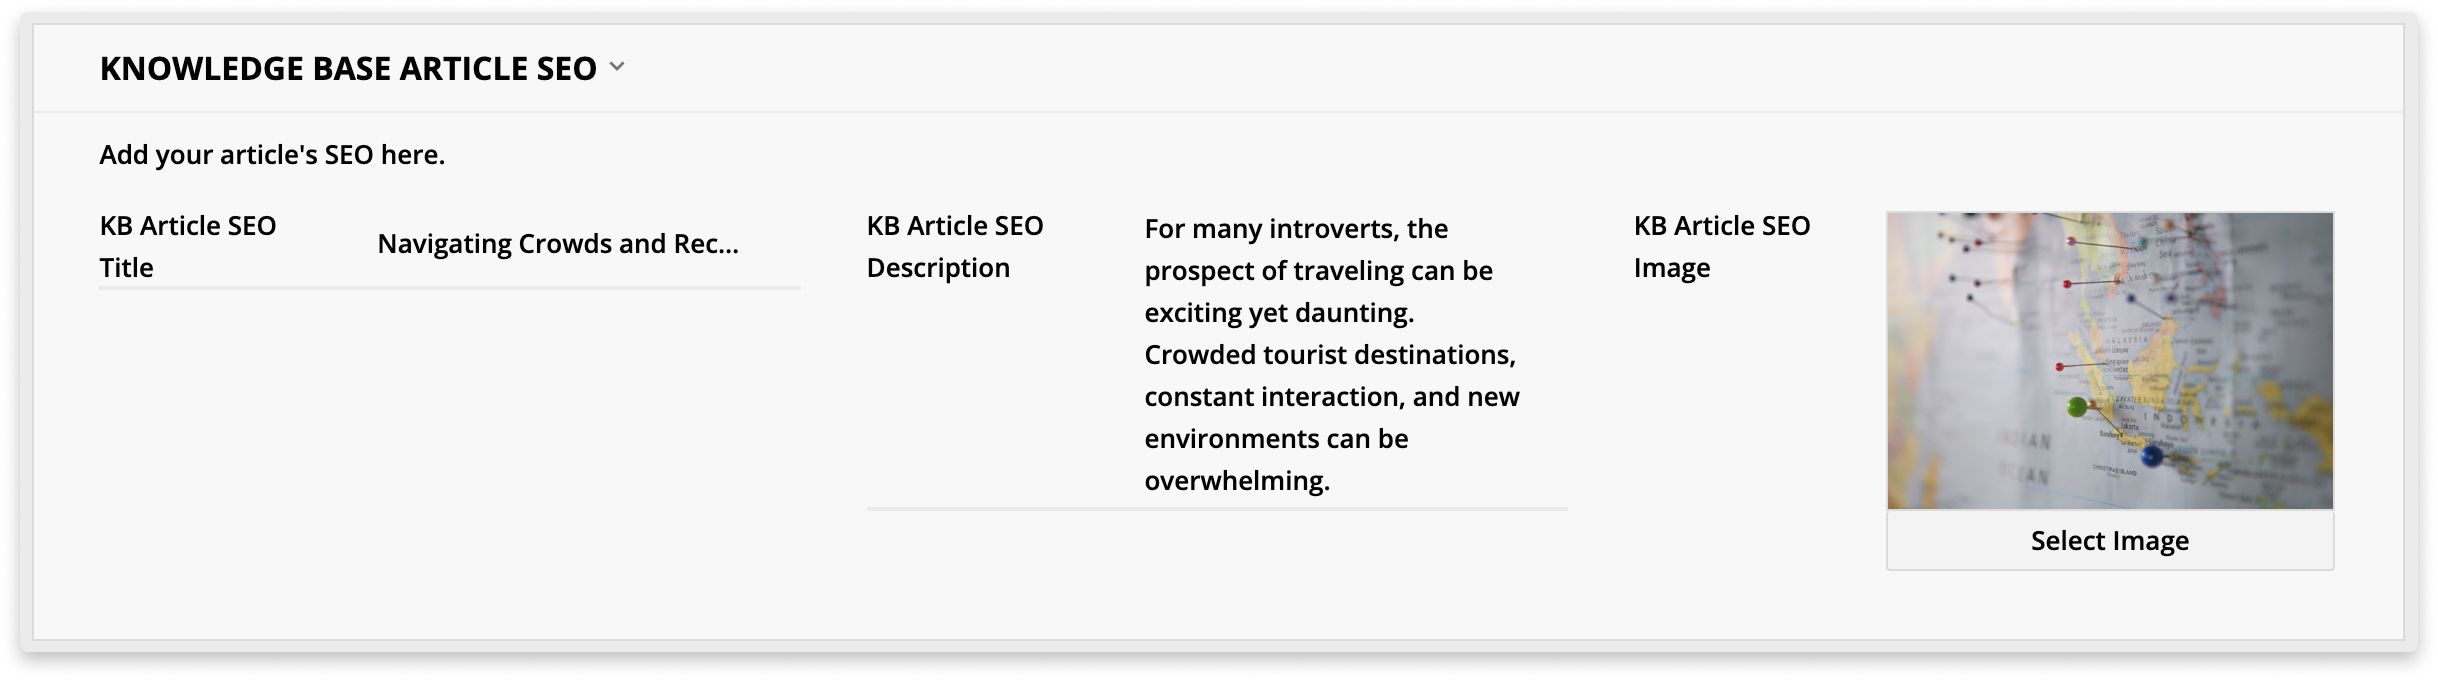
KB Article SEO Title: This field customizes the SEO title tag of your event detail pages.
KB Article SEO Description: This field customizes the SEO meta tag of your event detail pages.
KB Article SEO Image: This field customizes the SEO image of your event detail pages.
Knowledge Base Article Comments subcollection
This subcollection shows you all the comments left on your article. Click on the comment to go to its record.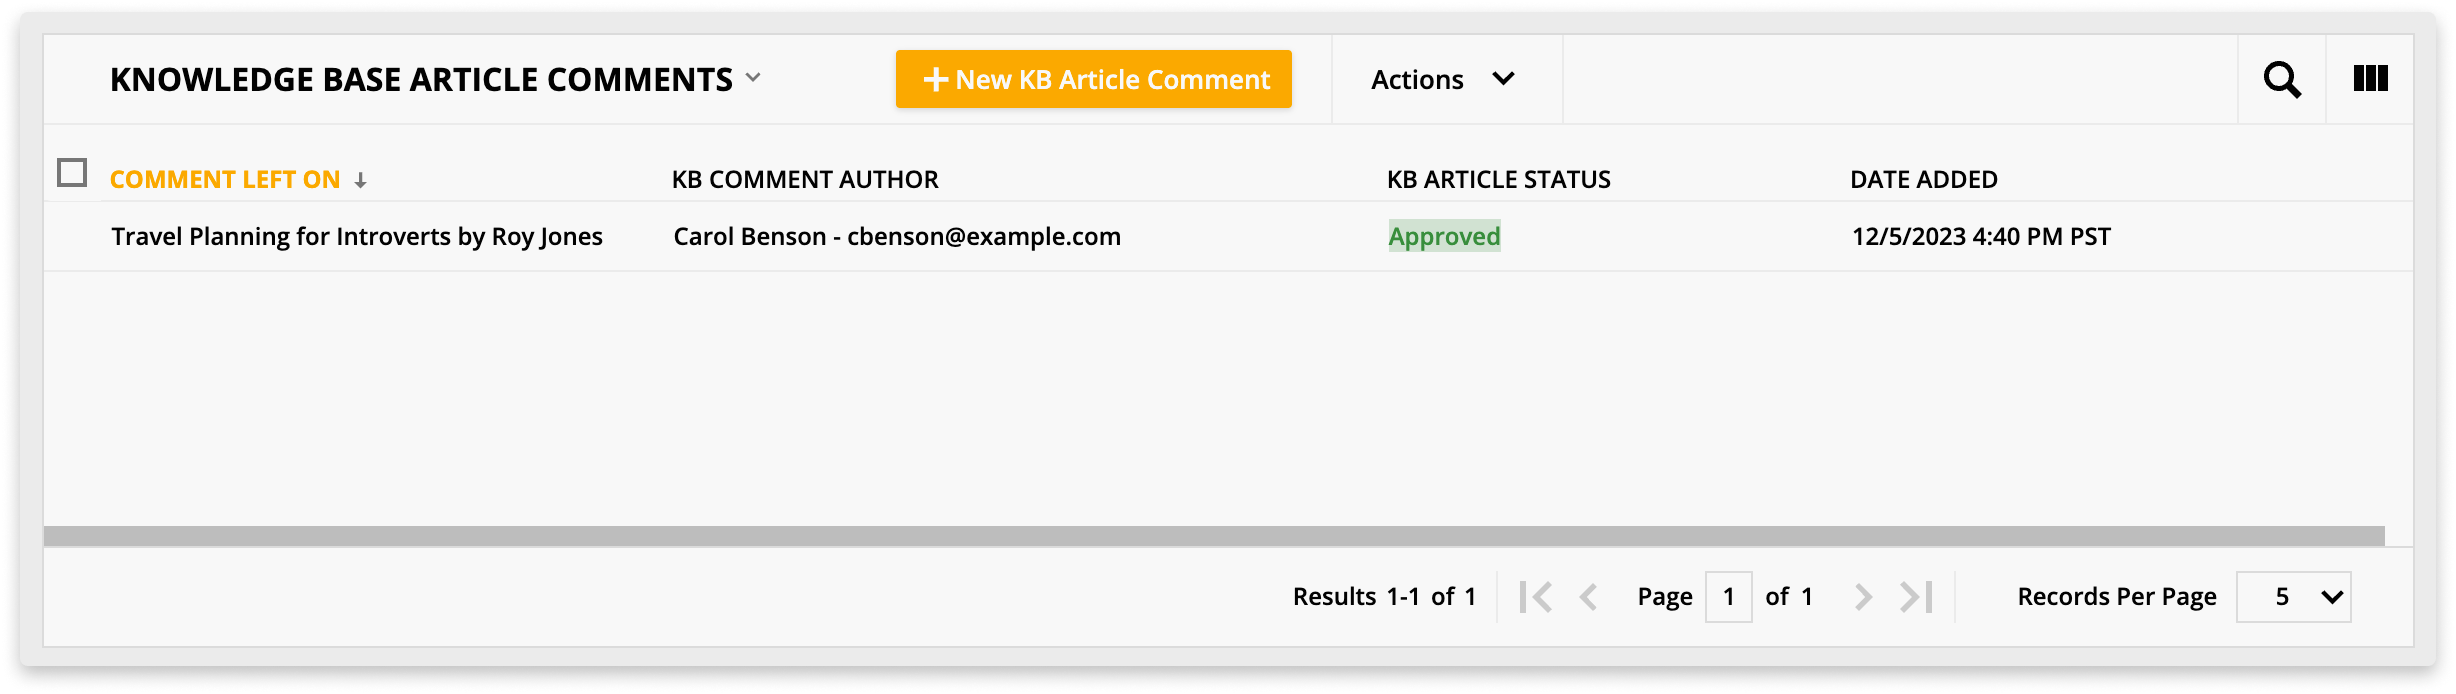
KB Article Comment records
These records contain the comments that members leave on your knowledge base articles.
Knowledge Base Article Comment Information section
These fields contain the comments your visitors leave on your articles and show you who left the comment and which article they left it on.
Comment: This is the actual comment your visitor left on your article.
KB Article Status: This field determines if the comment is visible in your article. The comment card view uses this field. If the status is "New" or "Approved," it will be displayed in your article. If the status is "Removed," the comment won't display.
KB Comment Author: This relational field shows you who left the comment.
Comment Left On: This relational field shows you which article your member left the comment on.
In your contact records, you'll find a "KB Article Comments" subcollection showing all the comments your contact has left.