Action elements empower you to perform activities and operations on your records automatically. They are the engine that enables you to respond promptly to your contacts’ activities. Actions facilitate sending emails, tagging contacts for categorization, adding or removing contacts from automation maps, updating contact record information, and much more.
Check out our list of actions you can take on your records and how they work below.
Table of contents
Using actions in your automation maps
• Send messages
• Communicate with your team
• Manage membership access
• Add and remove records from automation
• Sequence elements (legacy feature)
• Sales automation
• Lead management
• Update relationships
• Advanced actions
Using actions in your automation maps
To add an action element to your map, click What Happens Next? → Action tab → Choose an action. Here’s a list of the different actions you can use to perform different automated functions within your automation.
Send messages


- Send an Email: This action sends an email to a contact.
- Send an SMS: This action sends an SMS text message to a contact (e.g., appointment reminders and confirmations).
Communicate with your team


- Assign Task: This action allows you to assign tasks to team members. Tasks are steps in a process that are non-automatable (e.g., a sales rep making a phone call to a lead, a team member reviewing items in a paper file, etc).
- Notify With SMS: This action uses SMS text messages to notify a team member or internal partner, such as someone at a shipping facility or a contractor, about important information.
- Notify With Email: This action uses emails to notify a team member or internal partner, such as someone at a shipping facility or a contractor, about important information.
Manage membership access
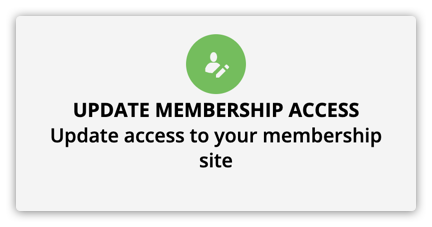


- Update Membership Access(action tab): This updates your subscribers’ access to your Ontraport membership sites. You can set the status to enabled, suspended or disabled.
- Give WordPress Membership Access(advanced tab): This action grants access to your WordPress membership site. This is commonly used after a membership purchase or a partner program sign-up.
- Remove WordPress Membership Access(advanced tab): This removes WordPress membership access.
Add and remove records from automation


- Add to Automation: This action adds a contact to an automation map. When you use this action on an automation map, contacts from that map will be added to the automation map you select via the Added to Automation trigger.
- There are two ways contacts will return to the original map:
- They reach an End or Exit element in the nested map.
- They achieve a goal on the original map, and the goal’s “If Contact is already on map, then…” setting is set to “Move here when achieved."
- Add to Automation elements run on a cron. This means when a contact hits an End, Exit, or goal on the nested map, there may be a short delay, up to 15 minutes, before the cron runs and the contact is actually added back to the original map.
- If you want your contacts to continue on the original automation while simultaneously sending them to a nested map, add a fork element above the Added to Automation element.
- There are two ways contacts will return to the original map:
- Remove From Automation: This action removes a contact from an automation map. This would be useful if the contact achieved a goal and no longer needed to be on that particular map.
- Pause/Unpause Automation: This action pauses or unpauses a contact on a selected automation map. Paused contacts will remain “sitting” on the element they were paused on until they’re unpaused on another automation map.
Sequence elements (legacy feature)
ⓘ |
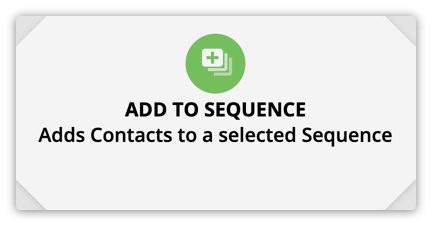

- Add to Sequence (legacy feature): This action adds a contact to a legacy sequence.
- Your contact will return to the map after the final step on your sequence unless you have the “Prevent unsubscribe after last sequence step” enabled in your admin settings. If this setting is enabled, you can check the “Unsubscribe contact after last step” in your sequence’s settings to return your contact to the original automation map.
- Date sequences never unsubscribe contacts, so your contact will only return to your map if you use a "Remove from sequence" element.
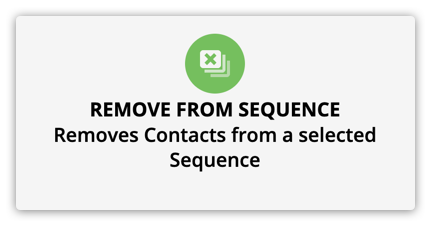
- Remove From Sequence (legacy feature): This action removes a contact from a legacy sequence.
- Pause/Unpause Sequence (legacy feature): This action pauses or unpauses a contact on a selected sequence. Paused contacts will remain “sitting” on the step they were paused on until they’re unpaused from another sequence or automation.
Sales automation
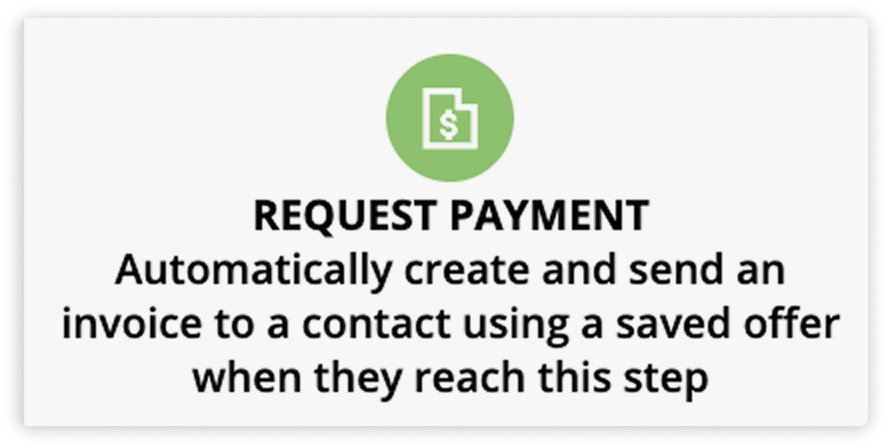


- Request Payment: This action automatically creates and sends an invoice to a contact using a saved offer. Learn more.
- Add Product to Purchase History: This action adds products to a contacts’ purchase history.
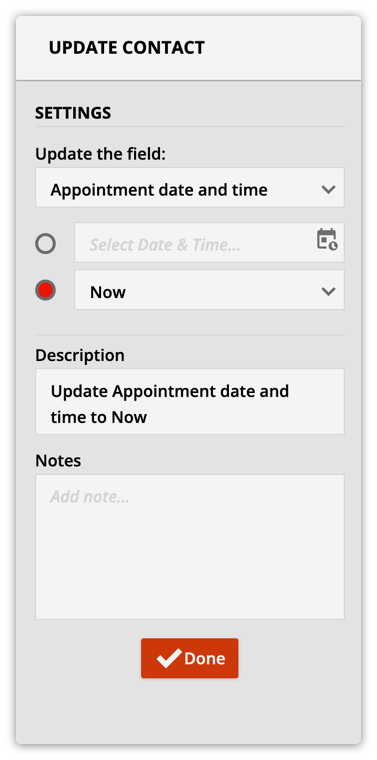
- Update Contact(any editable field): This action allows you to automate changing a field in a contact record (e.g., changing a status field from lead to client, blanking out a field, and updating a date field to a time in the past or future).
- Change Tags: Tags are like labels for your contacts. This action adds or removes tags from your contacts (e.g., adding a “customer” tag and removing a “lead” tag after a lead has purchased from you).
- Send to Fulfillment: This action adds your contacts to a fulfillment list. This is commonly used if you to have a list of contacts who reached a particular step in your process.
- Remove From Fulfillment List: This action removes your contacts from a fulfillment list.
- Cancel Open Orders: This action cancels a payment plan or recurring payment. For example, if a contact completes your membership cancellation form, this element will remove the open order from the contact record and the contact would not be charged for the product again.
- Recharge Transactions: This action recharges transactions that are in collections.
Lead management

- Add to Lead Router: This action will add a contact to a lead router. This is most commonly used to route leads to different members of the sales team.
Update relationships
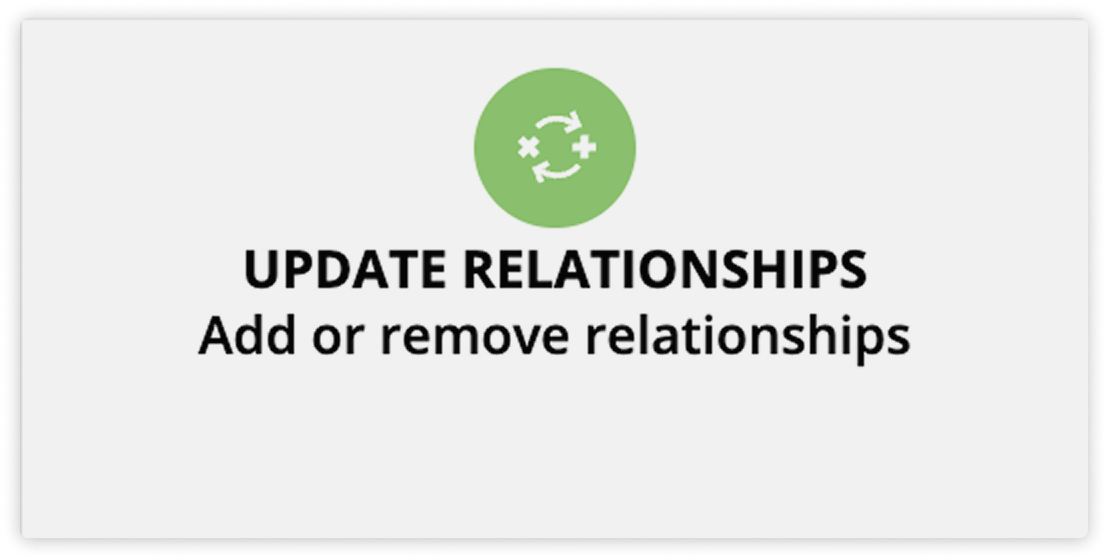
- Update Relationships: This action allows you to connect records with many-to-many relationships.
Advanced actions


- Add to Facebook Custom Audience(advanced tab): This action works with our Facebook integration to add or remove a contact to or from a Facebook Custom Audience. For example, once contacts have purchased a product, add them to your Facebook Custom Audience that encourages sharing and referrals instead of buying your product.
- Send a Webhook (advanced tab): This advanced action element is used to send information from Ontraport to another system that accepts this type of data. For example, you could use a webhook to send a contact’s email address to a webinar system to register the contact for the webinar.
- AI Assistant (advanced tab): This advanced action element lets you use AI in your automation. Customizing your settings lets you specify what you want your element to do. You can generate, edit, and analyze various content to fit your needs. Learn more here.