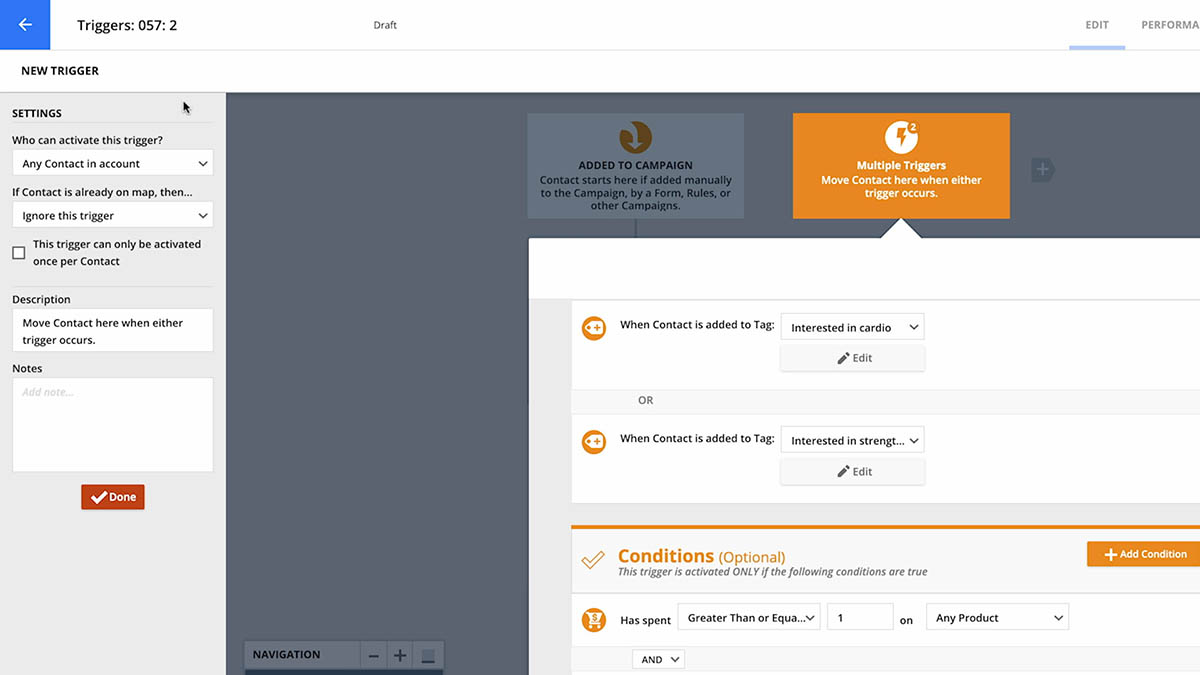
Every automation map starts with a trigger, which is what begins a contact on your automation path. In addition to the triggers you’ll add to your automation as the main entryways, each map comes with a default trigger named Added to Automation. This default trigger allows contacts to join the automation maps either by being added manually or via your automation settings. Here’s how to use that trigger in your automation maps.
Using the default Added to Automation trigger

There are three primary options for creating your automation around this default trigger.
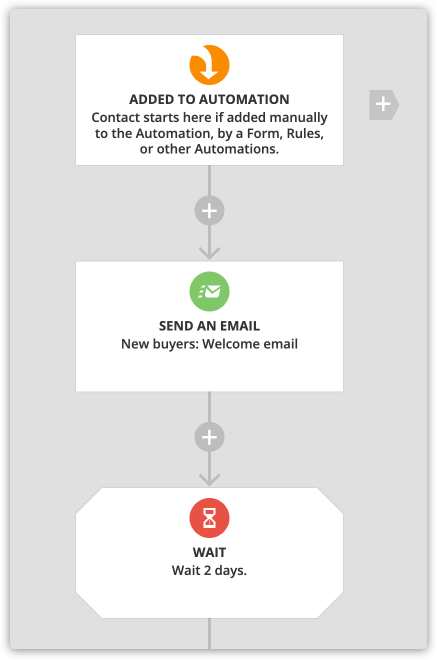
Option 1: Build directly below it.
If a contact is added to an automation map, the contact will proceed down the elements below the Added to Automation element. You’ll use this option only if you don’t have other triggers that add contacts to your automation.
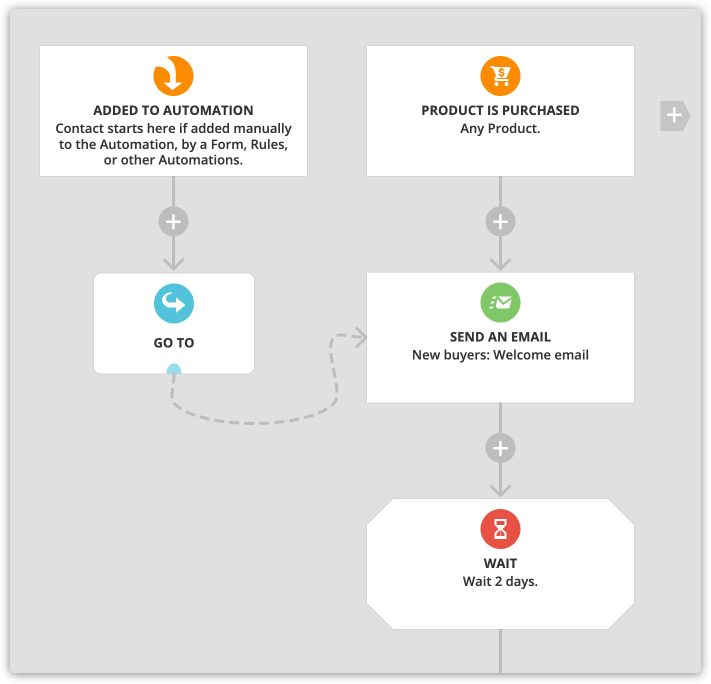
Option 2: Use a Go To filter to redirect the path.
This option allows you to send contacts who enter through the default Added to Automation element to the element on your map they should experience first. You would use this option if you have other triggers that add contacts to your automation maps, such as if a contact submits a form.
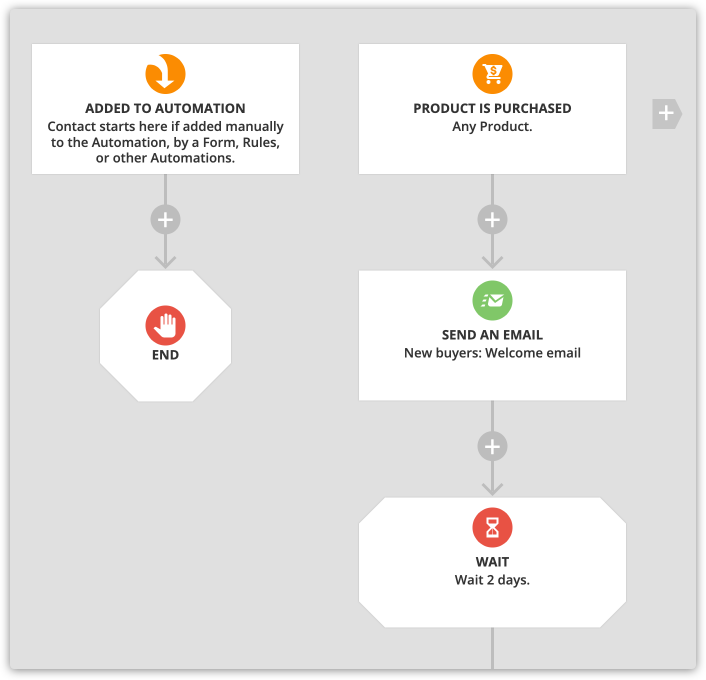
Option 3: Add an end element.
If the only way that contacts will be added to the map is by additional triggers that are activated or goals that are achieved, place an end below the Added to Automation element. The Added to Automation element cannot be deleted, but this option allows you to bypass it.
Use case
Say you have a trigger that adds contacts to your automation map when they’ve purchased access to your membership site. If you had a special case and wanted to give membership access to a contact without logging a product purchase, you could add the contact to this map via the Added to Automation trigger, and it would automatically fire all of the actions to give WordPress membership access.
Conversely, you would use the end element if you want to make sure that only people who actually purchase receive this information.