When you enable custom objects, or prebuilt apps, a few things change in your account.
Your messages and automation will move under your object’s main navigation button, and a new field will appear in your email settings — “Send email to.”
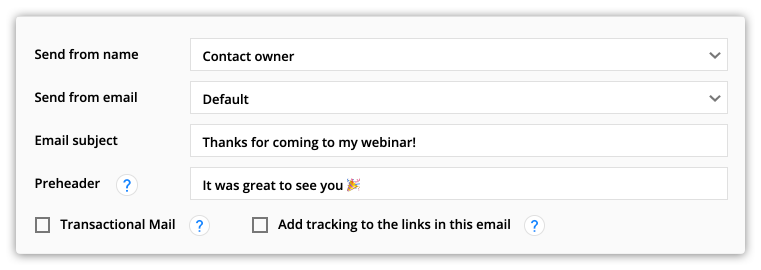
Email settings before custom objects are enabled:
Email settings after custom objects are enabled:
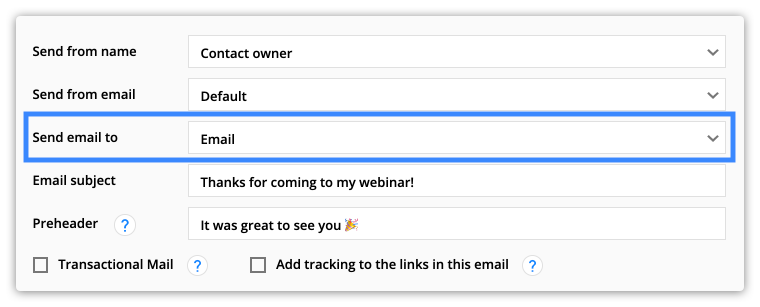
This new field makes it easy to select who will receive your message directly from your email settings.
Before you enable custom objects (or prebuilt apps), the only object in your account is Contacts, so all your emails are sent to your contacts’ email addresses.
But using custom objects opens up a lot of possibilities, such as sending a message to your deal’s primary contact or to all contacts who work for a certain company.
And it’ll be easy to automate your communication as you add more types of records to your account. You won’t need to create a group to send your email to the correct people — your “Send email to” does it for you!
In this article you’ll learn how to use the “Send email to” field to send your emails to the right email addresses.
Table of contents
Default options
Deals object
• Owner email
• Related company contacts
Contacts object
Custom objects
• Custom staff emails
Default options
There is always a default “Send email to” option selected in new emails. In most cases, this is the email address you want to send messages to. For example, if you create a contacts email, your “send to” field will have “Email” selected.

A new email created from the Deals object has the default option, “Primary Contact >> Email.” This will send an email to the contact who is the primary contact of your deal.

The reason you see “Primary Contact >> Email” instead of “Email” is because the deal records don’t contain an email address field. Instead they have a relational field that contains the name and email address of your deal’s primary contact.
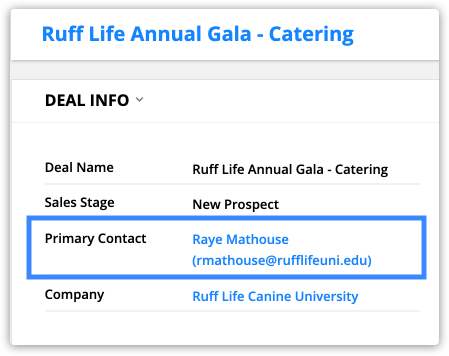
So, an email sent to your deal’s primary contact will go to the address saved in your contact’s record.
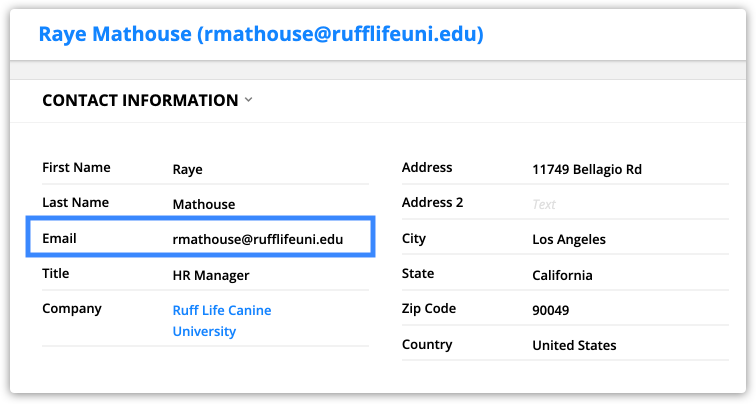
You are able to send your email to a contact’s address because the prebuilt Deals object is related to the Contacts object.
- Check out this article to understand relationships between objects.
Deals object
In addition to the default sent to option, there are also other options to ensure your email goes to the right recipient.
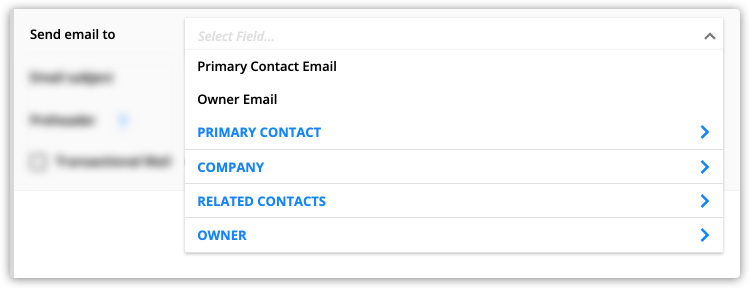
Owner email
This option lets you send an email to a member of your team. “Owner” refers to the person assigned to your record. For example, if your new leads are funneled through a lead router at the beginning of your process, you’ll automatically distribute your leads across members of your team.
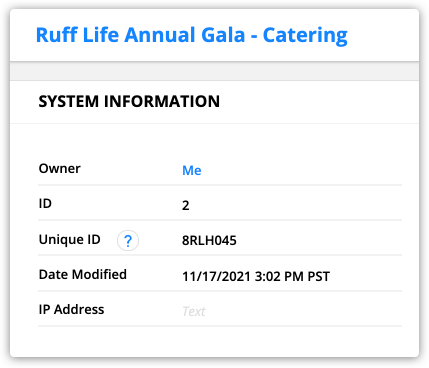
This is a great option if you would like to manually send a notification to a member of your team. Note, if you want to send notifications to your team through automation, you’ll just use a notify with email or SMS element.
- The notify element overrides the “send email to” field and will send any email or SMS message to your selected team member.
Related company contacts
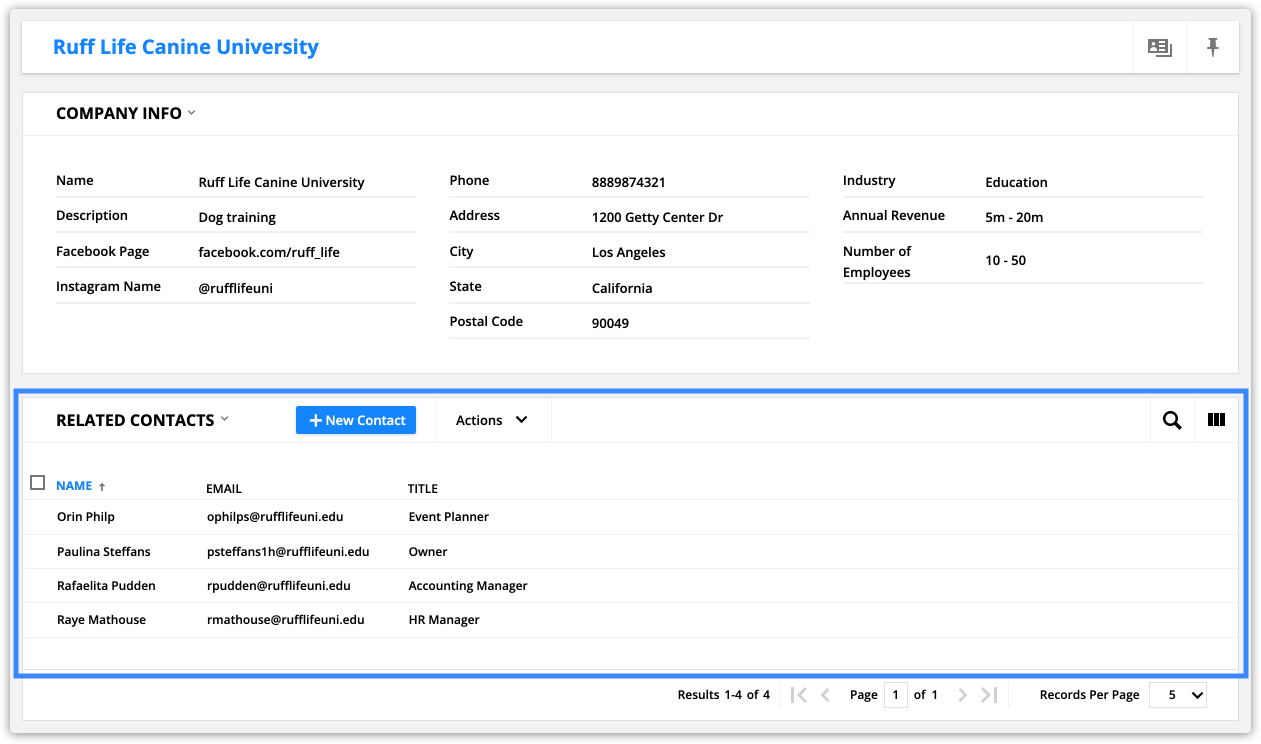
In addition to sending an email to one specific person, this option allows you to send an email to all of the contacts that belong to a company you have a deal with.

This will send your email to everyone in your company’s “Related Contacts” section:
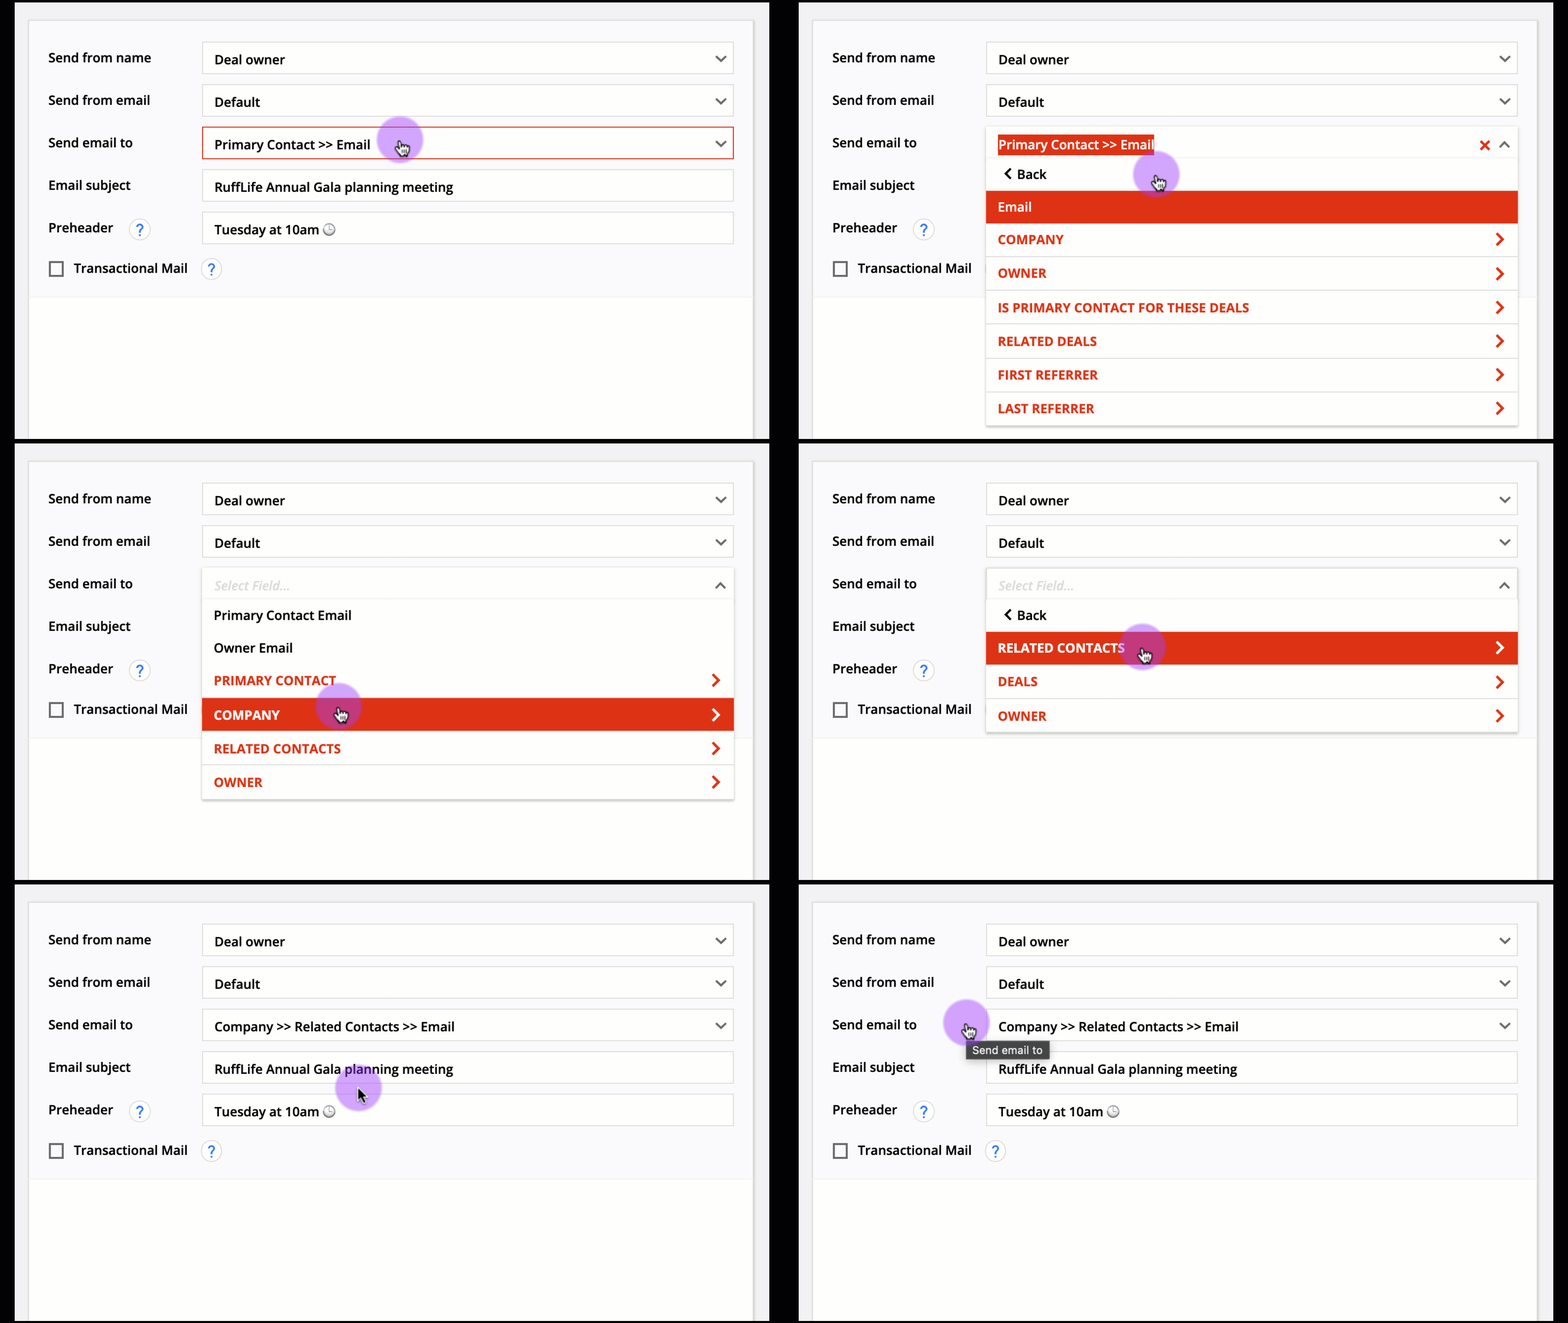
In order to select this group of contacts from your “Send email to” field, you need to drill into your company fields, like this:
Contacts object
Unlike deal records, every contact record contains its own email address field. That means you have an “Email” option available from the “Send email to” field, and you don’t need to drill into any other object’s email field.

Custom objects
It’s also easy to send emails to related records in your own custom objects. For example, say you have a “Pets” object to keep track of all of your contacts’ pets. The Pets object has a one-to-many relationship set up with the Contacts object, where Contacts is the parent.
That means that you’ll see a list of pets each contact owns in their record, and each pet record will include a dropdown field that includes the pet’s owner.
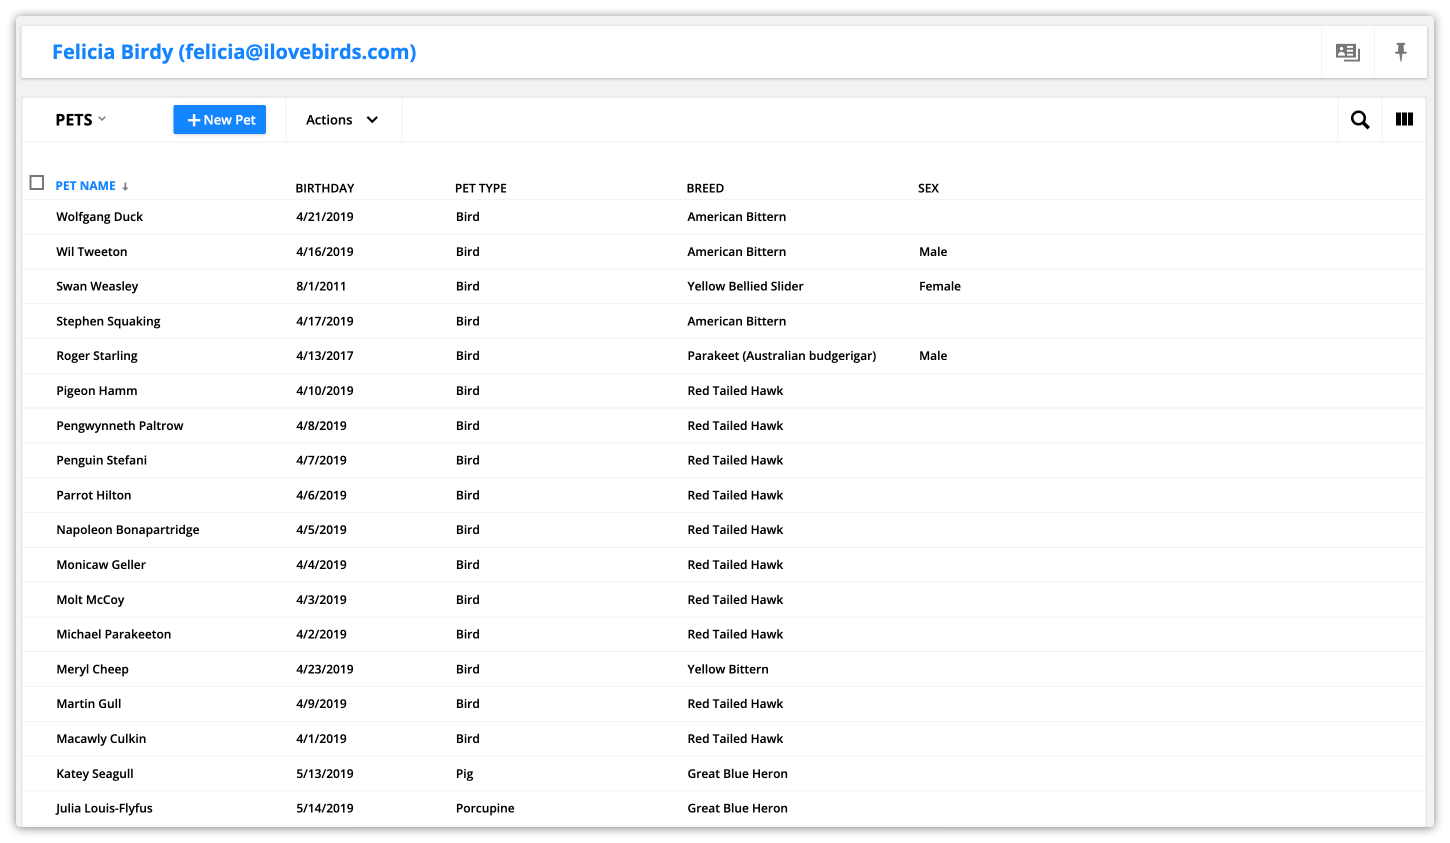
Here’s a list of pets owned by Felicia Birdy:
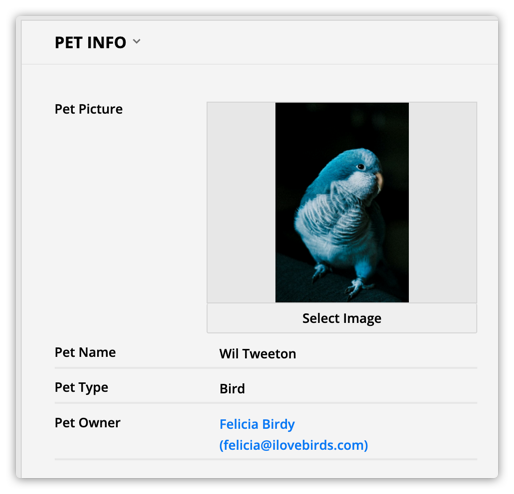
And from a pet’s record, you can see that Wil Tweeton is owned by Felicia Birdy:
That makes it easy to create messages from your Pets object and send it to your pet owners’ email addresses.
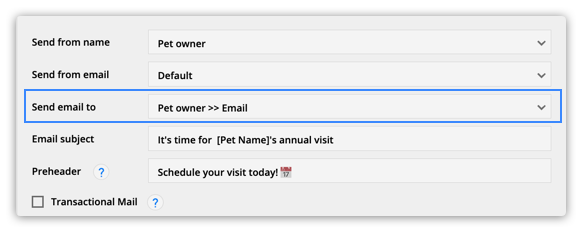
The more relationships you have set up, the more options you’ll have in your “Send email to” field.
Custom staff emails
If you’ve created custom relationships between your users and records, you can use the “send email to” field like any other custom object in your account. This functionality is helpful if, for example, you set up Sales Coordinator or Onboarding Representative relationships and want to send messages to related users from your contacts’ records.
