The Advanced Mail editor is a drag-and-drop editor similar to Ontraport's page builder. Messages consist of blocks that contain rows and columns that create your message's design layout. This block-based builder allows you to create polished newsletters and on-brand marketing messages.
Ontraport offers two other email editors, each designed to empower you with the tools to create stunning, customized email designs tailored to your unique goals.
- Simple Mail
- This is a What You See Is What You Get (WYSIWYG) editor that text-based messages that appear more personal than marketing messages.
- Raw HTML Email editor
- This HTML editor allows you to customize your design using HTML and CSS.
Ontraport’s Inbox feature also lets you create and send email messages using a chat interface.
This article is focused on Contact messages. However you can follow the same steps for any of the objects in your account. To create user messages, go to |
.png) → Administration → User Management → User Messages.
→ Administration → User Management → User Messages.Table of contents
Create an Advanced Mail message
• Edit an existing message
• Design elements
• Add video
Customize email settings
Top navigation bar
Toolbar
Create an Advanced Mail message
Back to top
When you create a new Advanced Mail message, you can start from scratch or use a prebuilt template.
Starting from scratch means building your layout and adding design elements. Prebuilt templates can be completely customized. You can move, edit, and delete any block or design element.
- Go to Contacts → Messages → New message → Advanced Mail.
- Click Start from scratch or select one of the prebuilt templates.
- Create or update your message’s layout.
- Add and personalize design elements.
- Customize the message’s settings.
- Save and publish.
When your message is published, you can send it manually or via automation!
Edit an existing message
Back to top
After you’ve saved or published an Advanced Mail message, you can edit it at any time.
- Go to the messages collection and click on the message you want to edit.
- Customize the message’s layout.
- Add design elements.
- Personalize email settings.
- Publish your message to send it to contacts.
Design elements
Back to top
The Advanced mail editor uses the same block-based builder as Pages. There are fewer design elements for messages because email applications can only handle basic formatting, unlike fully featured web browsers.
Add video
Back to top
Due to security risks, most mailbox providers (Gmail, Outlook, Yahoo, etc.) don’t allow videos to play inside an email.
To include videos in your emails, we recommend adding an image to make it appear as if a playable video is embedded in your email. You can link that image to a page where your contacts can watch your video.
The first step is to add your video to a page. This is where your contacts will watch your video.
- Create or edit an Ontraport Page and add a video element to it.
- Add the video you want to include in your email.
- Take a screenshot of your video element. You’ll use this image in your email.
- If you already have a thumbnail for your video, skip this step and use that image.
- Or use a .gif file to show your video snippet inside your email.
- Save and publish your message.

- Add an image element to your message and the video thumbnail.
- Click into the “Link URL” field to add the link.
- If you add your video to an Ontraport Page, select it from the dropdown.
- Or link to a specific URL if you want to send your contacts to YouTube or another service.
- Click Insert link.
- Click Done to close the settings.
- Save and publish your email.
Customize email settings
Back to top
The Advanced Mail editor has a settings tab that allows you to customize the message’s background, email settings, plain text email and add custom code.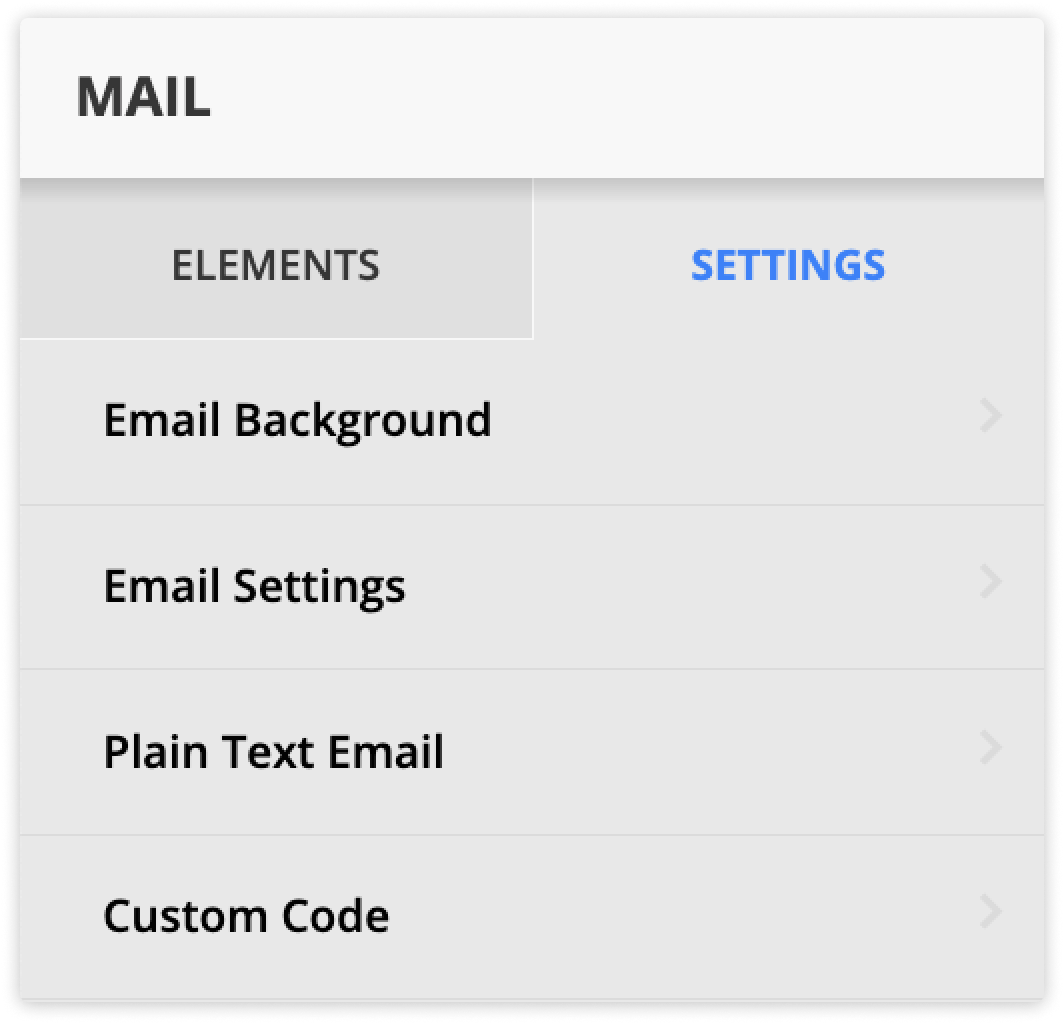
Email background
The email background setting allows you to set a specific color or an image as your message’s background.
Email settings
The Advanced Mail editor includes an email settings section that allows you to customize your sender information and recipient routing, optimize your subject line and preheader text, and manage delivery options like transactional status, link tracking, and plain text backups.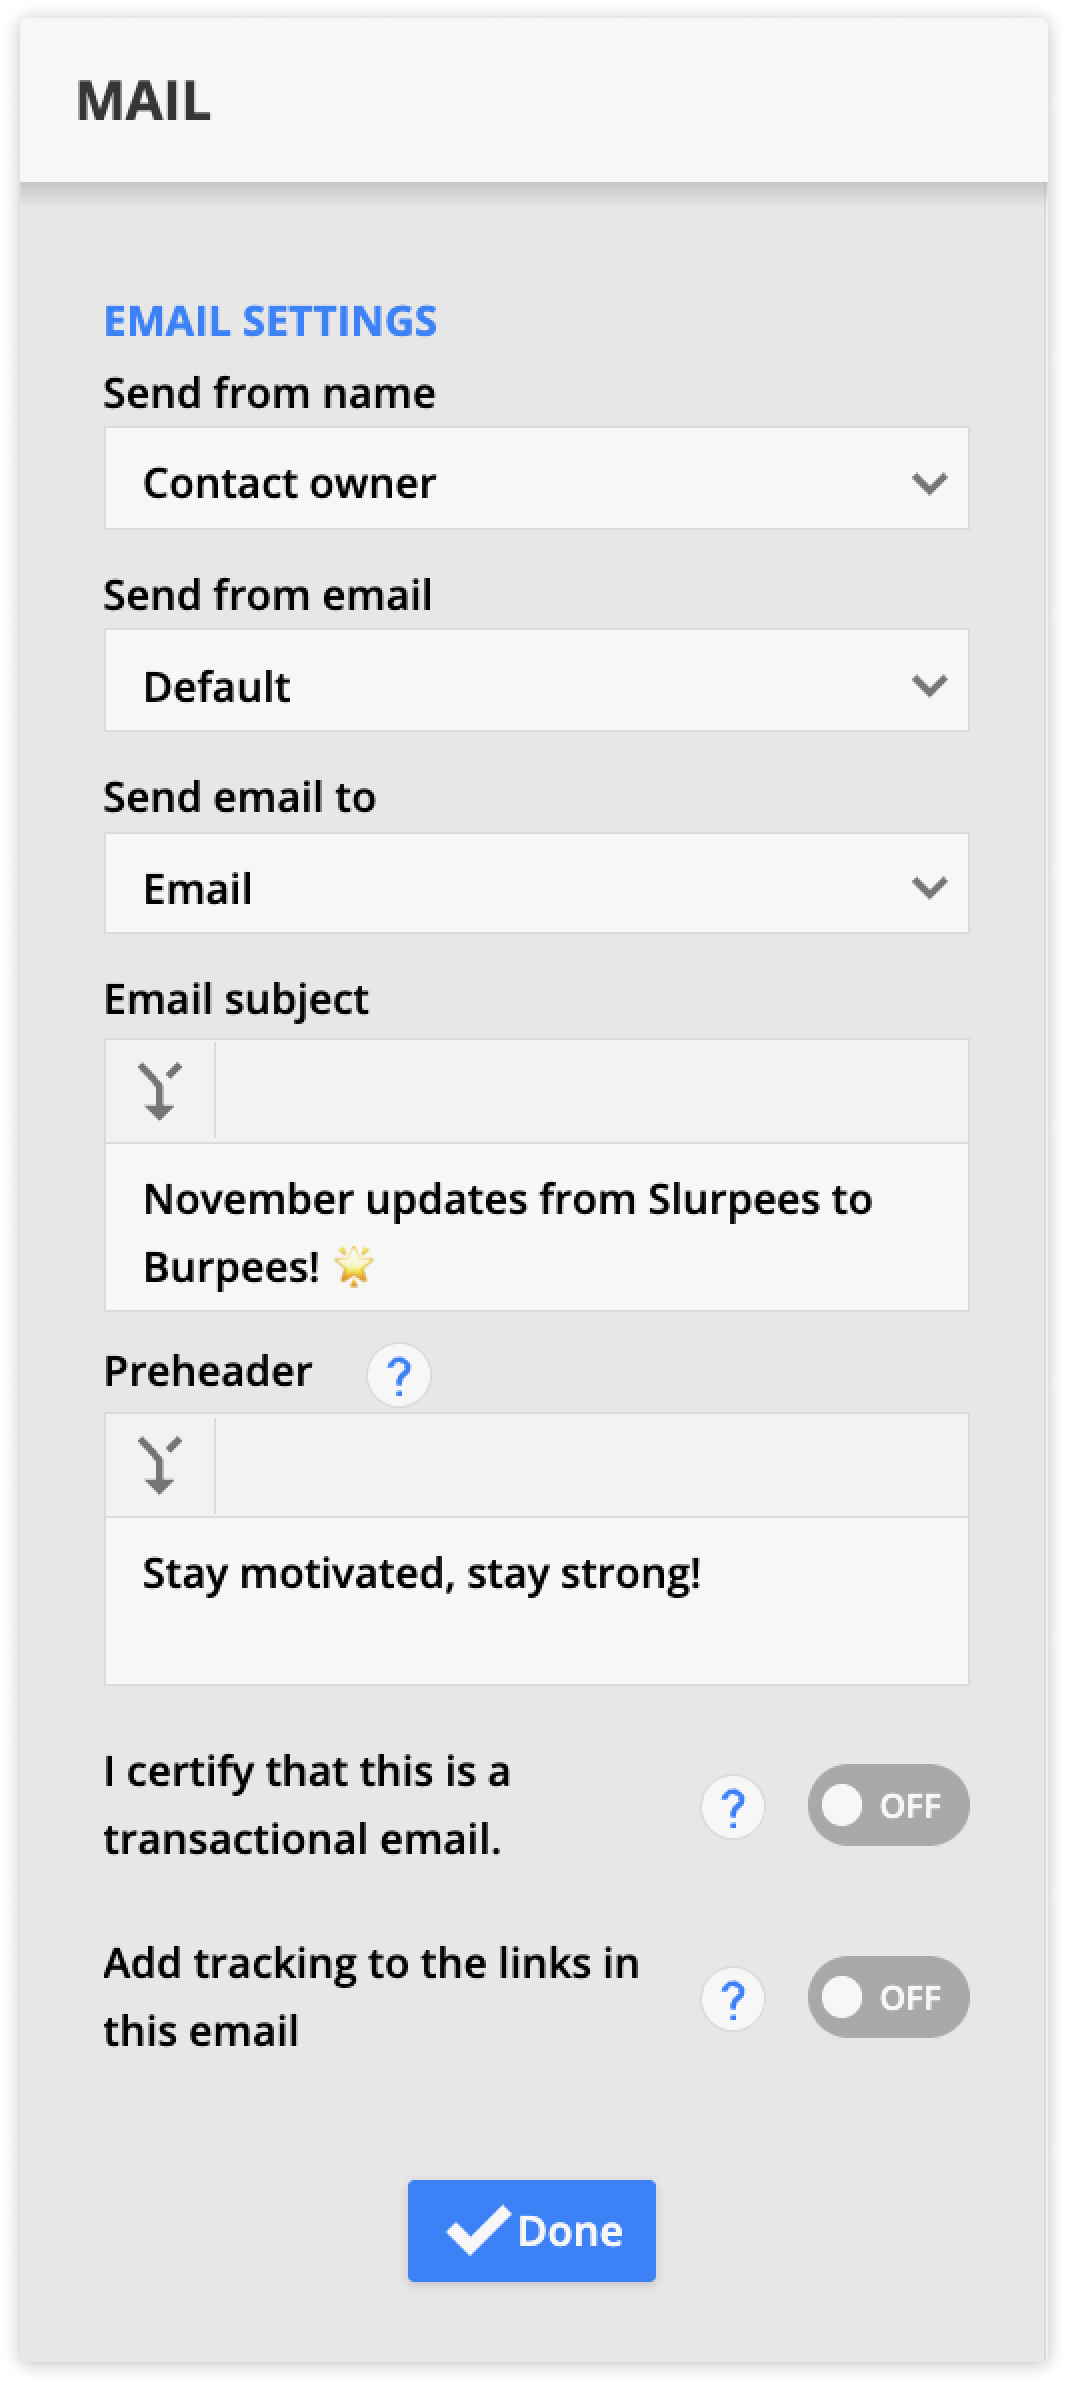
The Send from field determines the send from name, email address, and reply address used for outgoing messages.
Choose from user relationships to dynamically populate sender information.. For example, if you select “Sales Rep,” the message will appear from each contact’s specific sales rep.
Or select a specific user to keep the same sender information for all sends.
When you choose the option “Custom,” you can add a custom “from” name and add any of your send from addresses as the “reply to” email address. You can also select your account's default no reply address that uses the format noreply+[account ID]@ontramail.com.
Select which related email address you want to send your message to. For example, suppose you’re sending an email from a company record. In that case, you can select the email address of a specific contact at the company or all contacts that work for the company.
Add the subject line of your message; this is what contacts will see before they open the email.
This is the text that appears after the subject line in your contacts’ inboxes, and it gives your readers more information about your email.
Transactional email is used for non-marketing emails such as confirmations and purchase receipts, messages about changes to your privacy policy, or sending login credentials to a purchased membership product. These emails are sent to contacts even if they have unsubscribed from your marketing emails. Enable this setting if your email falls into the transactional category.
Enabling this option adds UTM tracking parameters to each link in the email (available to Ontraport Pro accounts and above). All links in the email will add the same utm_campaign, utm_source, utm_medium, utm_content and utm_term to each link.
If you want to edit these links manually, keep the box unchecked.
Plain text email
Ontraport sends this version along with your HTML email so that recipients who have turned off HTML will receive the plain text version of your email. Ensuring your message always has an up-to-date plain text version stored will tremendously help your messages reach the inbox.
You should also update the plain text version each time you update your email's content. Click Copy from HTML, or if you create an Advanced Mail message, you can enable an option to update each time you publish.
The Advanced Mail editor has the most options and allows you to automatically update your plain text each time you publish the message.
- Open the message you want to edit or create a new one.
- Click Settings → Plain text email.
- (Optional) Toggle on the “Wrap long lines” option to make the plain text version more readable.
- (Recommended) Toggle on “Sync plain text on publish” to update your plain text automatically each time you publish.
- Click Edit to update your plain text email manually.
- This option is not available if you sync plain text on publish.
.png)
Custom code
The custom code tab allows you to add custom code to your message’s header, body or footer.
Spam Score
![]()
The spam score appears at the bottom of the Advanced Mail Settings tab. It is provided by the open-source and third-party application SpamAssassin. SpamAssassin works as an email spam filter using sophisticated detection techniques to scan your emails before they go out. The score goes up if your emails are questionable or seem spammy. The spam score for your email, if available, will be listed as a number and may state “this email looks good” to the right of that number.
Emails with a spam score of 5.0 or greater cannot be saved or sent.
The Advanced Mail and Raw HTML Email editors allow you to click Spam Score to discover the spam rules that caused your score and see how to lower it.
Top navigation bar
Back to top
The very top row of the editor is your navigation bar. In the top left corner, you’ll name the page or email and customize the asset’s design from the Design tab.
This top section also allows you to view stats, preview your content, save your work and publish it when you’re ready.
Design tab
You will do most of your work in the design tab in this editor. You will create your layout and add design elements from this tab.
Stats tab
The stats tab shows you stats about your email such as broadcast and link click information.
Preview
The preview button is a great way to view your page or email as if a contact were visiting it or receiving your message.
Click on the arrow next to the preview button to select the record you want to view your asset as. When you click Preview, the editor will fill all related merge fields on the page with information from the selected record.
Save and publish
There are two ways to save your work: Saving and Publishing.
- Click Save to create a draft of your page or email.
- Click Publish to make your changes live.
You can only send published messages, and you can only send traffic to published pages. If you’ve previously published a page or an email, you can save your updates as a draft until you are ready to push your updates.
Toolbar
Back to top
Below the Navigation bar is the Toolbar, where you can customize global settings such as font styles and color palette. This section also allows you to switch between device displays, view version history and share your asset.
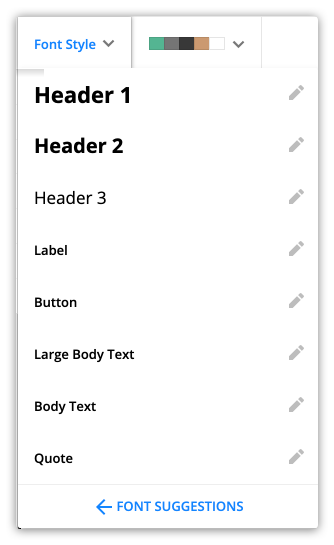
Font style
Your font style tab allows you to create a consistent style for the fonts you use in your email. Customize your fonts from the Font Style dropdown, then connect your text to your desired style. Here’s how:
- Click Font Style from your top toolbar.
- Click
/ontraport+pages+-menu+tools+-+font+style+dropdown+-+pencil+icon.png) next to the font style you want to change.
next to the font style you want to change. - Customize your font’s settings, such as font family and size.
- Click Save.
- You can also customize your mobile fonts. Click here for more information.
Color palette
Your color selector dropdown is similar to your font style, making it easy to keep your colors consistent and adjust your design.
At the top of the editor, you have a color palette with five colors throughout your page or email.
Limiting the colors in your email to these five options keeps your design clean and easy to read. If you want to change your colors later, you can do so here. You won’t have to edit the color of your elements one at a time.
If you want to re-use the colors and font choices in your emails, use the “copy from email” option when you create a new email. This allows you to copy an existing email’s style, and you can simply edit your email’s content.
- Click on your email colors dropdown —
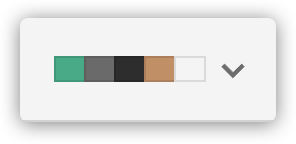 .
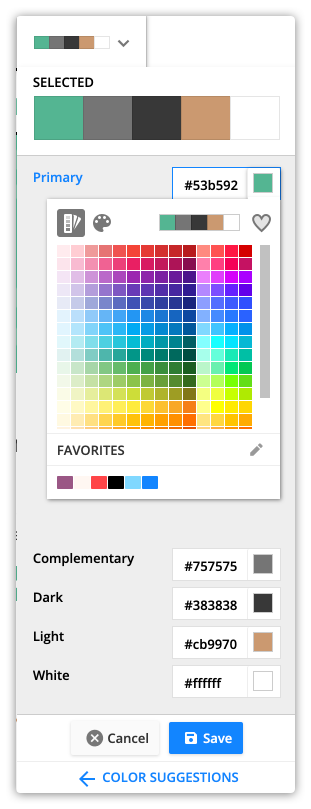
.- This button will always show you the colors you currently have selected.
- Select the primary, complementary, dark, light and white colors.
- Click Save.
Device display — /ontraport_pages_builder_desktop_and_mobile_view(button).png)
The device display is a tool for ensuring that your message’s design looks good on any device.
The default setting is to display both desktop and mobile blocks. This option will show all of your blocks even if you’ve made some mobile or desktop only, and it displays your message using desktop view.
Click Desktop only blocks, and you’ll see only the blocks that are set to be desktop only or display to all devices.
Click Mobile only blocks, and the canvas will shrink to fit the mobile device's display. You’ll see only blocks set to be mobile only or displayed on all devices.
Note that most email applications honor mobile formatting, the following do not:
- Yahoo! Mail App on Android
- Universal Outlook App on Windows Phone
- AOL Alto App on both Android and iOS
- Gmail mobile clients such as “Gmail Email by Google on the App Store” for IOS and “Gmail App” for Android on the Play Store
Send test email — 
The option to send a test email is a great way to confirm that your message will appear in contacts’ inboxes the way you want it to. You can send your test message to any email address — it does not have to be a contact. However, merge fields will not work because the message is not tied to a contact record.
- Click Send test email.
- Add your preferred email address.
- Click Send.
Version history — /ontraport_pages-builder-version_history.png)
You’ll add another unpublished draft to your version history whenever you click Save.
When you click Publish, the new version is added to the “Currently published version” section. If the asset was previously published, the older version is added to the “Previously published versions” section.
You can revert your page to previously published versions. Click on the version you want to revert to, then click Select.
Sharing options — 
The sharing options are a fantastic way to share your assets with other Ontraport users. You can share with individual users or add your page or email to the marketplace for all users. Learn more here.