Ontraport email allows you to create emails either from scratch or by choosing from our library of professionally designed templates. This article will show you how to edit and customize your OntraMail emails.
OntraMail emails are ideal for creating marketing and promotional emails. You can customize your email’s design with a variety of colors, fonts and styling options. And they are mobile responsive, so they’ll appear correctly on any device.
You have four email editors in your account:
- OntraMail
- Quick Email
- Simple Mail
- Raw HTML Email
This article is focused on editing OntraMail emails. Learn all about the other types of emails in this article.
Table of contents
Add blocks
Move blocks
Edit block spacing
Edit your email’s font styles
• Customize your font style
• Customize your text elements
Edit your email’s colors
• Select your colors
• Customize your block colors
Edit your email’s background
Add merge fields
Insert links
Insert and edit images
• Insert images
• Edit images
Add video
• Host your video
• Add your video link
Edit mobile styles
• Edit mobile font style
• Edit mobile block spacing
Configure email settings
Add blocks
Blocks are the boxes that make up the layout of your emails. These blocks include elements such as text, images, banners, dividers, merge fields and more. Once you’ve added a block to the layout, edit it by clicking on the element and then using the settings palette on the left sidebar to customize your design. The OntraMail editor is visual, so you can see your changes as you make them.
There are 17 different types of blocks to choose from. You can also copy blocks from existing messages. Here’s how:
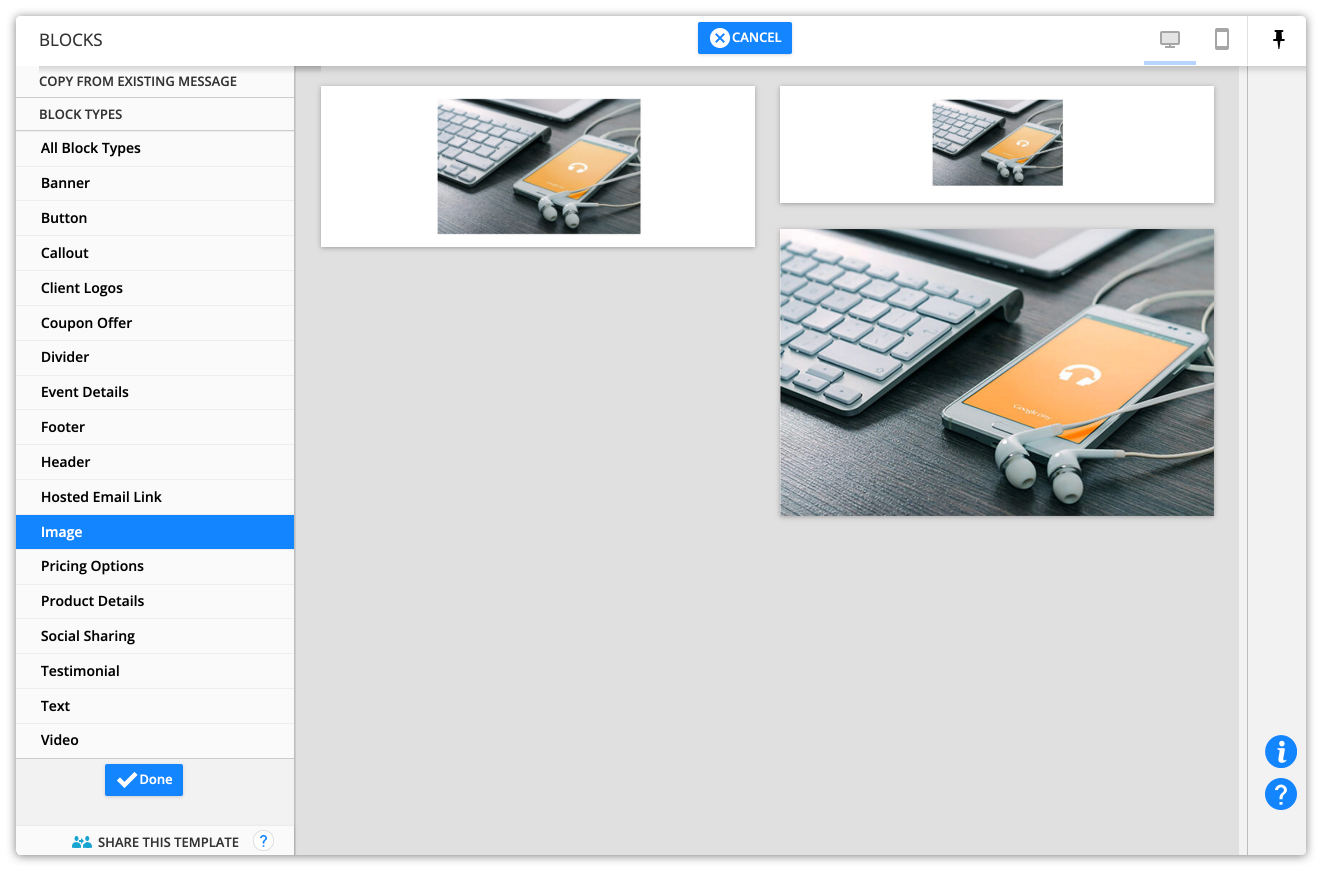
- Click Add Block from the palette on the left.
- Or hover over your canvas, and click Add Block where you want to add your block.
- Click on the category that fits the type of block you want to add, such as “Image.” Then select the specific block you want.
- If you add a block from your palette, it will be added to the bottom of your email. Check out the instructions below to reorder the blocks in your email.
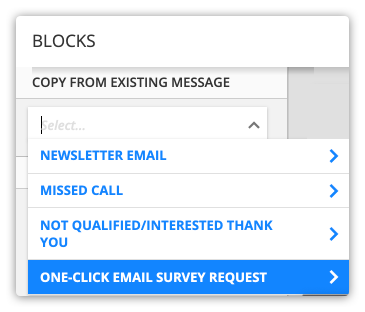
- If you’d like to add a block from another email saved in your account, click Copy from existing message and select the email you want to copy a block from.
- Then click on the block you want to copy.
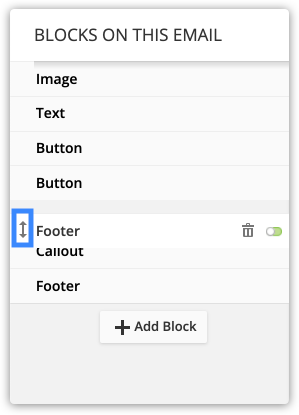
Move blocks
- Mouseover the block you want to move on your palette.
- Click
.png) and drag the block to the position you want.
and drag the block to the position you want.
Edit block spacing
You can tweak your email design by adding spacing on the top and the bottom of your blocks. Here’s how:
- Hover over your block and click Edit.
- Click Block Spacing and adjust the top and bottom spacing of your block.
- Your blocks don’t have left and right spacing. That’s because they are set to “full width,” which means they’ll be easy for your recipients to read. Since the block width setting is fixed at full, it cannot be changed.
- Click Save.
Edit your email’s font styles
Your font style tab allows you to create a consistent style for the fonts you use in your email. Just customize your fonts from the Font Style dropdown, then connect your text to the style you want. Here’s how:
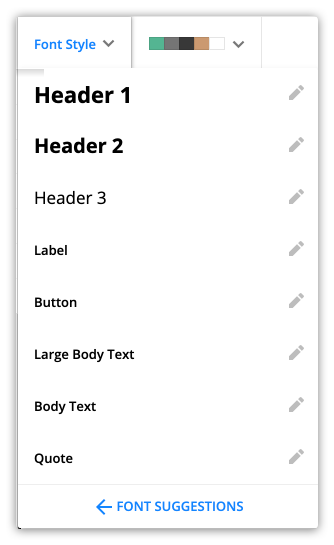
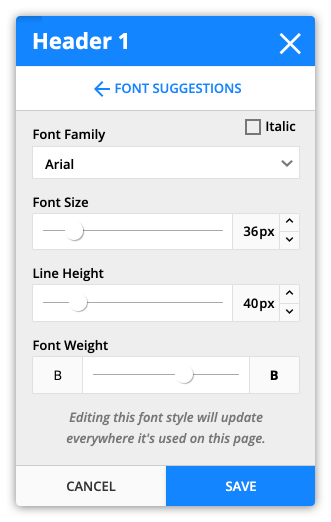
Customize your font style
- Click Font Style from your top toolbar.
- Click
/ontraport+pages+-menu+tools+-+font+style+dropdown+-+pencil+icon.png) next to the font style you want to change.
next to the font style you want to change. - Customize your font’s settings, such as font family and size.
- Click Save.
- Note, you can also customize your mobile only fonts. Click here for more information.
Customize text elements
Once you have your fonts set up, use them to customize your text elements. Here’s how:
- Click a text element to edit it.
- Highlight your text, click Font Style and select the font style you want to use.
Some text elements live inside of other elements, such as text on buttons. When you edit those text elements, your Front Style drop down will be on the left side of your screen.
Edit your email’s colors
Your color selector dropdown is similar to your font style and makes it easy to keep your colors consistent and to adjust your design.
At the top of your OntraMail editor you a color palette that includes:
- A primary color
- A complementary color
- A dark color
- A light color
- A white color
Limiting the colors you use in your email to these five options keeps your design clean and easy to read. If you want to change your colors later on, it can all be handled here. You won’t have to edit the color of each of your elements one at a time.
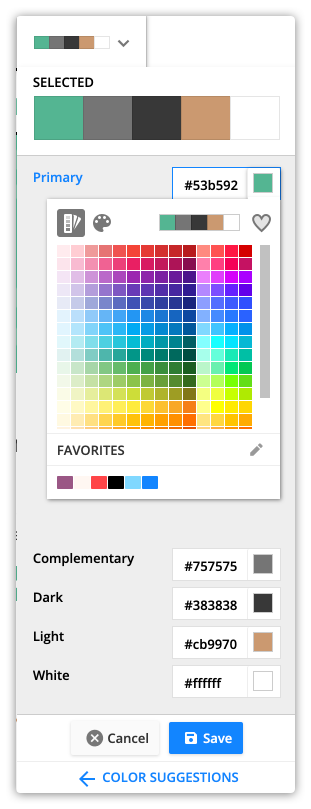
Select your colors
- Click on your email colors dropdown —
 .
.- This button will always show you the colors you currently have selected.
- Select your primary, complementary, dark, light and white colors you want to use.
- Click Save.
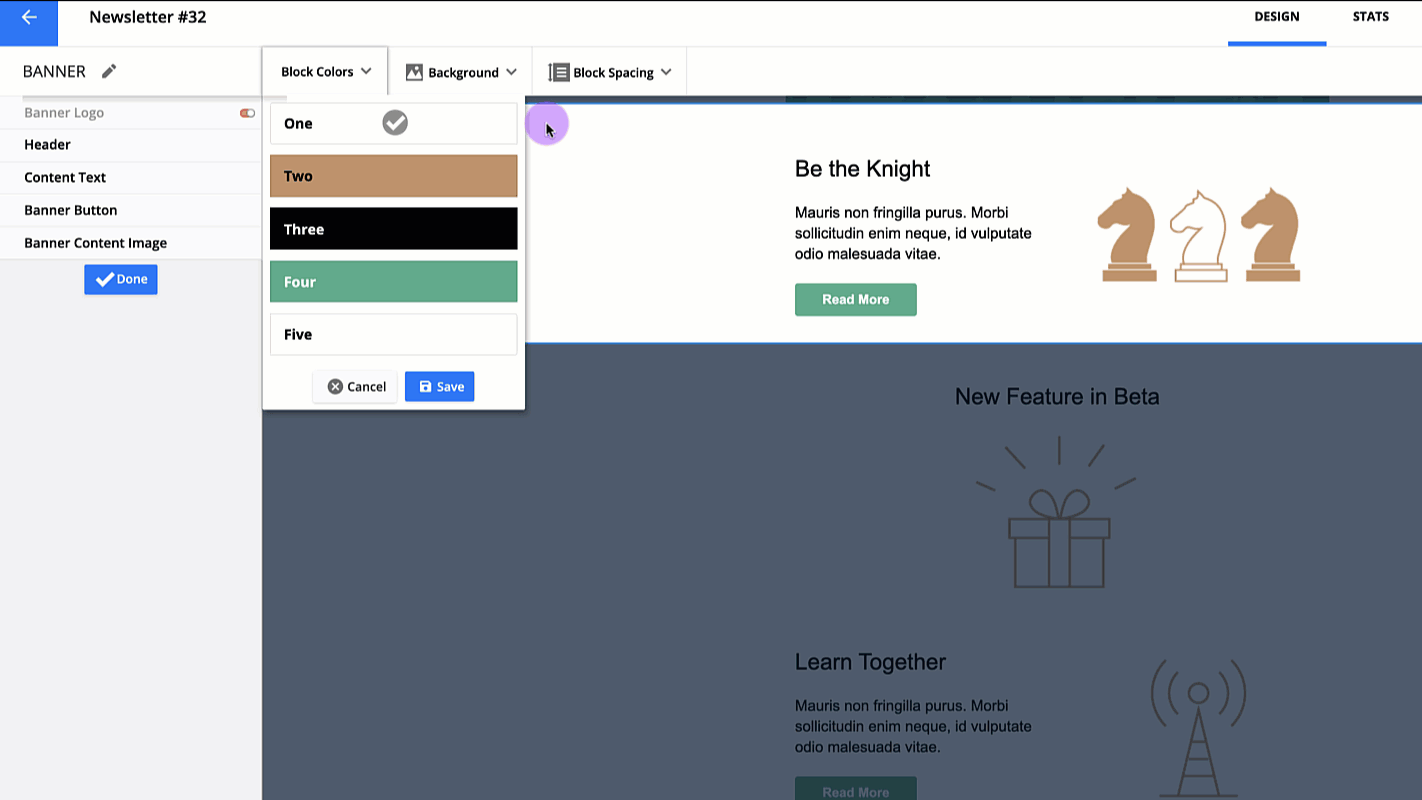
Customize your block colors
Once you’ve set up your email’s colors, click into each block and customize how you want to use them. Here’s how:
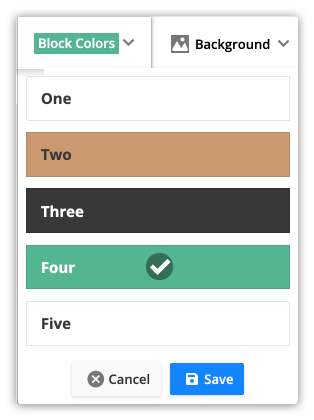
- Hover over your block and click Edit.
- Click the Block Colors dropdown.
- Select a color from the dropdown to change the main color of your block.
- Click Save.
Edit your email’s background
You can set image, color or transparent backgrounds for your OntraMail emails. This setting applies to the background of your whole email.
- Or edit your block’s background by clicking to edit a block, then click Background. Then follow the steps below.

- Click Email Background.
- Click
 to select an image.
 - Click
 to select a color.
 - Click
 to select a transparent background.
- Click
- Click Save.
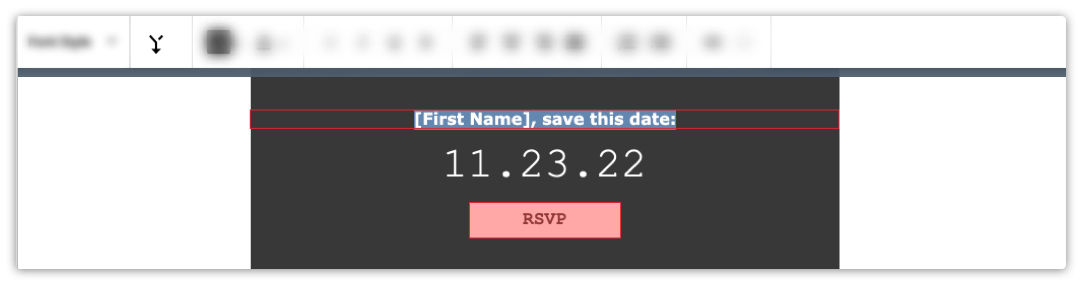
Add merge fields
Personalize your emails by adding merge fields. We recommend that you always use the merge field dropdown to insert your merge fields rather than type them out manually.
This ensures that your merge fields are properly formatted. If you send an email with an improperly formatted merge field, your recipients will see the exact text you added. For example, if you typed in [First name], your contacts will all receive emails that say, “Hi [First name]!
Here’s how to add your merge fields properly:
- Click a text element to edit it.
- Click
.png) and select the field you want to merge into your email.
and select the field you want to merge into your email.
Insert links
Back to top
You can add links to your email messages.
Note that there are fewer protocol options for email links than links on pages.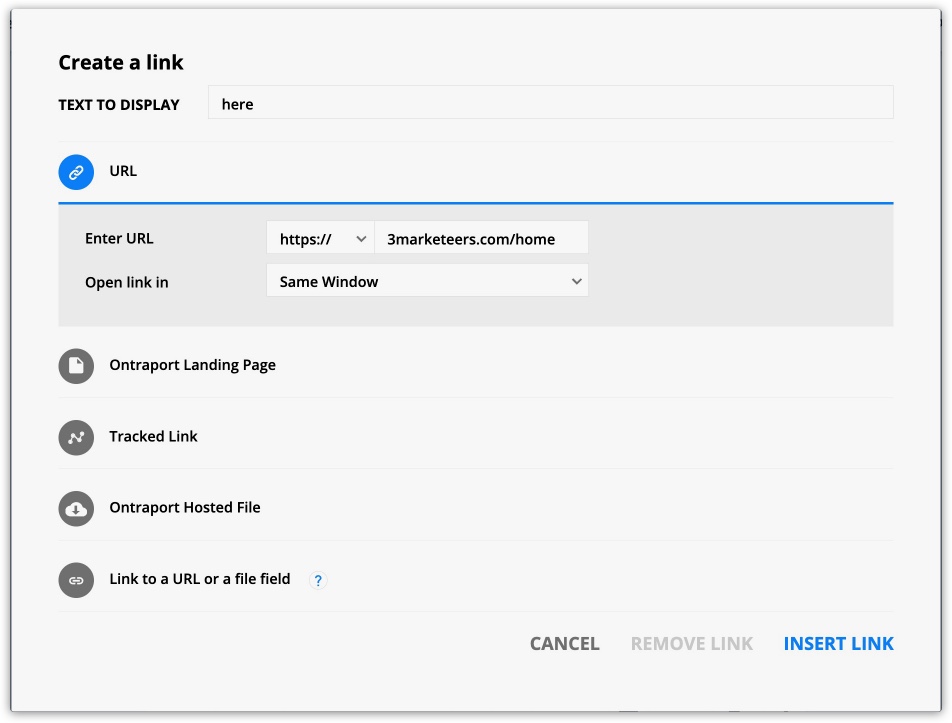
Select protocol for URL links
Check out this article to learn more about protocols for URL links, including email and page links.
Insert and edit images
Add interest to your emails by including images. There are several image blocks you can add to emails, and other block types often include an image element.
Here are the requirements for uploading images:
- File types:.png, .jpg, .jpeg and .gif
- Maximum image size: 1920px by 1200px
- Maximum file size: 1.5 megabytes
Insert images
Follow these steps to add an image to your email.
- Add a block with an image element to your email.
- If you want to view the steps to add a block, click here.
- Click your image element to edit it.
- Click
 above the placeholder image in the palette.
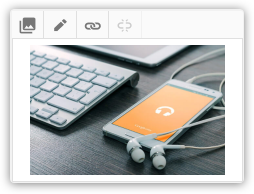
- Choose from an image you’ve already uploaded or click Upload Image to add an image from your computer.
- Hover over the image you want to add and click Insert.
Edit your images
You can also use the built-in photo editor to make changes to your added image. Here’s how:
- Click your image to edit it and click
.png) above your image in the palette.
above your image in the palette.
- Use the photo editor’s tools to fine tune your image.
- Transform: This is where you can crop, flip and rotate images.
- Filters: Choose from up to 50 different mood settings. Use the slider to adjust the amount of effect.
- Adjust: Use the sliders to adjust brightness and contrast or to fine tune highlights, shadows, sharpness, etc.
- Focus: Add effects that blur backgrounds and focus in on parts of an image. Use the slider to adjust the amount.
- Text: Add text to a photo and adjust its font, color, etc.
- Frames: Create a frame around your photos, with the ability to adjust width and opacity.
- Overlay: Add various layers on top of an image. Use the slider to adjust the level of effect.
- Click Save when you are done.
Note, you can determine your image’s original size by clicking the transform icon in the editor and noting the dimensions at the bottom of the edit panel.
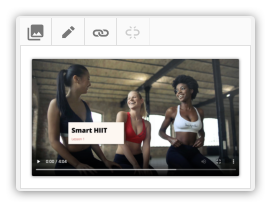
Add video
Most mailbox providers (Gmail, Outlook, Yahoo, etc.) don’t allow videos to play inside an email due to security risks.
To include videos in your emails, we recommend that you add an image to make it appear as if there is a playable video embedded in your email. You can link that image to a page where your contacts can watch your video.
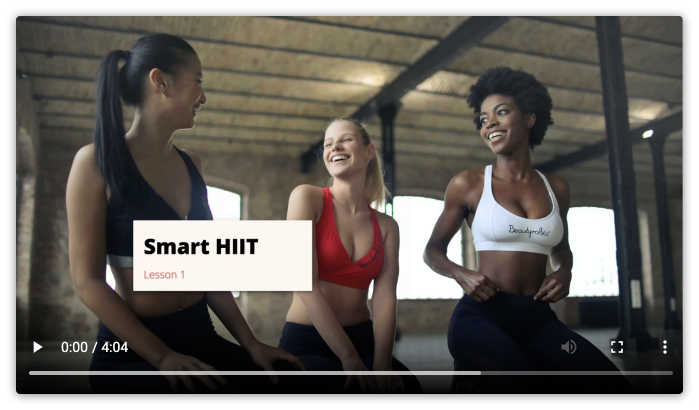
Host your video
The first step is to add your video to a page. This is where your contacts will actually watch your video.
- Create or edit an Ontraport Page and add a video element to it.
- Add the video you want to include in your email.
- Take a screenshot of your video element. You’ll use this image in your email.
- If you already have a thumbnail for your video, skip this step and use that image.
- Or use a .gif file to show a snippet of your video inside of your email.
- Save and publish your page.
Add your video link to your email
The next step is to add your thumbnail to your email and link it to your video. Here’s how:
- Add a block that contains an image element and add your video thumbnail to it.
- If you want to view the steps to add a block, click here.
- Click
.png) above your image on the palette to add your link.
above your image on the palette to add your link.- If you add your video to an Ontraport Page, select it from the dropdown.
- Or link to a specific URL if you want to send your contacts to YouTube or another service.
- Click Insert Link.
- Click Save on your palette.
Edit mobile styles
Use mobile font settings to ensure that your emails look the way you want, whether viewed on mobile or desktop. With these settings, you can adjust the font style, size, and mobile block spacing for backgrounds for mobile displays. All other settings, such as font colors, backgrounds, images, etc., will remain the same between the mobile and desktop displays.
On the right side of the OntraMail editor, there are buttons that allow you to switch between desktop and mobile view.
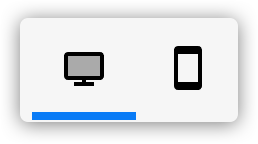
When you click .png) you’ll switch to the mobile device display. Your email’s canvas will scale to 360 px wide, the average side of mobile devices.
you’ll switch to the mobile device display. Your email’s canvas will scale to 360 px wide, the average side of mobile devices.
While most email applications honor mobile formatting, the following do not:
- Yahoo! Mail App on Android
- Universal Outlook App on Windows Phone
- AOL Alto App on both Android and iOS
- Gmail mobile clients such as “Gmail Email by Google on the App Store” for IOS and “Gmail App” for Android on the Play Store
Edit your mobile font style
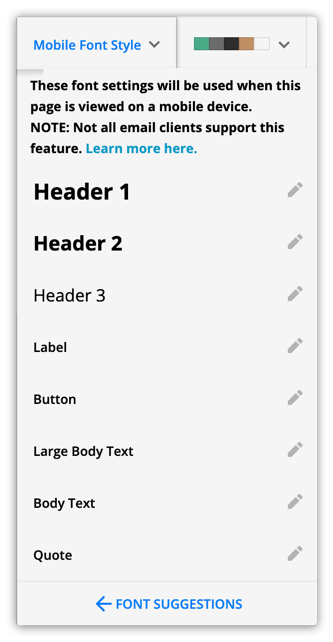
- Select and click on the OntraMail message that you would like to format for mobile.
- Click
.png) to change the view of your message to mobile display.
to change the view of your message to mobile display.- The canvas will shrink to the average size of a mobile device — 360px wide.
- Click Mobile Font Style, and click
.png) next to the font style that you would like to edit.
next to the font style that you would like to edit.- From inside of the font settings you can edit:
- Font Family
- Font Size
- Line Height
- Font Weight
- From inside of the font settings you can edit:

- Click Save.
Edit mobile block spacing
- Click to switch to your mobile display.
- Click a block to edit it.
- Click and adjust the top and bottom spacing of your block.
- Your blocks don’t have left and right spacing. That’s because they are set to “full width,” which means they’ll be easy for your recipients to read.
- Click Save.
Note, background images are not mobile responsive and will not resize relative to the display they are viewed on, but you can adjust how the background is displayed by adjusting the mobile block spacing.
Configure your email settings
Before you finish editing your email, you’ll need to configure your email settings.