Simplify tax calculations, automate financial reports, and ensure tax law compliance by integrating your Ontraport account with tax service tools. With tax integrations, you can manage taxes and make informed financial decisions quickly and efficiently.
Note: Ontraport only offers support for built-in integrations. For assistance with an outside integration, please reach out to their support team using the contact information provided below.
Table of contents
Stripe Tax
• Enable and configure your integration
• Add tax codes to your products
• Fields required to calculate taxes
• Add your products to order forms
• Calculate tax on manual transactions
• Offline transactions
TaxJar
• Enable and configure your TaxJar integration
• Add tax codes to your products
• Fields required to calculate taxes
• Add your products to order forms
• Calculate tax on manual transactions
• Offline transactions
Stripe Tax
Stripe Tax empowers your businesses to generate revenue around the globe without being impacted by complex tax compliance laws. It dynamically calculates tax based on customer locations and clearly displays it for your customers so they always know what they are paying.
Behind the scenes, it monitors transactions, pre-fills required tax registrations, and helps you submit new ones when necessary.
Enable the Stripe Tax integration
- Go to
.png) → Administration → Business Info → Business Information.
→ Administration → Business Info → Business Information.- Enter your business address, business city, business zip/postal code, business state and business country.
- Click Save.
- Go to → Administration → Integrations → Stripe Tax.
- Click Stripe connect.
- Follow the steps in the integration wizard to connect your Stripe account to Ontraport.
- The steps that you will see depend on what information you have set up in your Stripe account.
- Click Save in your Stripe tax settings.
Add tax codes to your products
Back to top
Applying product-specific tax codes ensures you are charging customers the correct rate. Use Stripe's product tax codes to look up the codes for your product categories.
- Go to your product collection.
- Click on your product and add a code into the Stripe tax code field.
- If you don't add a tax code here, your account will use the default tax code saved in your Stripe account.
- Add txcd_00000000 if your product is not taxable.
- Click Save.
Fields required to calculate taxes
Back to top
Whether selling products on an order form or logging a manual transaction, you must send your customers’ location information to Stripe to calculate the taxes. Use the chart below to determine which location fields you must include on your form.
Add your products to order forms
Back to top
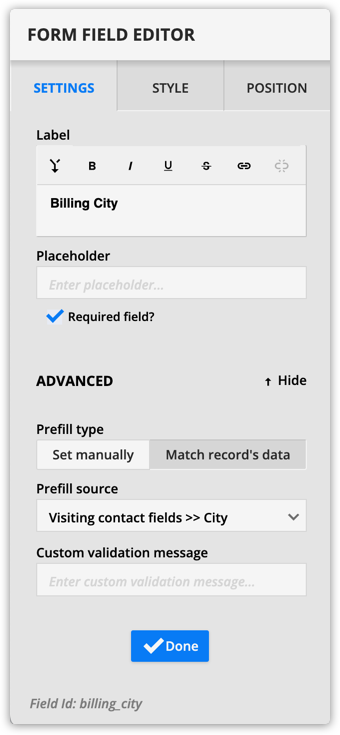
You must collect your customers’ location information on your order forms to calculate taxes. Set the location fields to “required” to ensure that you collect the required information.
- Add your taxable product to your order form.
- Add billing and/or shipping address fields to your order form.
- Click on the fields that are required to calculate the taxes.
- Check the “Required field?” checkbox.
- (Optional) Prefill the address fields to make filling out your form easier for your customers.
- Click Done.
- Save and publish your page.
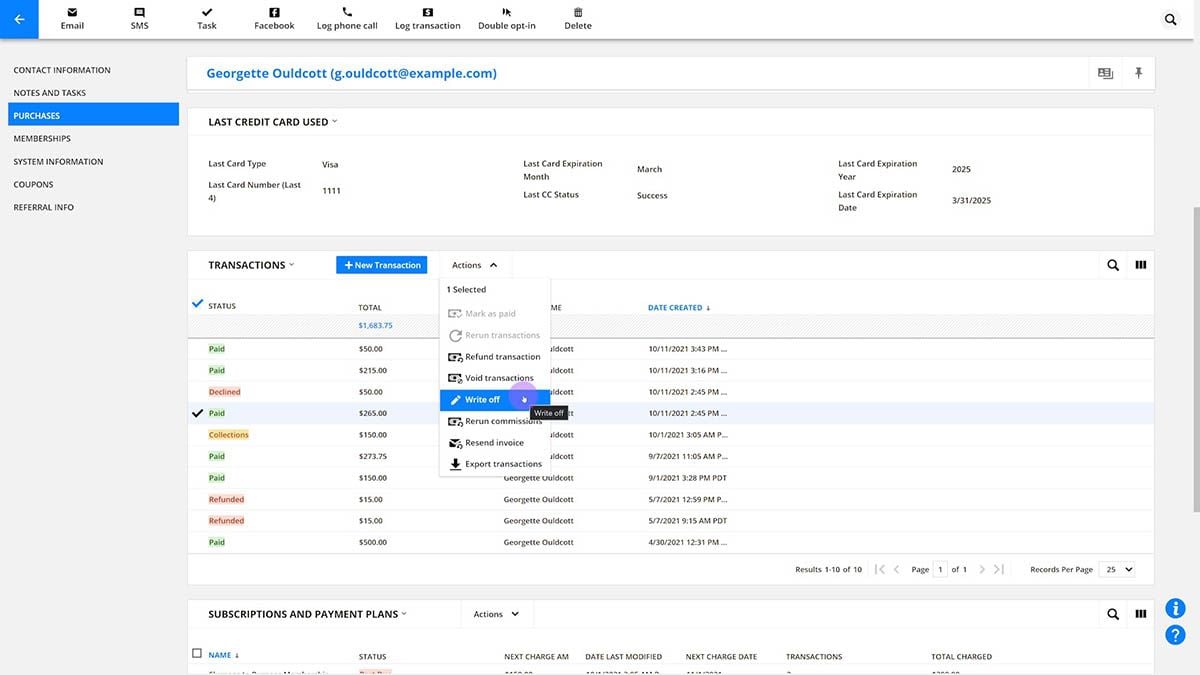
Calculate tax on manual transactions
Back to top
Stripe can calculate the taxes on the manual transactions you create, but you must provide the same location information as you do on forms. The difference for manual transactions is that the required location fields are in your customers' credit card information instead of on your form.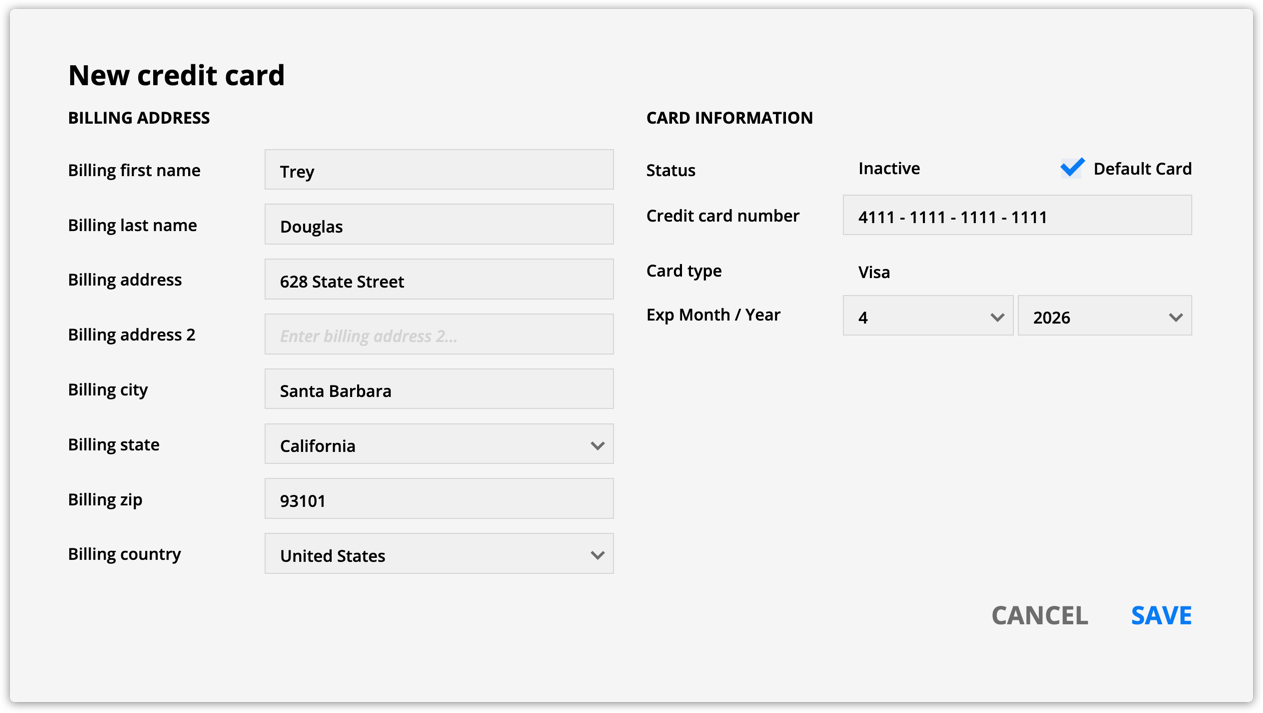
Offline transactions
Back to top
Since offline transactions don’t have credit card information to pull from, when you log one, Ontraport will ask you to fill in location fields. This allows Stripe to calculate the taxes.![]()
For assistance integrating Stripe Tax with Ontraport, contact Ontraport Support or Stripe Support.
TaxJar
Managing taxes based on a customer’s location can be difficult due to the varying tax rates across cities, states, regions and countries. This variability can be overwhelming and may restrict you to only selling products to customers in specific locations. By integrating TaxJar’s services, you can accurately collect taxes and open up new opportunities for sales.
Enable and configure your TaxJar integration
- Go to → Administration → Business Info → Business Information.
- Enter your business address, business city, business zip/postal code, business state and business country.
- Click Save.
- Go to → Administration → Integrations → TaxJar.
- Add your TaxJar live token to the “Live token” field.
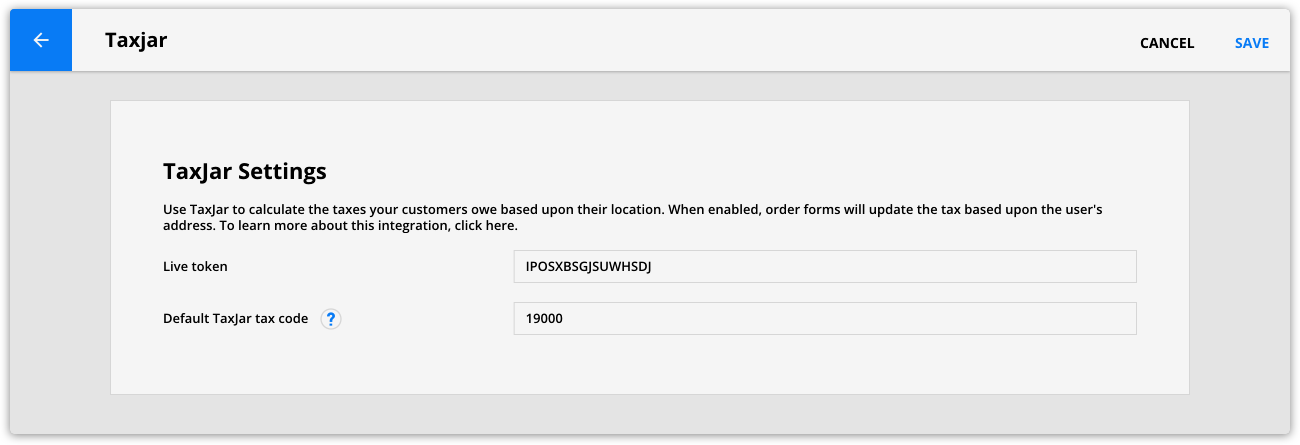
- (Optional) Update your default tax code.
- TaxJar will use this code if your products don’t contain a tax code. We recommend keeping the default tax code unless you have a good reason to change it. (For example, if you only sell one product type, such as live training services.) Use TaxJar’s tax categories page to locate applicable codes.
- Click Save.
Add tax codes to your products
Applying product-specific tax codes ensures you are charging customers the correct rate. Use TaxJar’s tax categories page to look up the codes for your product categories.
- Go to your product collection.
- Click on your product and add a code into the TaxJar tax code field.
- If you don’t add a tax code here, your account will use the one set in your integration settings.
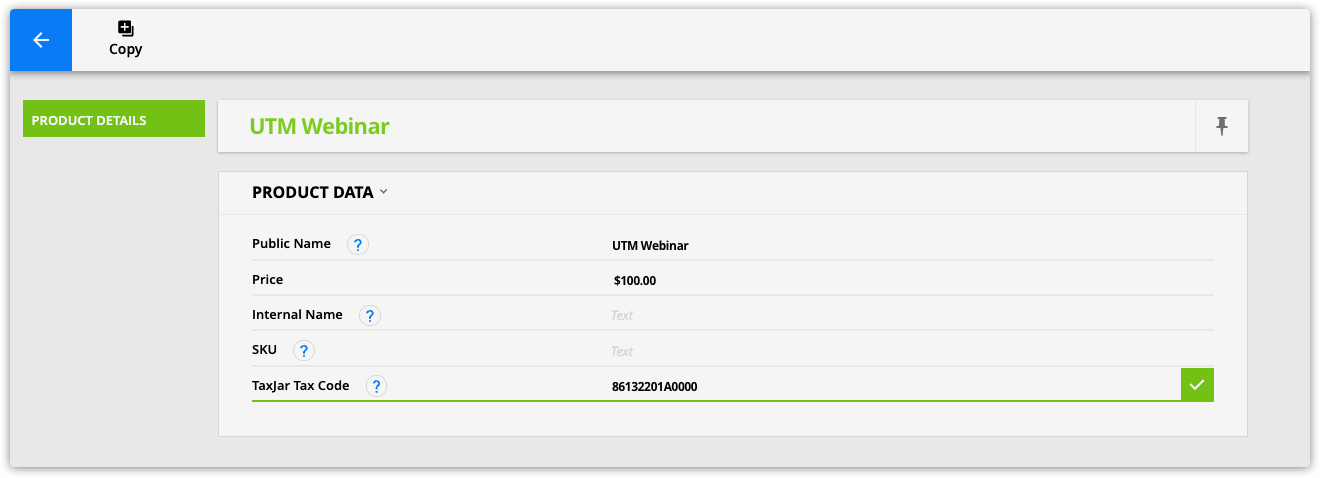
- Click
 to save your value.
 - Repeat steps 1-3 for the products that need codes.
Fields required to calculate taxes
Whether selling products on an order form or logging a manual transaction, you must send your customers’ location information to TaxJar to calculate the taxes. Use the chart below to determine which location fields you must include on your form.
| United States | Canada | All other countries | |
|---|---|---|---|
| Required fields |
|
|
|
Add your products to order forms
You must collect your customers’ location information on your order forms to calculate taxes. Set the location fields to “required” to ensure that you collect the required information.
- Add billing and/or shipping address fields to your order form.
- Click on the fields that are required to calculate the taxes.
- Check the “Required field?” checkbox.
- (Optional) Prefill the address fields to make filling out your form easier for your customers.
- Click Done.
- Save and publish your page.
Calculate tax on manual transactions
TaxJar can calculate the taxes on the manual transactions you create, but you must provide the same location information as you do on forms. The difference for manual transactions is that the required location fields are in your customers’ credit card information instead of on your form.
Offline transactions
Since offline transactions don’t have credit card information to pull from, when you log one, Ontraport will ask you to fill in location fields. This allows TaxJar to calculate the taxes.
![]()
For assistance integrating TaxJar with Ontraport, contact Ontraport Support or TaxJar Support.
Pro tip
Shipping address fields have precedent over billing address information. If you provide shipping and billing addresses on your forms or manual transactions, TaxJar will calculate the taxes based on your customers’ shipping address.
Discover Other Ontraport Integrations
Know of any tax services tools that integrate with Ontraport that aren’t listed here? Please email pr@ontraport.com to let us know.