Filter elements help you control the flow of your automation by checking conditions and branching logic before deciding what should happen next.
With these tools, you can create more personalized and responsive automations that adapt to each contact's behavior, attributes, and stage in the customer journey.
Use filter elements to:
- Pause contacts until a specific date or time
- Branch based on conditions like purchase history or tags
- Create side processes while keeping contacts on the main path
- Direct contacts to the right next step once they've completed a map
In this article, you'll learn how each filter element works, including Wait, Condition, Fork, Go to, and End elements. You'll also learn how to use them to create automation to fit your personal use cases.
Table of contents
Using filters in your automation maps
Go To
Condition
Fork
Split
Wait
End
Goal
Using filters in your automation maps
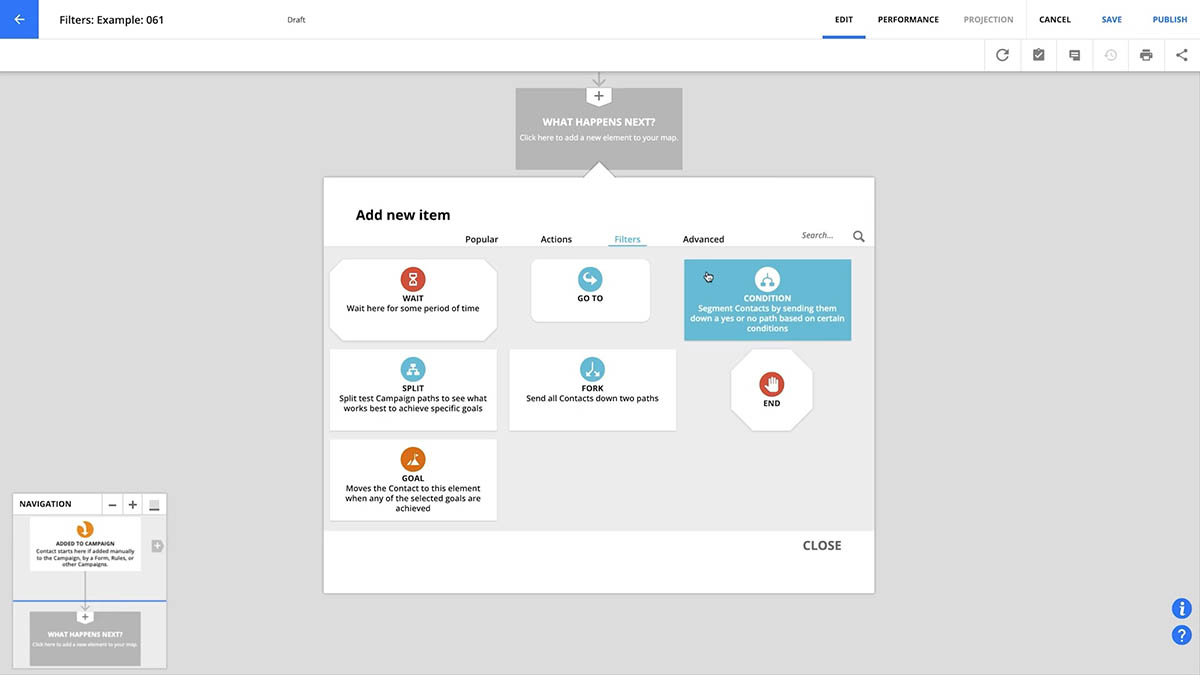
To add a filter to a new or existing automation map, either click the + between elements where you want your filter to be, or click What Happens Next? → Filter tab → Choose a filter.
Go To
Back to top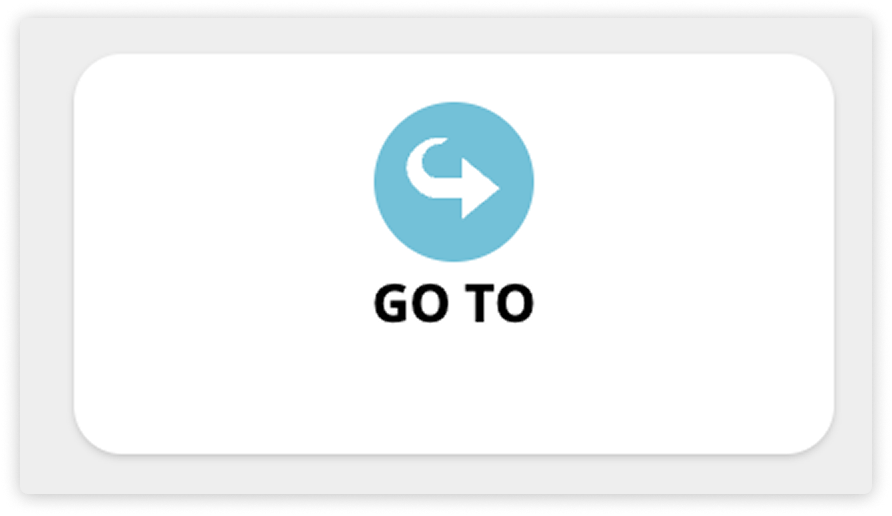
Use Go to elements to create your own automation paths.
Go to elements lets you create your own non-linear lines of automation. Add them to empty What happens next? boxes, then drag the handle below the Go to element to connect it to another element in your map.
This is especially helpful when you want to link your default trigger to the rest of your automation, which allows you to add contacts to your map manually.
Keep in mind:
- You can’t place Go to elements in the middle of existing automation lines.
- You can’t connect Go to paths to triggers or goals.

Condition
Back to top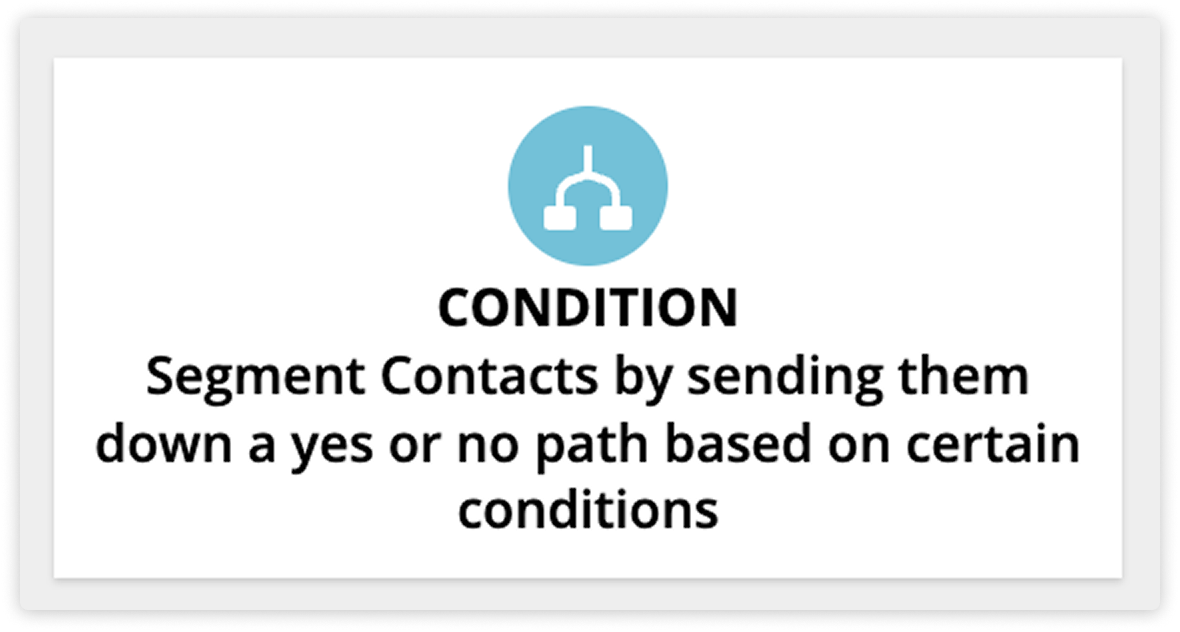
Use condition elements to segment records based on condition criteria.
This element creates two paths, Yes and No, depending on whether the contact meets the condition you set.
For example, you can send customers who’ve spent over $1,000 a thank-you email with a personal coupon while others continue down a different path.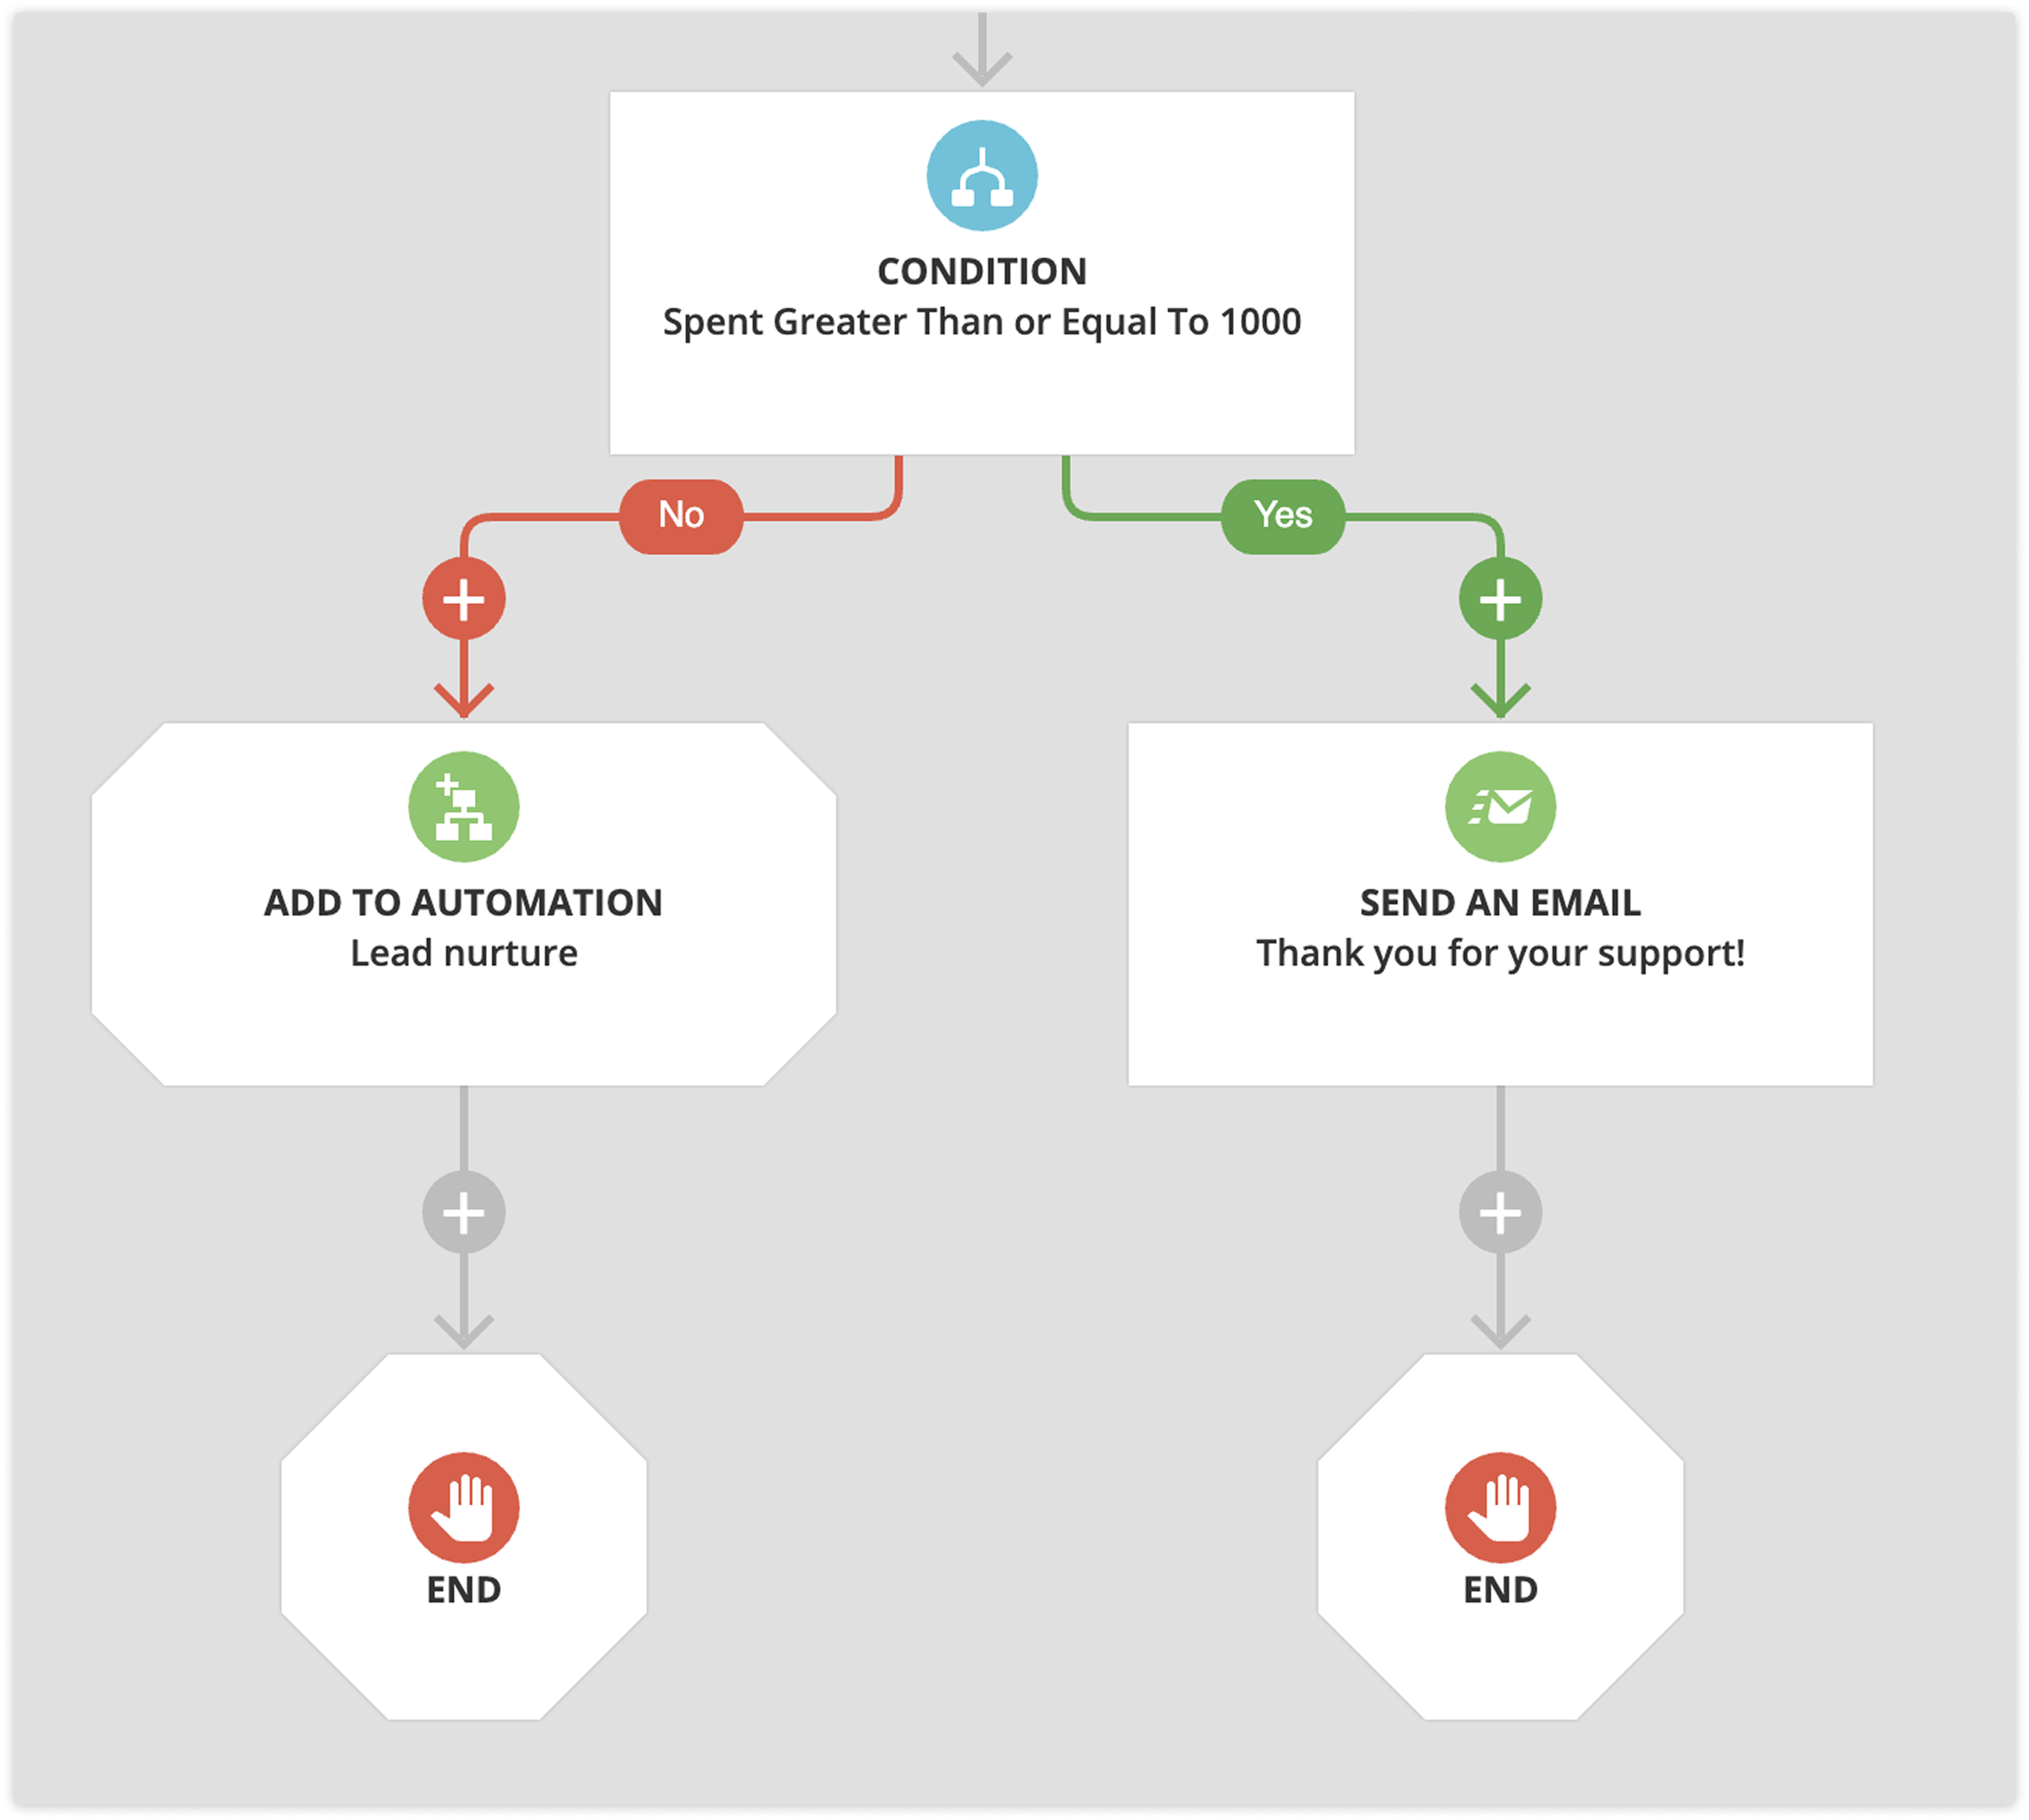
Fork
Back to top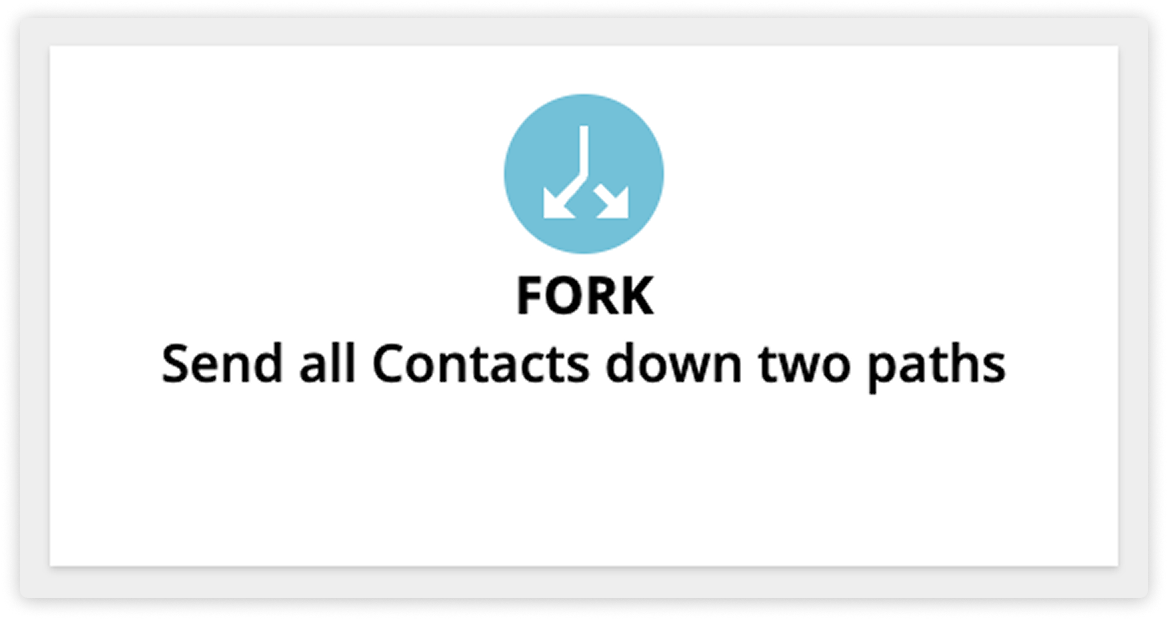
Use fork elements to send contacts down two automation paths at the same time.
The most common use case for fork elements is when you want to add a contact to another automation via the “Added to automation” element, but still keep the contact on the original map.
For example you can keep customers on a lead nurture automation for long-term engagement and upsells, and also send them to a fulfillment map when they purchase.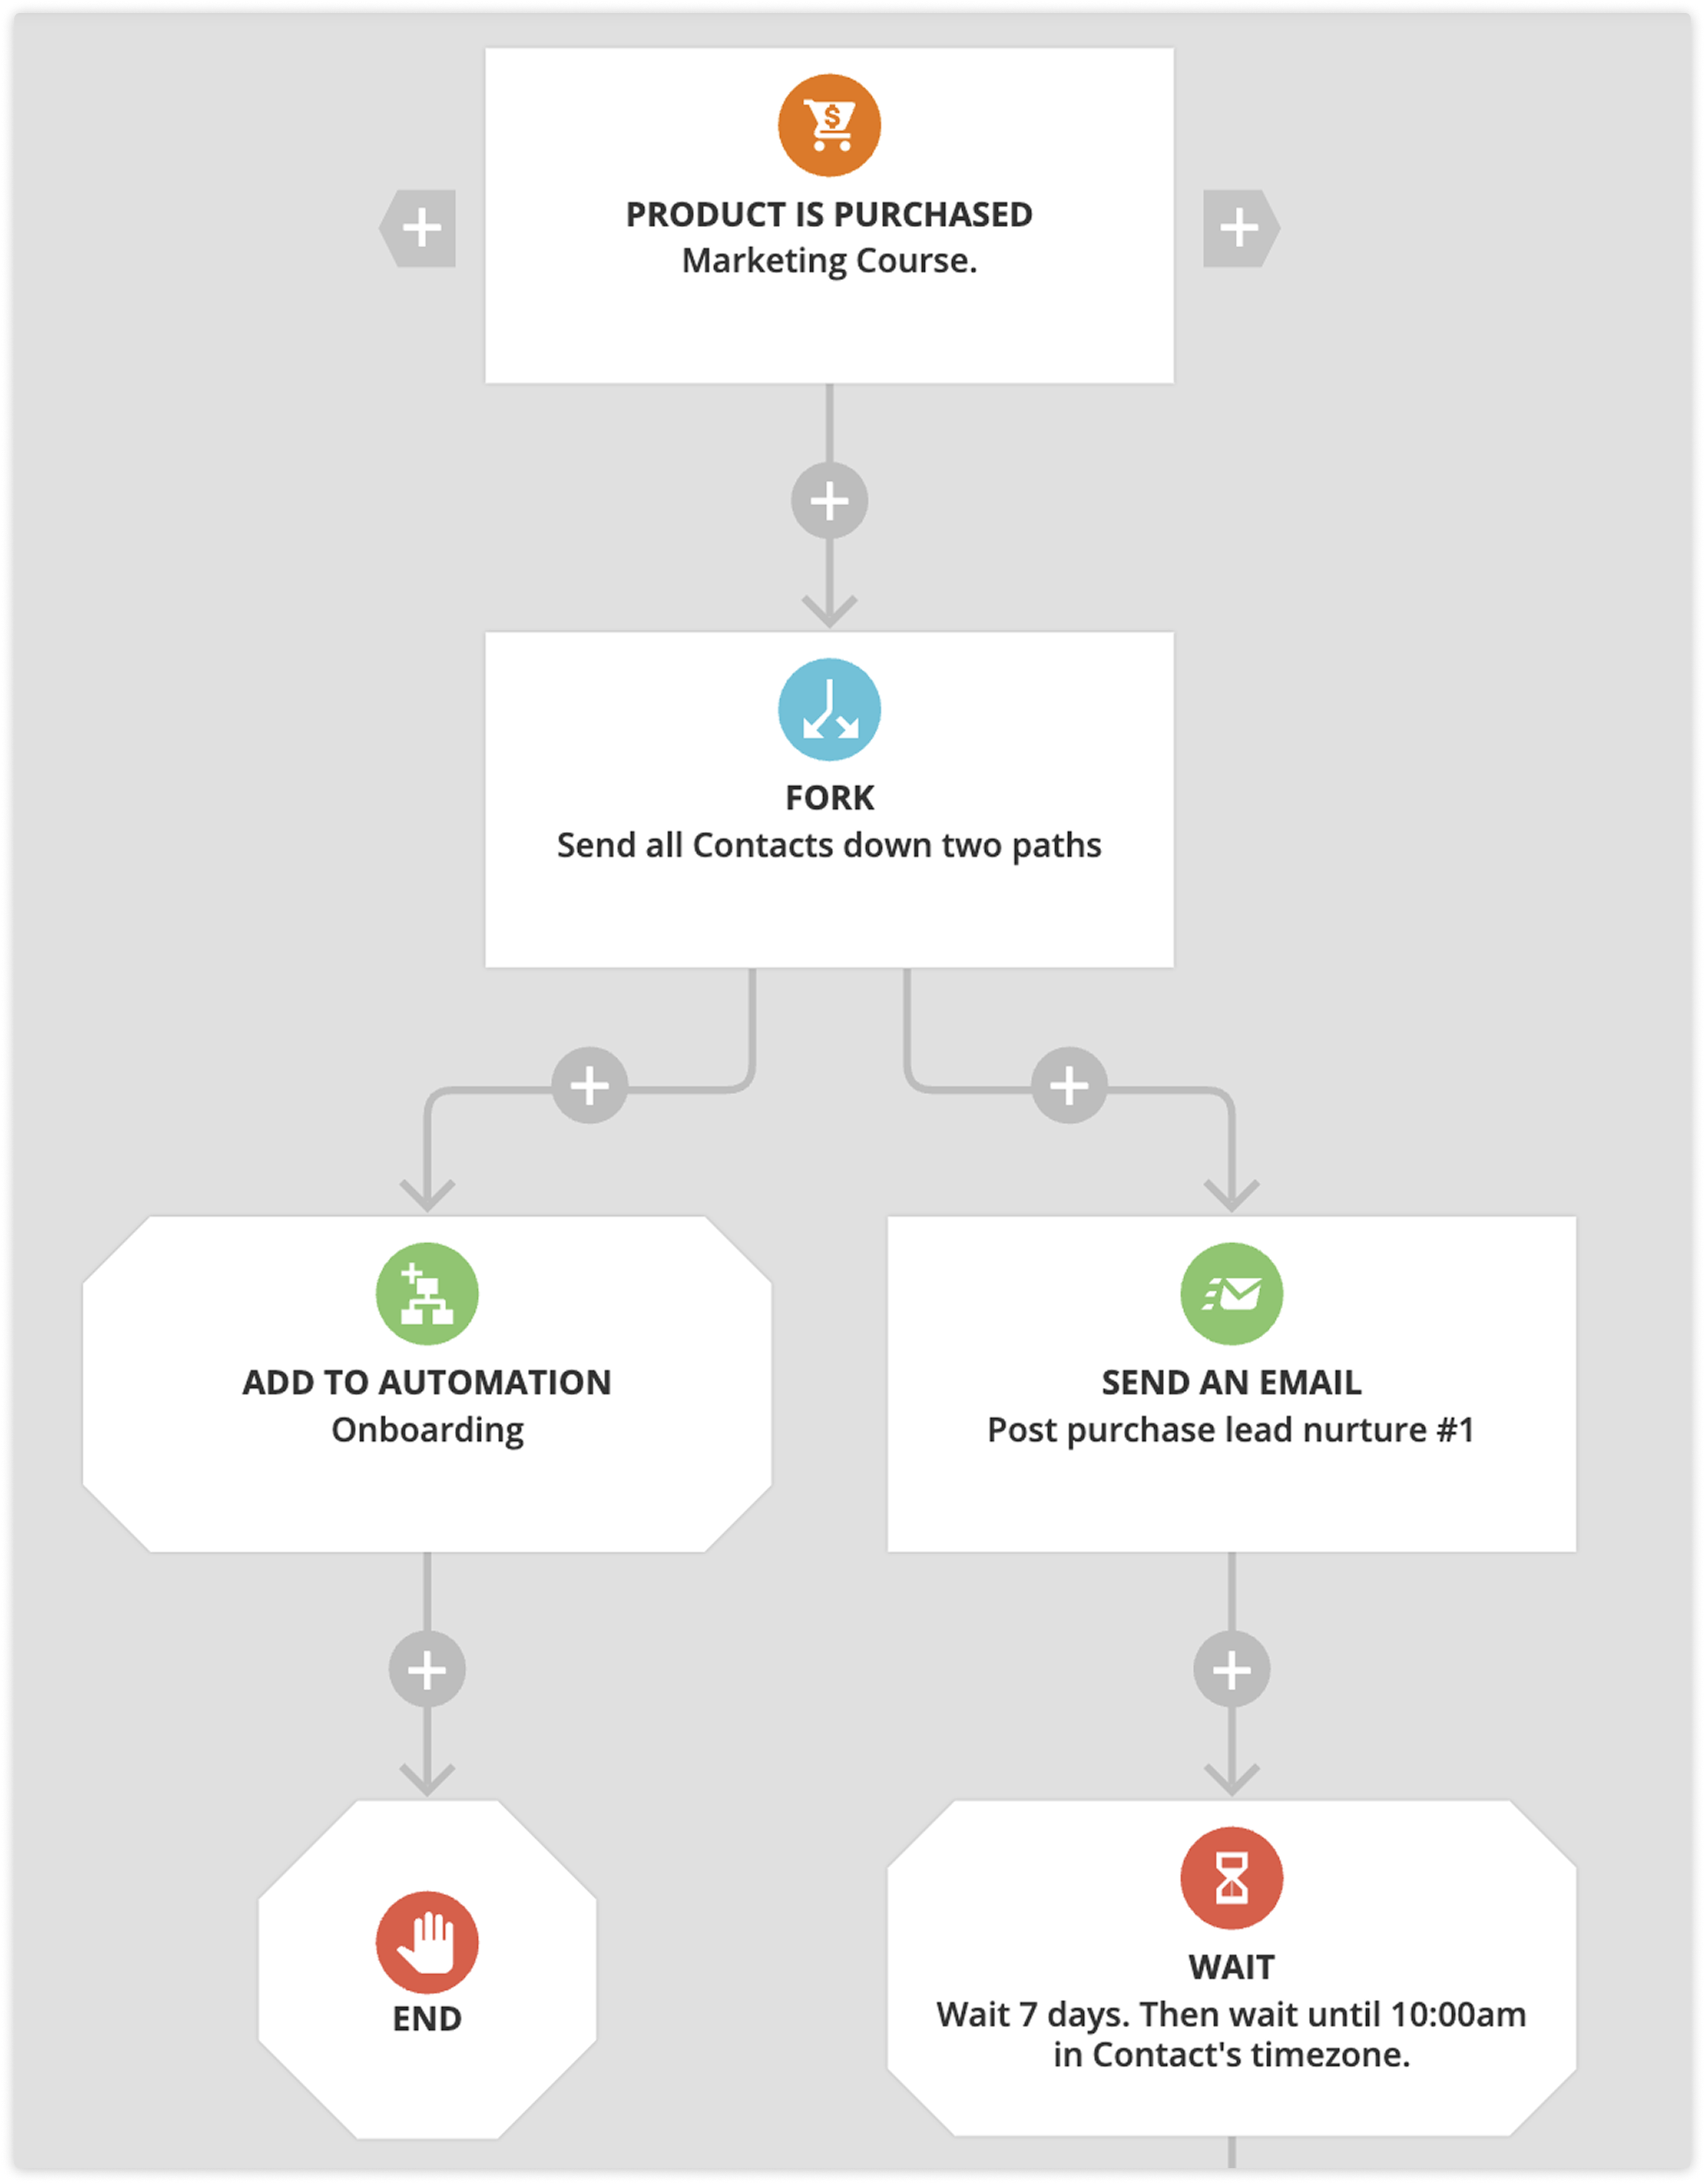
Split
Back to top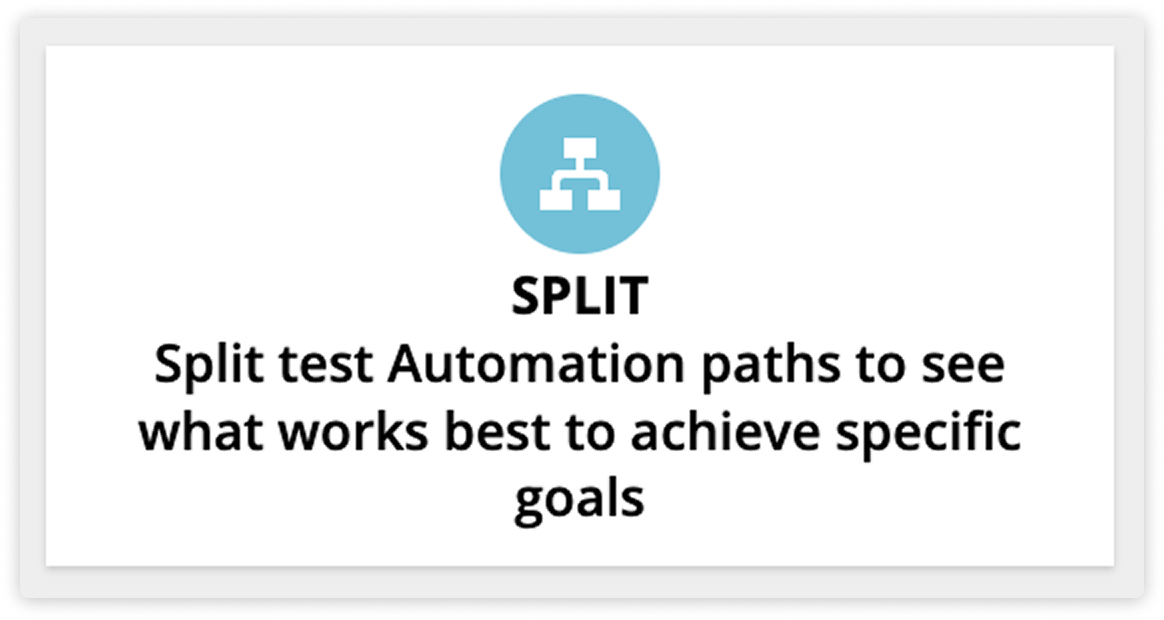
Use the split element to split test messages.
If you want to split test elements of your emails, you can add a split element to your map and put each version on either side of the split.
This makes it easy to use automation performance stats to see which version is the winner, and you can even change the percentage of contacts that see each version. So if you find a winner, you can send 100% of your traffic to the better email with a simple update to your map.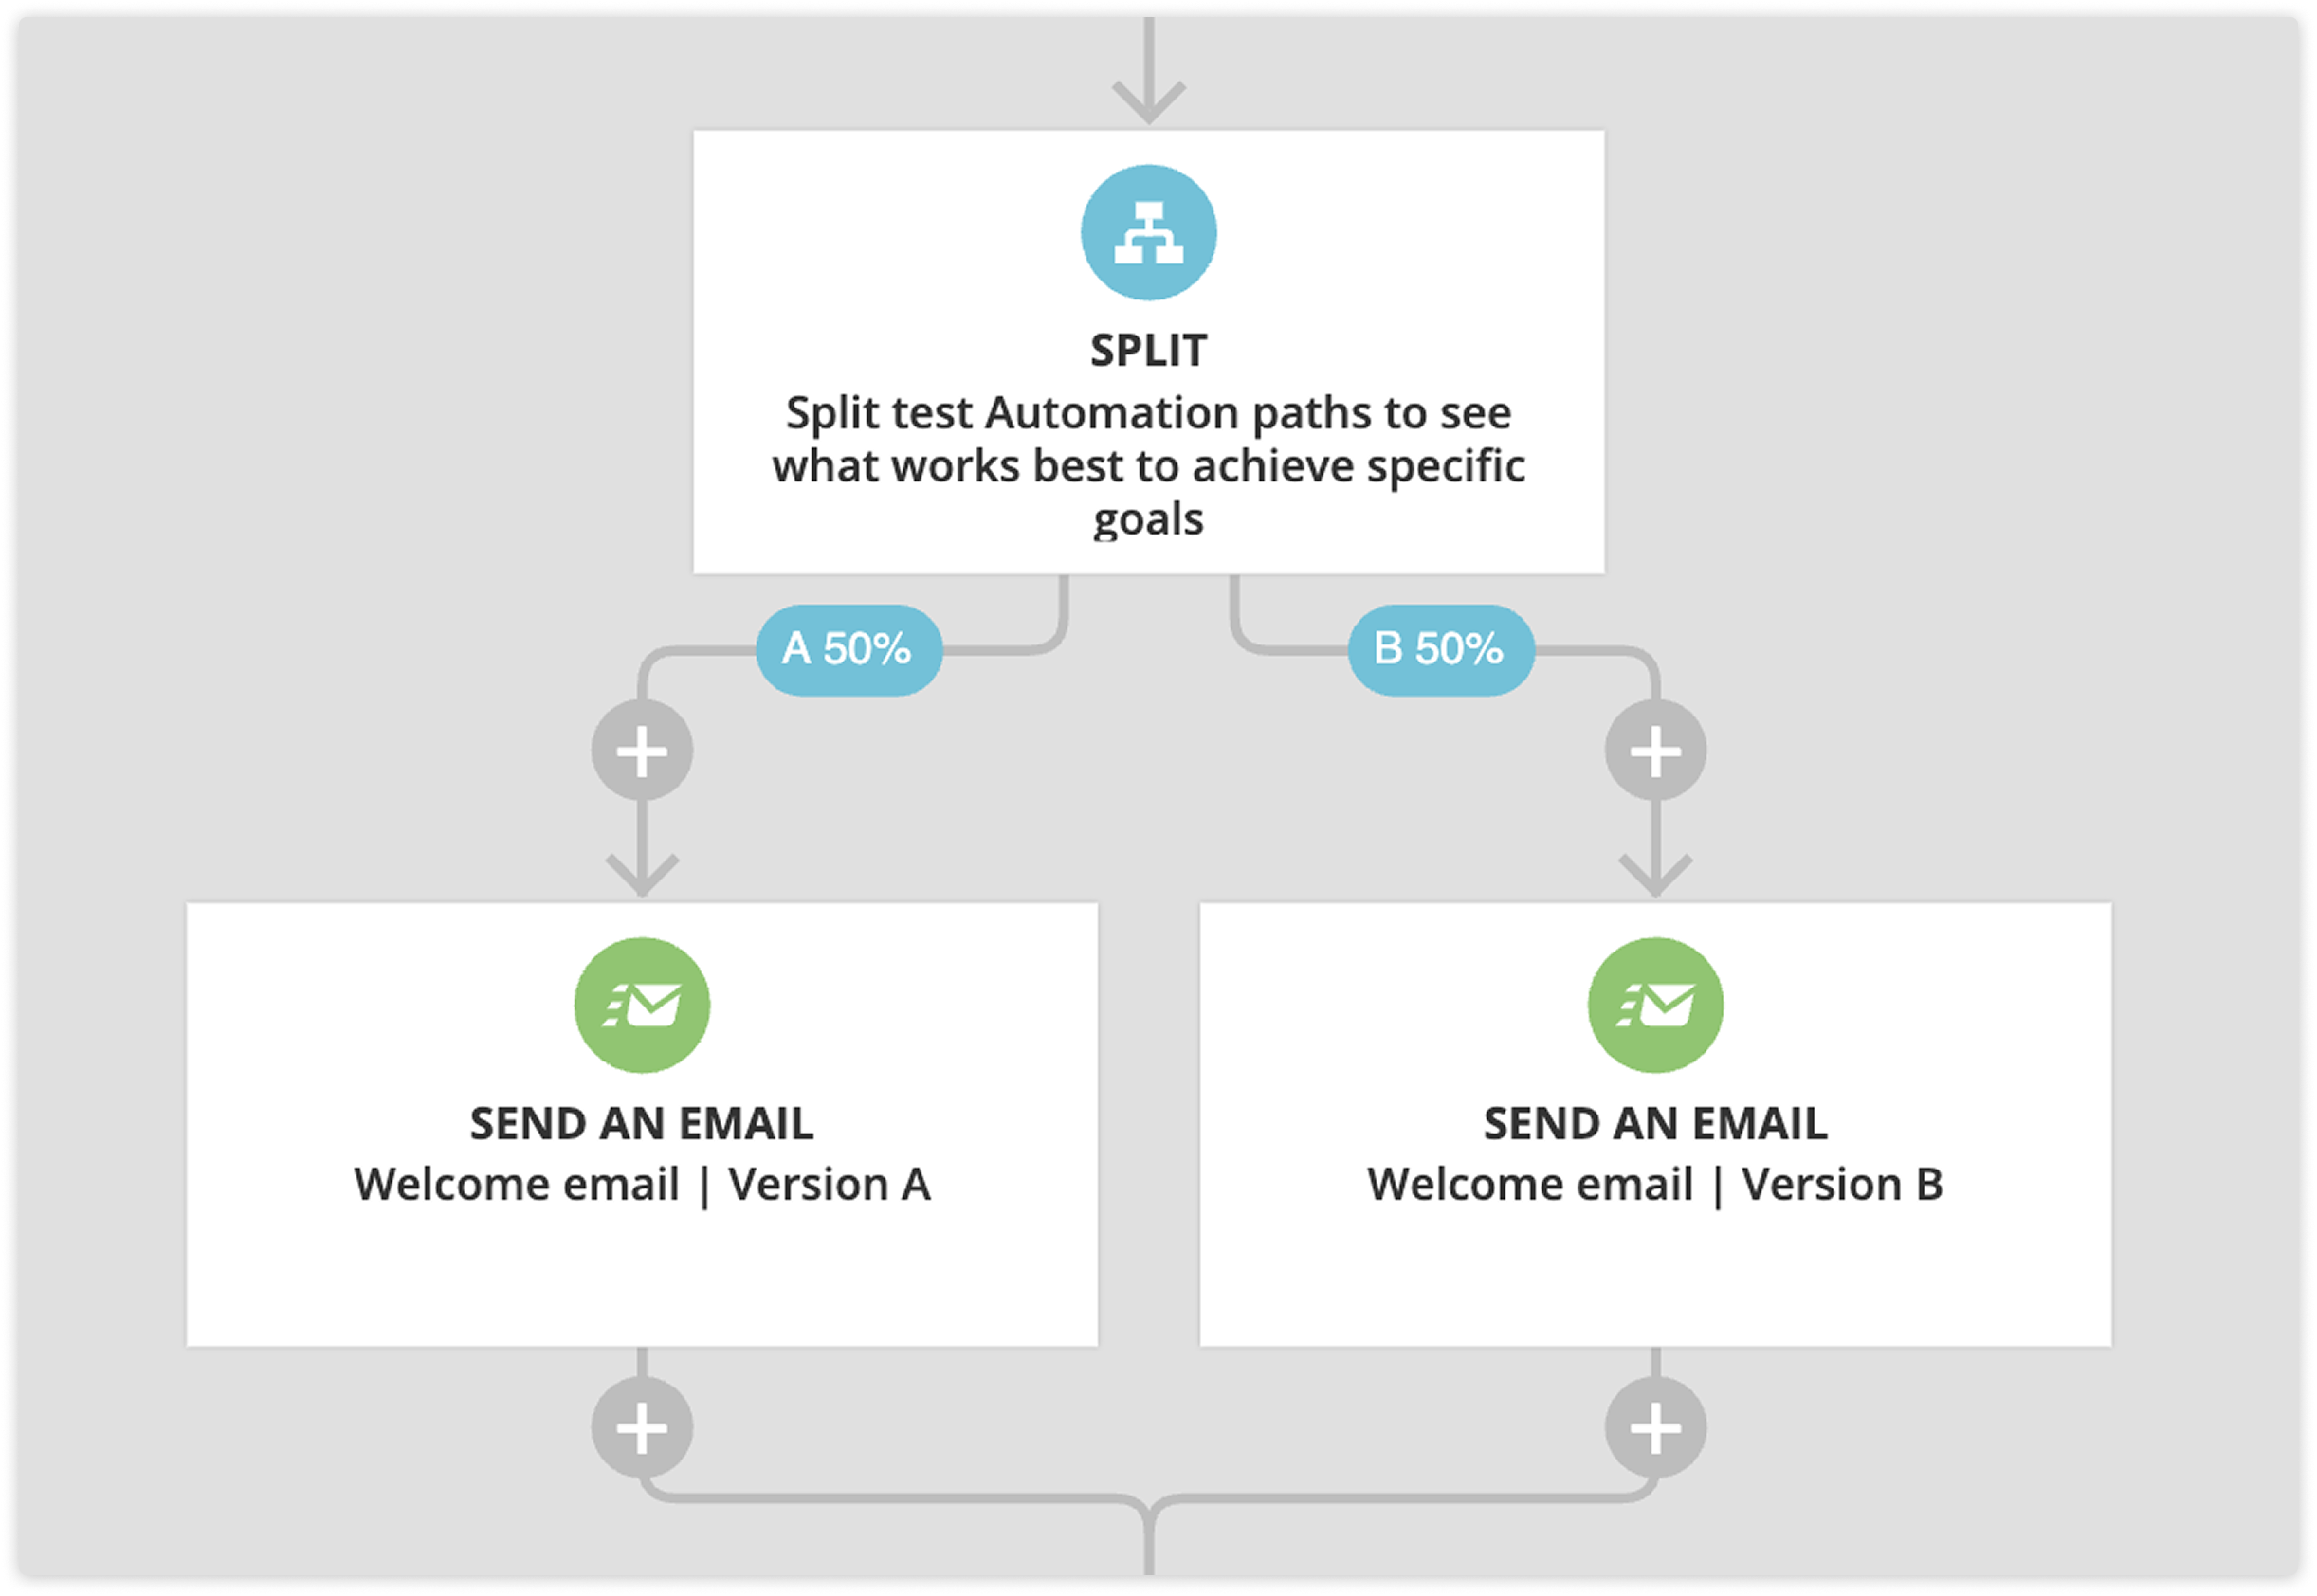
Wait
Back to top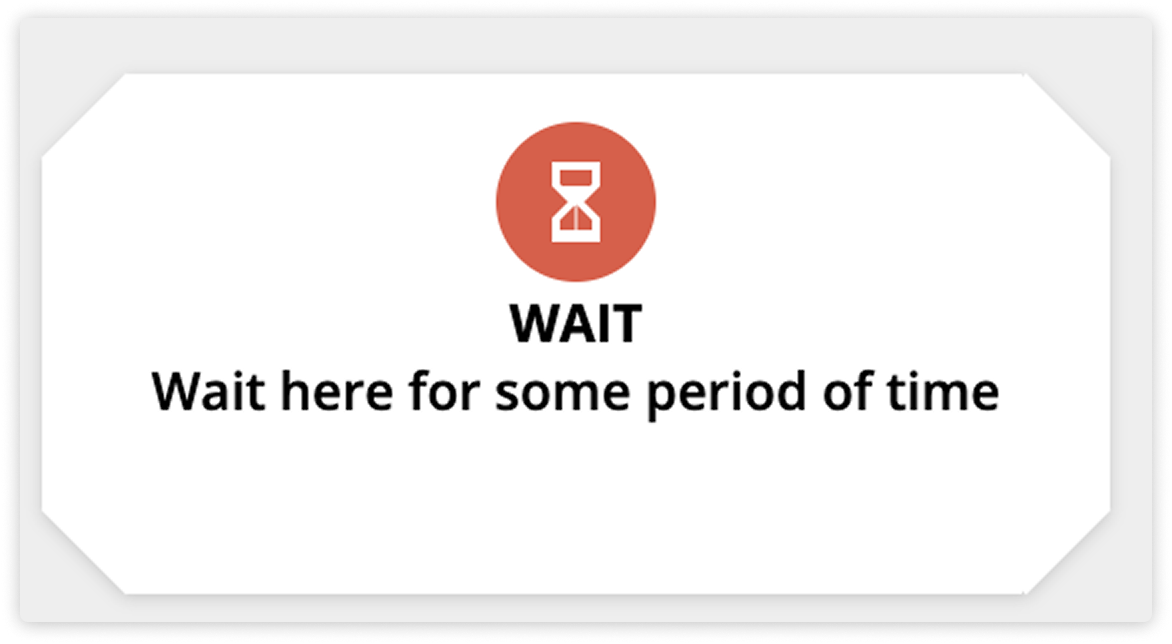
Use Wait elements to perfect your timing.
Wait elements help you control exactly when contacts move through your automation.
For example, if you place six Send email elements in a row, all six emails will go out nearly at the same time. To send one email every three, add a Wait element between each one.
Wait options include:
- A specific amount of time (e.g., 3 days)
- The smallest amount of time you can select is 1 second.
- A specific date (e.g., July 15)
- A date stored in a contact’s field (e.g., birthday)
- A specific day of the week (e.g., Monday)
- Forever (until a trigger or a goal moves them)
You can also check “Then wait until the time of day is…” to control the exact time contacts move on.
ℹ Tips for using Wait elements
|

End
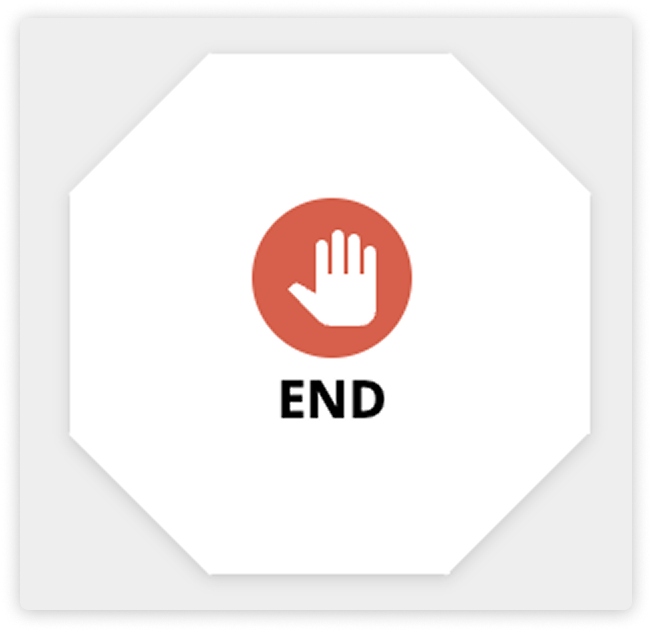
Use End elements to wrap up your lines of automation.
Before you can publish an automation map, every "What happens next?" box must contain an element. End elements let you intentionally mark the conclusion of an automation path.
You have three options for what happens when a contact reaches an End element:
- Leave it as a standard End.
- The contact will stay on the End element and remain on the map. This is useful when you want to move contacts later using a trigger or goal. For example, this option is beneficial when you use the "Today is" date trigger to send your newsletters.
- Turn it into an Exit.
- Toggle "Remove from this automation" to convert the End into an Exit. Contacts will leave the map entirely when they reach it.
- Use this when your automation has a single purpose, like completing a one-time onboarding flow.
- Move the contact to a new automation.
- Toggle "Move to new automation" to send contacts directly to another map.
- This is great for chaining purpose-specific automation, such as ending a lead nurture map after purchase and sending contacts to an onboarding map.

Goal
Back to top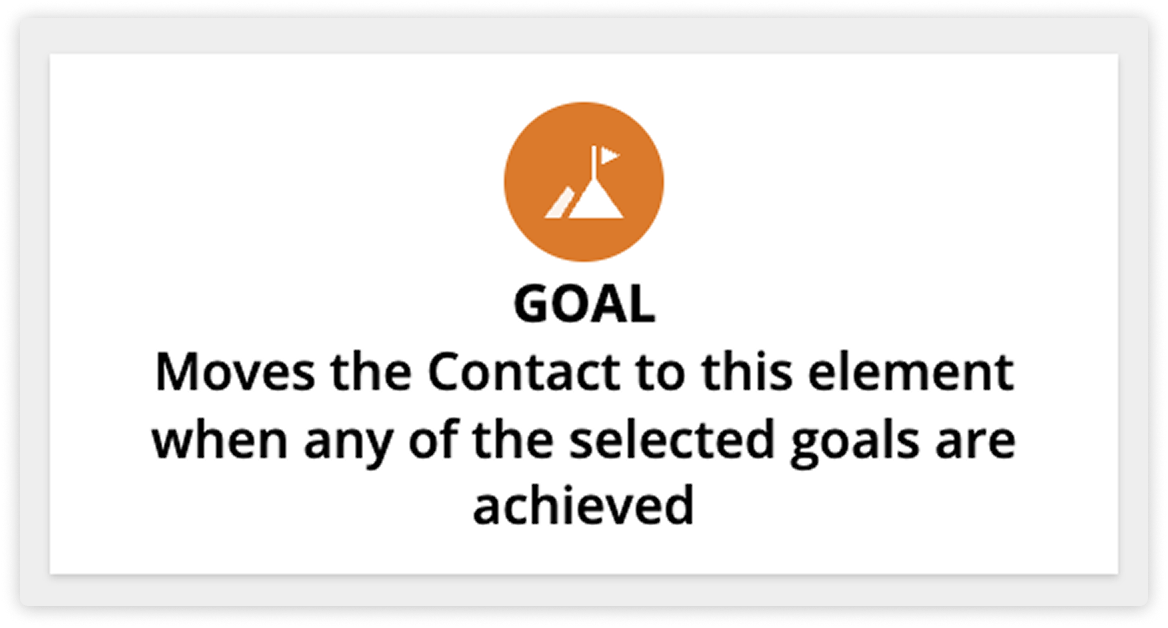
Goal elements are a particularly powerful filter, and they have their own support center article here.