Advanced Purchases turns the Purchases object into a fully customizable object you can use for automation, custom data, and relationships. This lets you manage your sales workflow directly within the Purchases object without relying on webhooks or manual processes.
With this feature enabled, you can:
- Run automations: Trigger workflows directly from a purchase record to handle post-sale tasks, such as sending specific emails based on the product bought.
- Customize data: Add custom fields to purchase records to store unique information like "Dietary Restrictions" or "Event Dates".
- Create relationships: Link specific purchase transactions to other custom objects. For example, an event planner can automatically link a customer’s ticket purchase to a specific "Ticket" record.
Advanced Purchases are available to some account levels. Check out our pricing page to learn more.
Table of contents
Use cases
Enable Advanced Purchases
• Disable Advanced Purchases
Manage the Purchase object
• View purchase records
• Purchase automations
• Create custom fields
• Create purchase messages
• Manage purchase tags
• Purchase broadcast history
• Edit Purchase records
• Create and delete records
Relate purchases to other objects
• Create custom relationships
• Default relationships
• Link records using order forms
Use cases
Here are some common ways businesses use Advanced Purchases:
“I want to manage custom orders and store information about each one in its purchase record.”
To manage custom orders, keep order details tied to the specific purchase instead of the customer’s main profile.
You do this by adding custom fields like “Size,” “Color,” or “Inscription Text” directly to the purchase record. Each purchase keeps its own complete set of details. This means every custom order is tracked accurately, no matter how many times the same customer buys or how the variations change from one purchase to the next.
“I want to use purchases for precision marketing.”
To use purchases for more targeted marketing, focus on each individual order instead of only on the customer’s main record.
Using purchase automations, you can send emails tied to a specific order, such as sending the correct event details for each ticket purchased.
You can label individual orders, like marking one as “Early Bird” or “VIP,” without permanently labeling the customer using custom purchase fields and tags.
You can also send messages to people based on a specific product or event they purchased, such as notifying only attendees of a date change. Plus, you can store details connected to that order, like T-shirt size or meal preference, and use that information in emails so each message reflects the exact details of that specific purchase.
“I want to automatically kick off project onboarding when customers purchase.”
If you want to automatically kick off project onboarding when customers purchase, the goal is to treat each purchase as the starting point of a specific service or project. For agencies and consultants, a sale often means a new project needs to begin right away, with its own tasks, files, and internal steps.
By linking purchases to a custom object such as “Projects,” you can automatically create a new project record as soon as a client buys a service package. That project is connected directly to the specific purchase, so everything related to the work is tied to the payment that started it. Your team can be notified immediately, tasks can be assigned, and files can be organized without crowding the customer’s main record. This keeps your process organized while ensuring every new client engagement begins smoothly and on time.
Enable Advanced Purchases
Back to top
To access the new Purchase object capabilities, including custom fields, automations, and object relationships, you must manually enable the feature in your administration settings.
Go to
.png) → Administration → Advanced features.
→ Administration → Advanced features.Locate the Advanced Purchases toggle and switch it on.
Enabling this feature reorganizes your Sales → Settings into a tabbed view to help you manage the new capabilities:
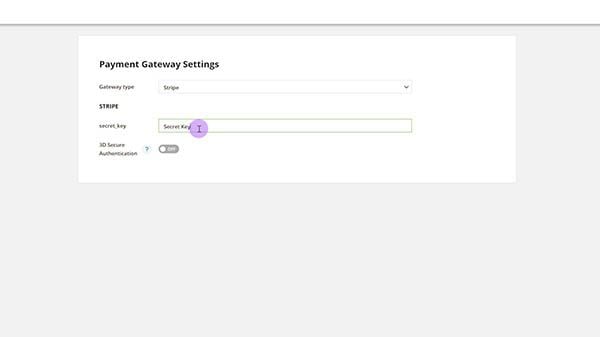
- General: Contains existing settings like Gateways, Taxes, and Shipping.
- Invoices: Settings specific to invoice generation and automation.
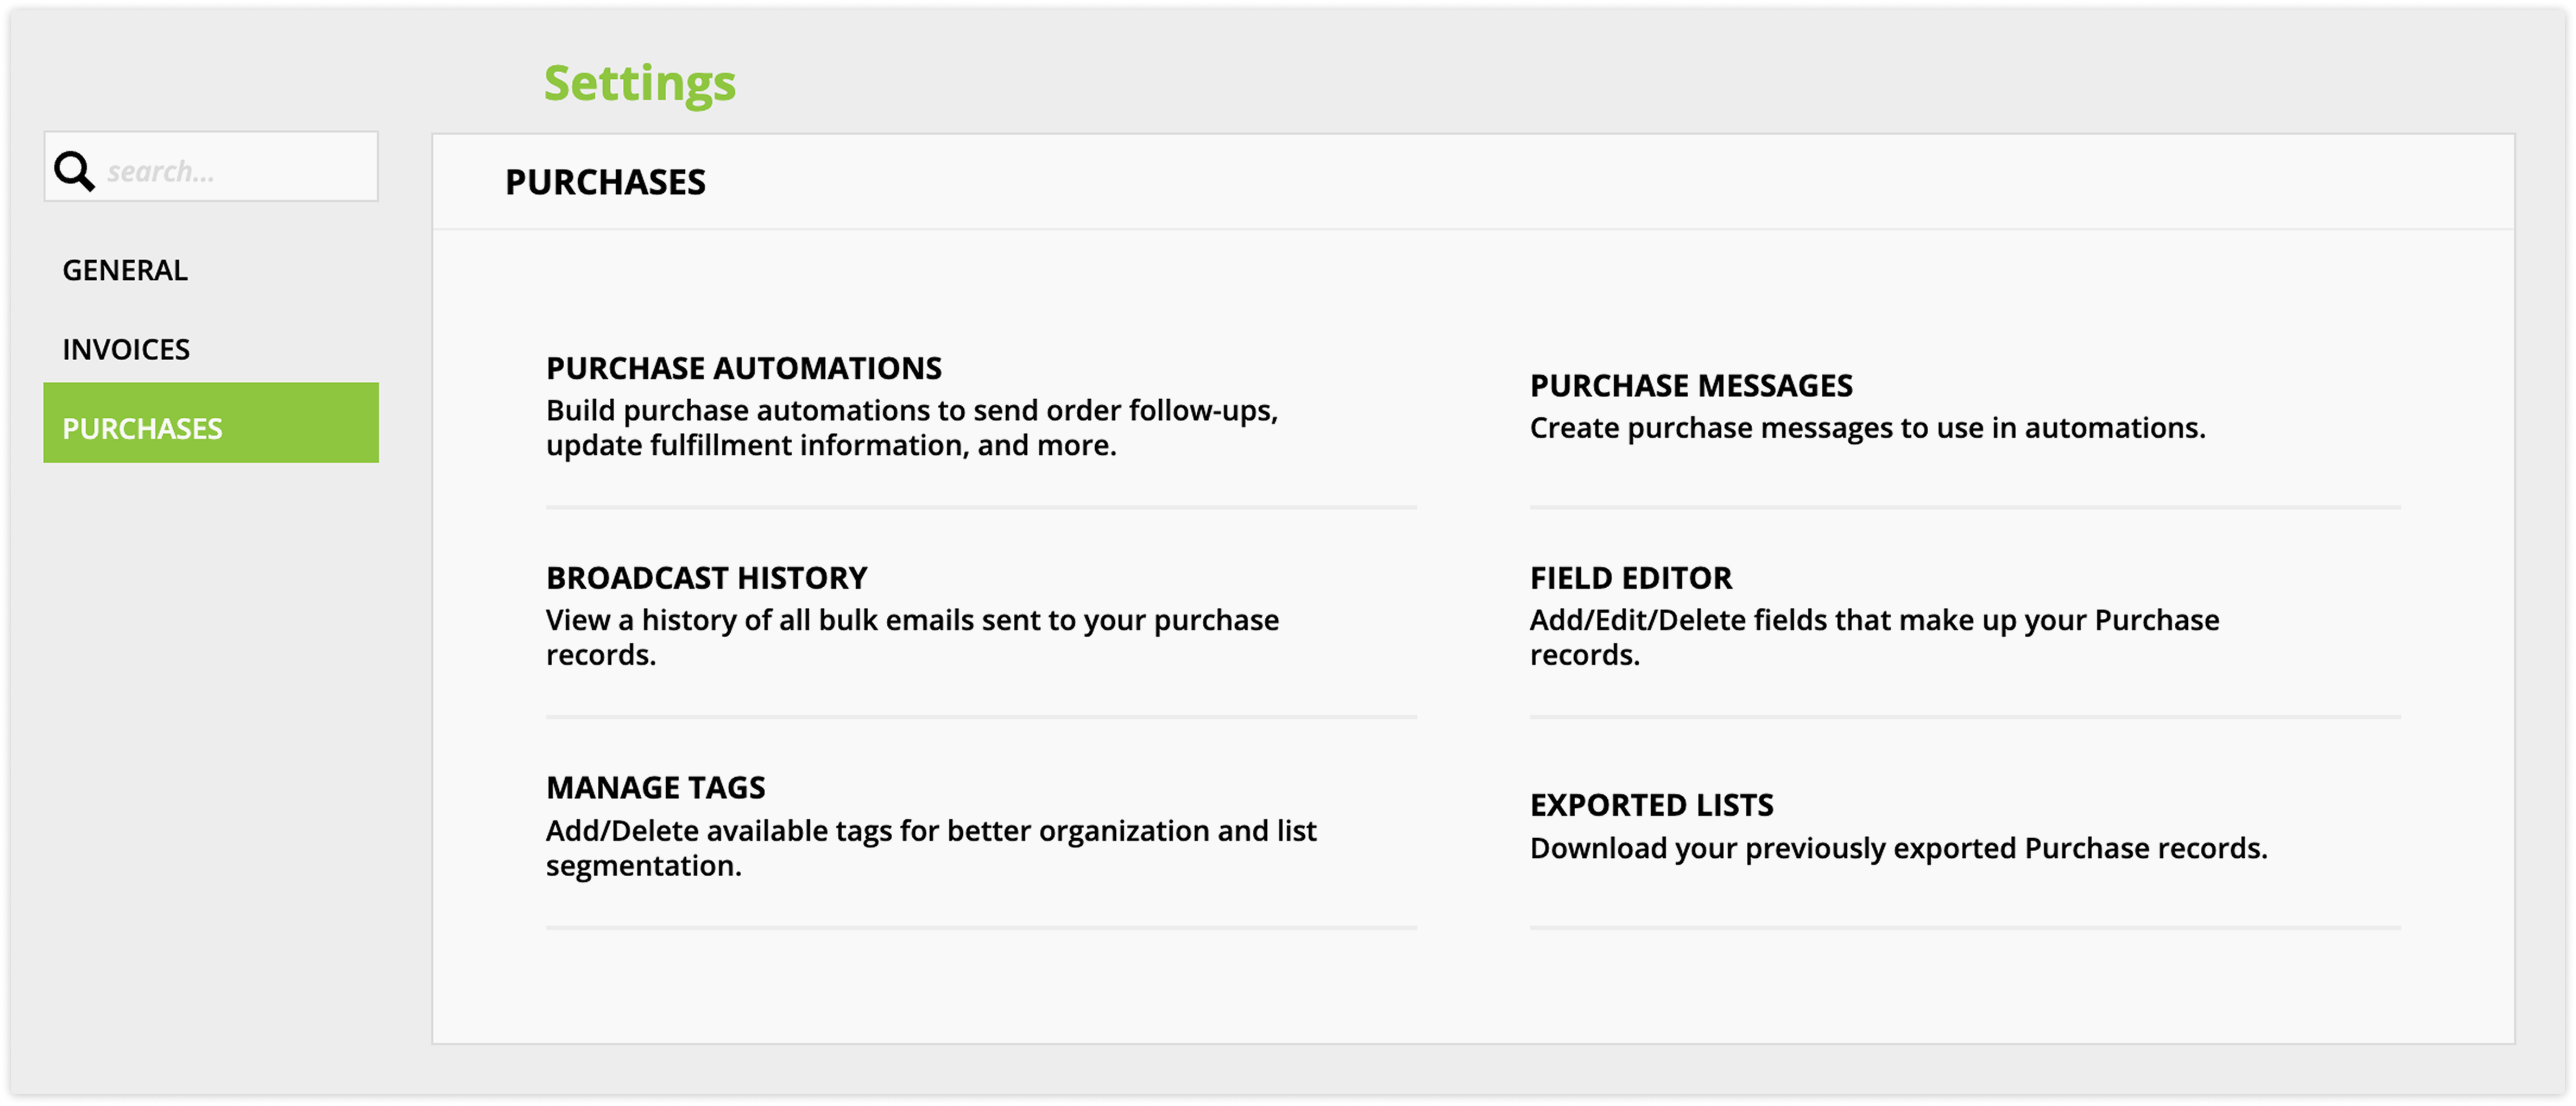
- Purchases: Contains the new Field Editor, Purchase Automations, Purchase Messages, Manage Tags, and Broadcast History.
Disable Advanced Purchases
Back to top
If you no longer wish to use these features, you can disable them.
1. Go to → Administration → Advanced features and switch the toggle off.
2. A "Remove advanced purchases" dialog will appear. This warns that you will lose access to custom purchase fields, automations, messages, tags, and custom relationships.
3. Type “REMOVE ADVANCED PURCHASES” into the text field.
4. Click Confirm.
Manage the Purchase object
Back to top
Once Advanced Purchases is enabled, the Purchases object functions similarly to other objects in your account (like Contacts or Deals), allowing for greater customization and control than standard purchase records.
However, to ensure the integrity of your financial data, there are specific rules regarding how records are created, edited and managed.
View purchase records
After you’ve enabled Advanced Purchases, click Sales from your main navigation to view your Purchases collection.
Click any record to view its details, and select one or more records to take action on them.
Purchase automations
Back to top
With Advanced Purchases enabled, you can build workflows specifically for your sales records. This allows you to trigger actions immediately after a purchase is made, such as sending transactional emails, notifying staff, or updating custom data.
- Go to Sales → Settings → Purchases.
- Click Purchase automations → New automation.
- Select a pre-built template from the marketplace or start from scratch.
- Configure your map like any other automation.
Automation capabilities & limitations
The Purchase Automation editor functions similarly to the automation builder for custom objects, but there are specific differences regarding what actions you can take on a purchase record versus a contact record.
- Available actions: You can use standard automation triggers, conditions, and actions (e.g., Send Email, Create Task, Notification).
- Updating data: When using the Update purchase element, you can modify the default Description field and any Custom Fields you have created. You cannot update system fields (like Product or Price).
- Exclusions: Because purchase records are not Contacts, the following features are excluded from Purchase Automations:
- Fulfillment lists: Triggers and actions related to sending to or removing from fulfillment lists.
- Form submissions: The "Purchase submits a form" trigger is unavailable.Interactions with Order Forms When using Order Forms to generate purchases, it is important to understand which rules apply to the Contact and which apply to the Purchase.
- Standard Rules (Contact): Settings under "Manage Form Fills" (such as adding tags, subscribing to sequences, or running rules on submission) apply to the Contact who filled out the form, not the Purchase record.
- Relationship Rules (Purchase): If you enable the "Update relationships on form submission" setting in the form editor, you can add or remove custom relationships on the Purchase record (e.g., linking the new purchase to a Ticket object). You cannot update default relationships (like Owner or Invoice) via this method.
Create custom fields
Back to top
Create custom fields to store transaction specific details such as “dietary restrictions” or “event date.” These fields ensure that if a customer makes multiple purchases with different requirements, the data is correct for each specific order.
- Go to Sales → Settings → Purchases → Field editor.
- Create custom fields following these steps.
Create purchase messages
Back to top
Purchase messages can be customized with merge fields from your purchase records which makes it easy to send specific post-sale follow up messages.
- Go to Sales → Settings → Purchases → Purchase messages.
- Follow these steps to create a message.
Manage purchase tags
Back to top
Similar to custom fields, purchase tags allow you to categorize specific transactions instead of the customer as a whole. This allows you to segment lists based on order attributes (e.g. tagging a specific purchase as “VIP Package” or “Black Friday Deal”).
- Go to Sales → Settings → Purchases → Purchase messages.
- Follow these steps to create and manage tags.
Purchase broadcast history
Back to top
Like other objects, you can view and manage your purchase broadcasts.
- Go to Sales → Settings → Purchases → Broadcast history.
- Follow these steps to view and manage your messages.
Edit Purchase records
Back to top
You can view purchase records the same way you view contact records. However, editing is restricted to specific fields:
- Editable fields: You can edit the default Description field and any Custom Fields you have added to the object.
- Locked fields: To maintain accurate financial reporting, system fields such as Product, Partner, Coupon, and transaction amounts cannot be edited manually.
Create and delete records
Unlike standard objects, you cannot manually generate or delete purchase data through the collection view:
- No manual creation: You can’t create purchase records manually. New purchase records must be generated via invoice, manual transaction or order form submissions.
- No manual deletion: You can’t delete purchase records.
- Forms: You cannot select "Purchases" as the source object when creating a new form.
Relate purchases to other objects
Back to top
One of the most powerful features of Advanced Purchases is the ability to link specific transactions to other records in your account. This is essential for businesses that need to track inventory, event tickets, or project assignments against specific payments.
Create custom relationships
Back to top
When Advanced Purchases is enabled, "Purchases" becomes available as an option in the Custom Object Editor. When creating a new relationship, you can now select Purchases from the object dropdown menu. Relationships with Purchases work the same way as relationships between other objects.
Follow these steps to create relationships
Default relationships
Back to top
The system automatically maintains standard relationships for every purchase to ensure data integrity. When viewing the Purchase object settings, you will see these default relationships (such as Contact, Invoice, and Owner).
You can view these default relationships in the relationship sub-collection. But to protect the connection between a sale and the customer/invoice, the Edit and Delete actions are disabled for these default relationships.
Link records using order forms
Back to top
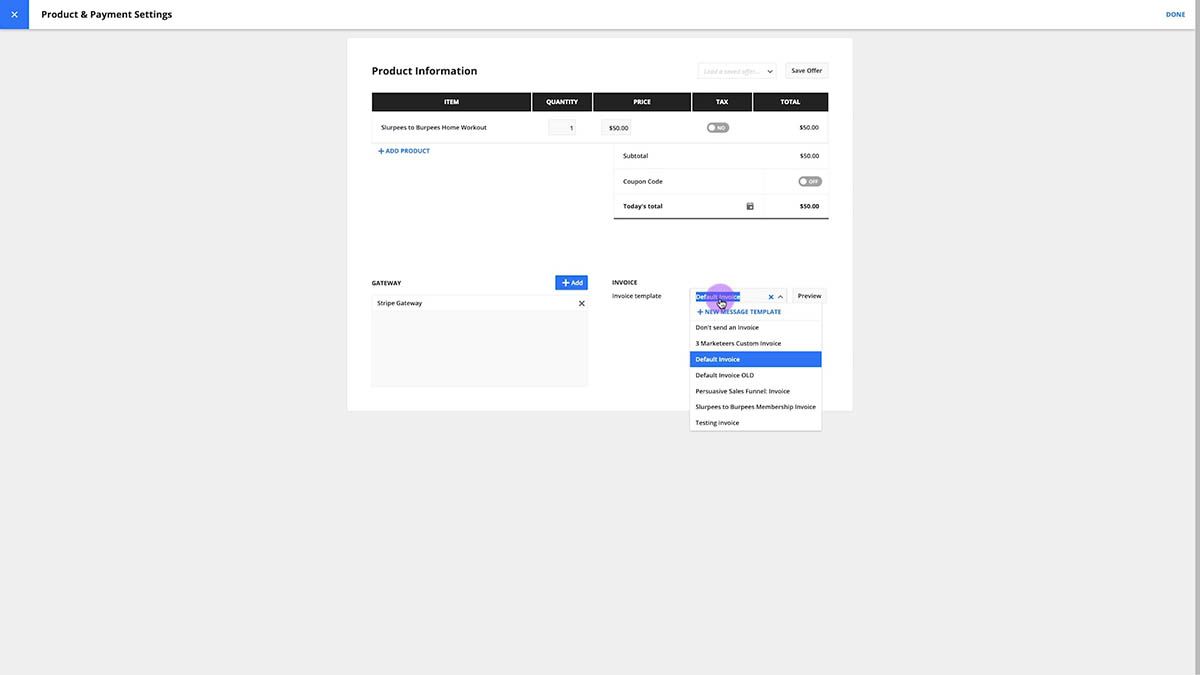
Since you cannot manually create purchase records, relationships are usually created at the time of sale. When creating order forms, you can enable the Update relationships on form submission settings.
This allows you to automatically link the newly created purchase record to a specific custom object record, for example linking the purchase to a specific event ticket when the form is submitted.