Adding a “Contact us” page to your website offers your audience direct communication with you. It's a simple, effective way to foster connections, answer queries, and address concerns promptly.
This direct engagement demonstrates your commitment to customer satisfaction and opens doors for potential collaborations and partnerships.
The “Contact us” automation from the Automation Marketplace gives you a simple page and form that collects your visitors’ messages and adds them to an automated follow-up system, ensuring no one falls through the cracks.
This article explains how to customize every piece of your automation and provides a reference section to learn more about your new assets.
Add this automation to your account here or by finding it in the Automation Marketplace.
Table of contents
Automation functionality tips
• Global navigation blocks
What you get
• Contact form page
• Thank you page
• Automation
Customize your automation
• Step 1: Update your header and footer blocks
• Step 2: Add or remove form fields
• Step 3: Customize your email content
• Step 4: Customize your task
Record and field reference
• Contact records
Automation functionality tips
Global navigation blocks
This automation uses two global blocks to give visitors a consistent web experience.
The two global blocks are for your pages’ header and footer navigation. These blocks can be replaced by your existing navigation/footer blocks if you’d like. Or you can add or modify the links on them and use them as your new site navigation blocks going forward.
Access these blocks from within the page editor.
For more information on global blocks, check out this article.
What you get
Back to topHere are the pages and messages that come with this automation!
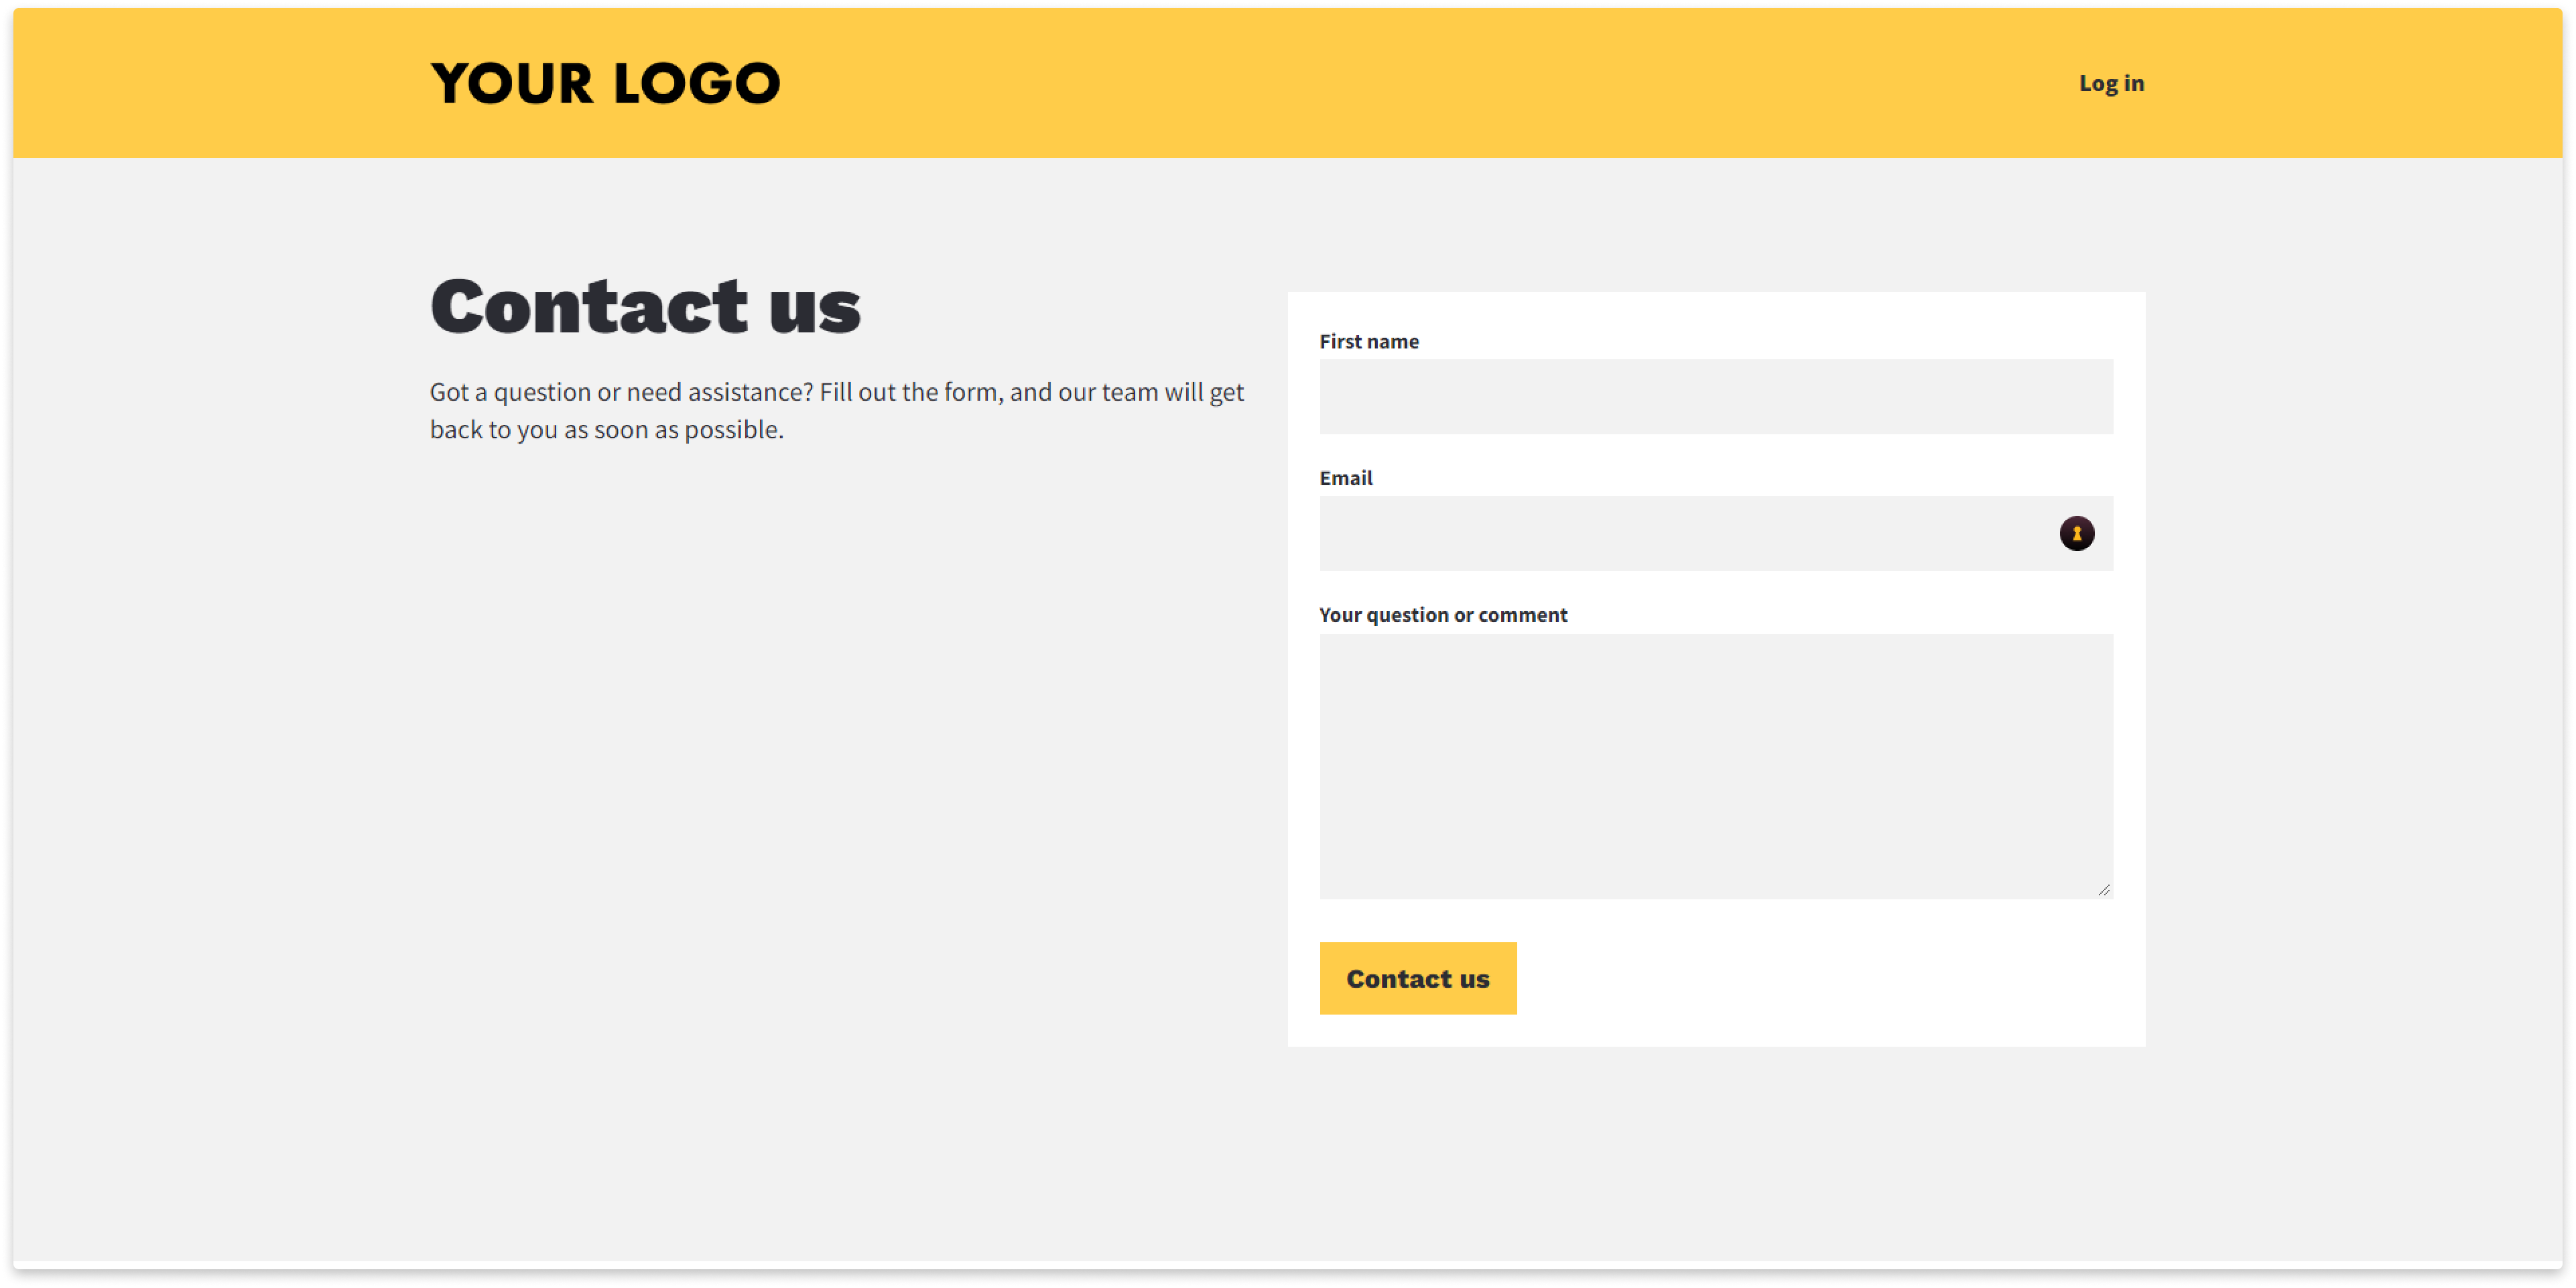
A streamlined page for your visitors to submit their questions
Back to top
This page is where your site visitors can submit their questions to you as the business owner. You can add, remove, or change any fields on this form to ask qualifying questions or collect relevant information along with their question.
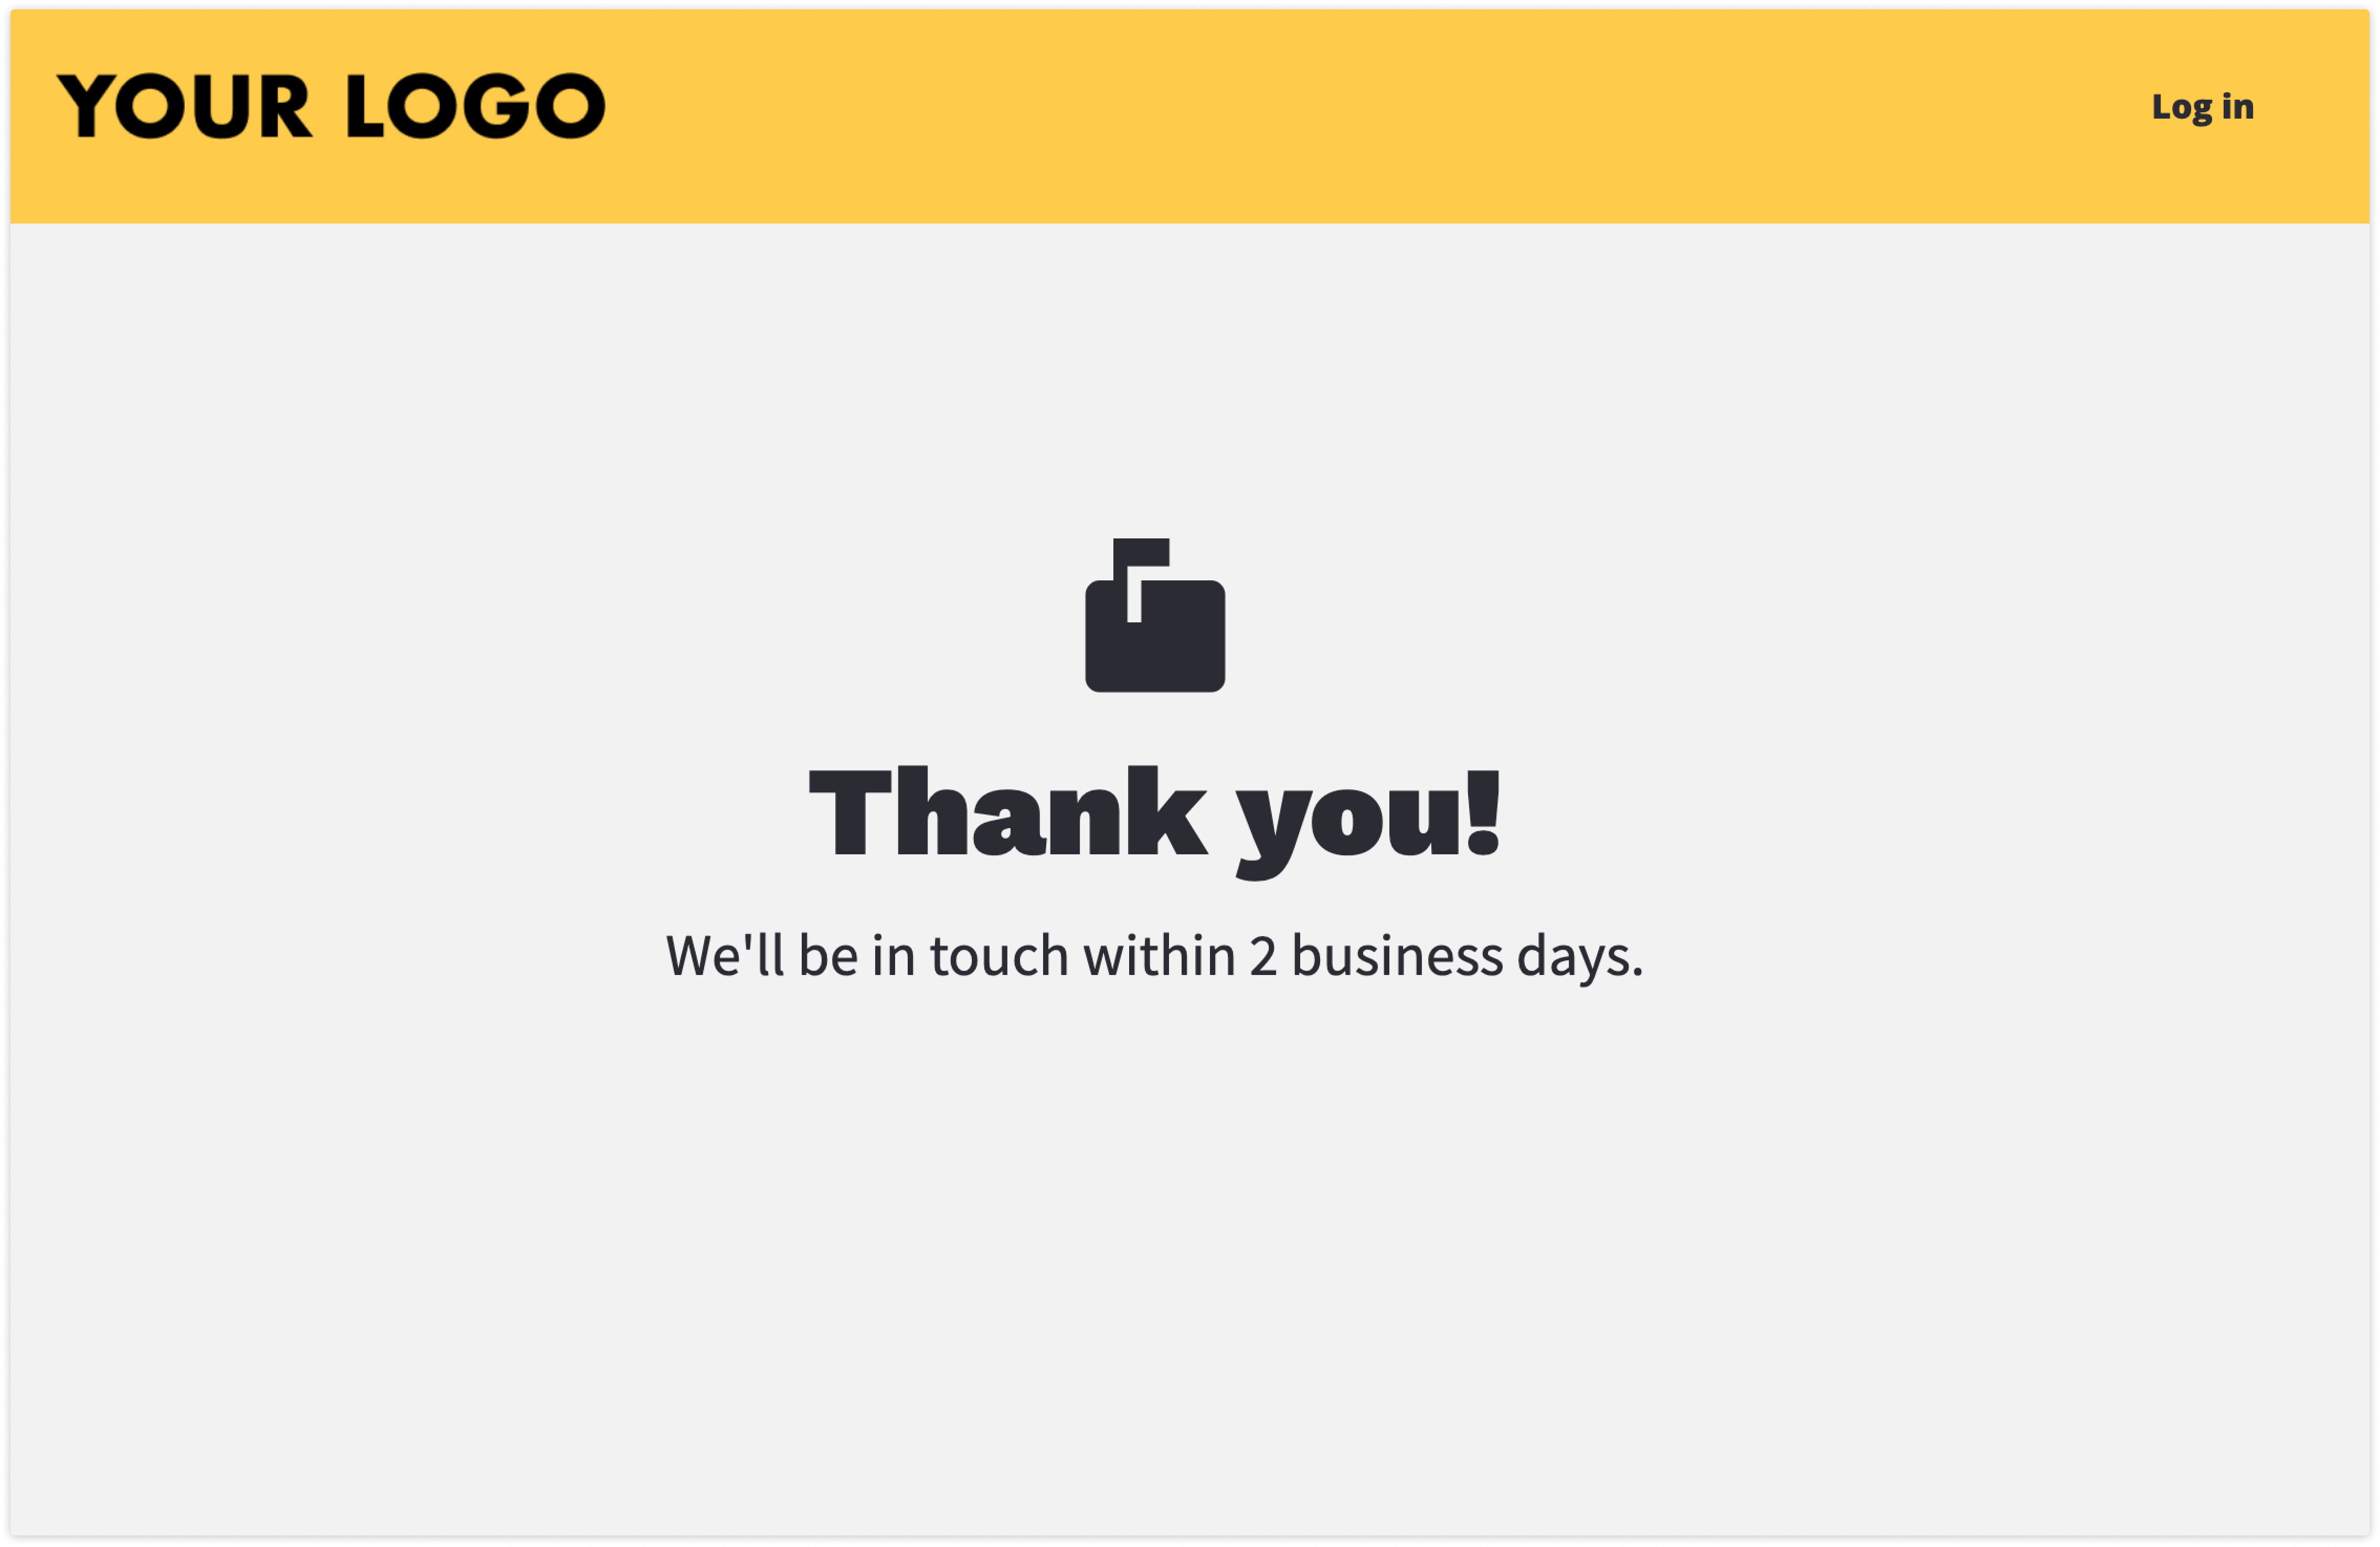
A thank you page that sets expectations
When visitors fill out the form and click the “Contact us” button, they’ll be sent to the thank you page. Edit the text on the page to set expectations for your visitors about when they can expect a response.
Follow-up automation so you don’t have to constantly check for new inquiries

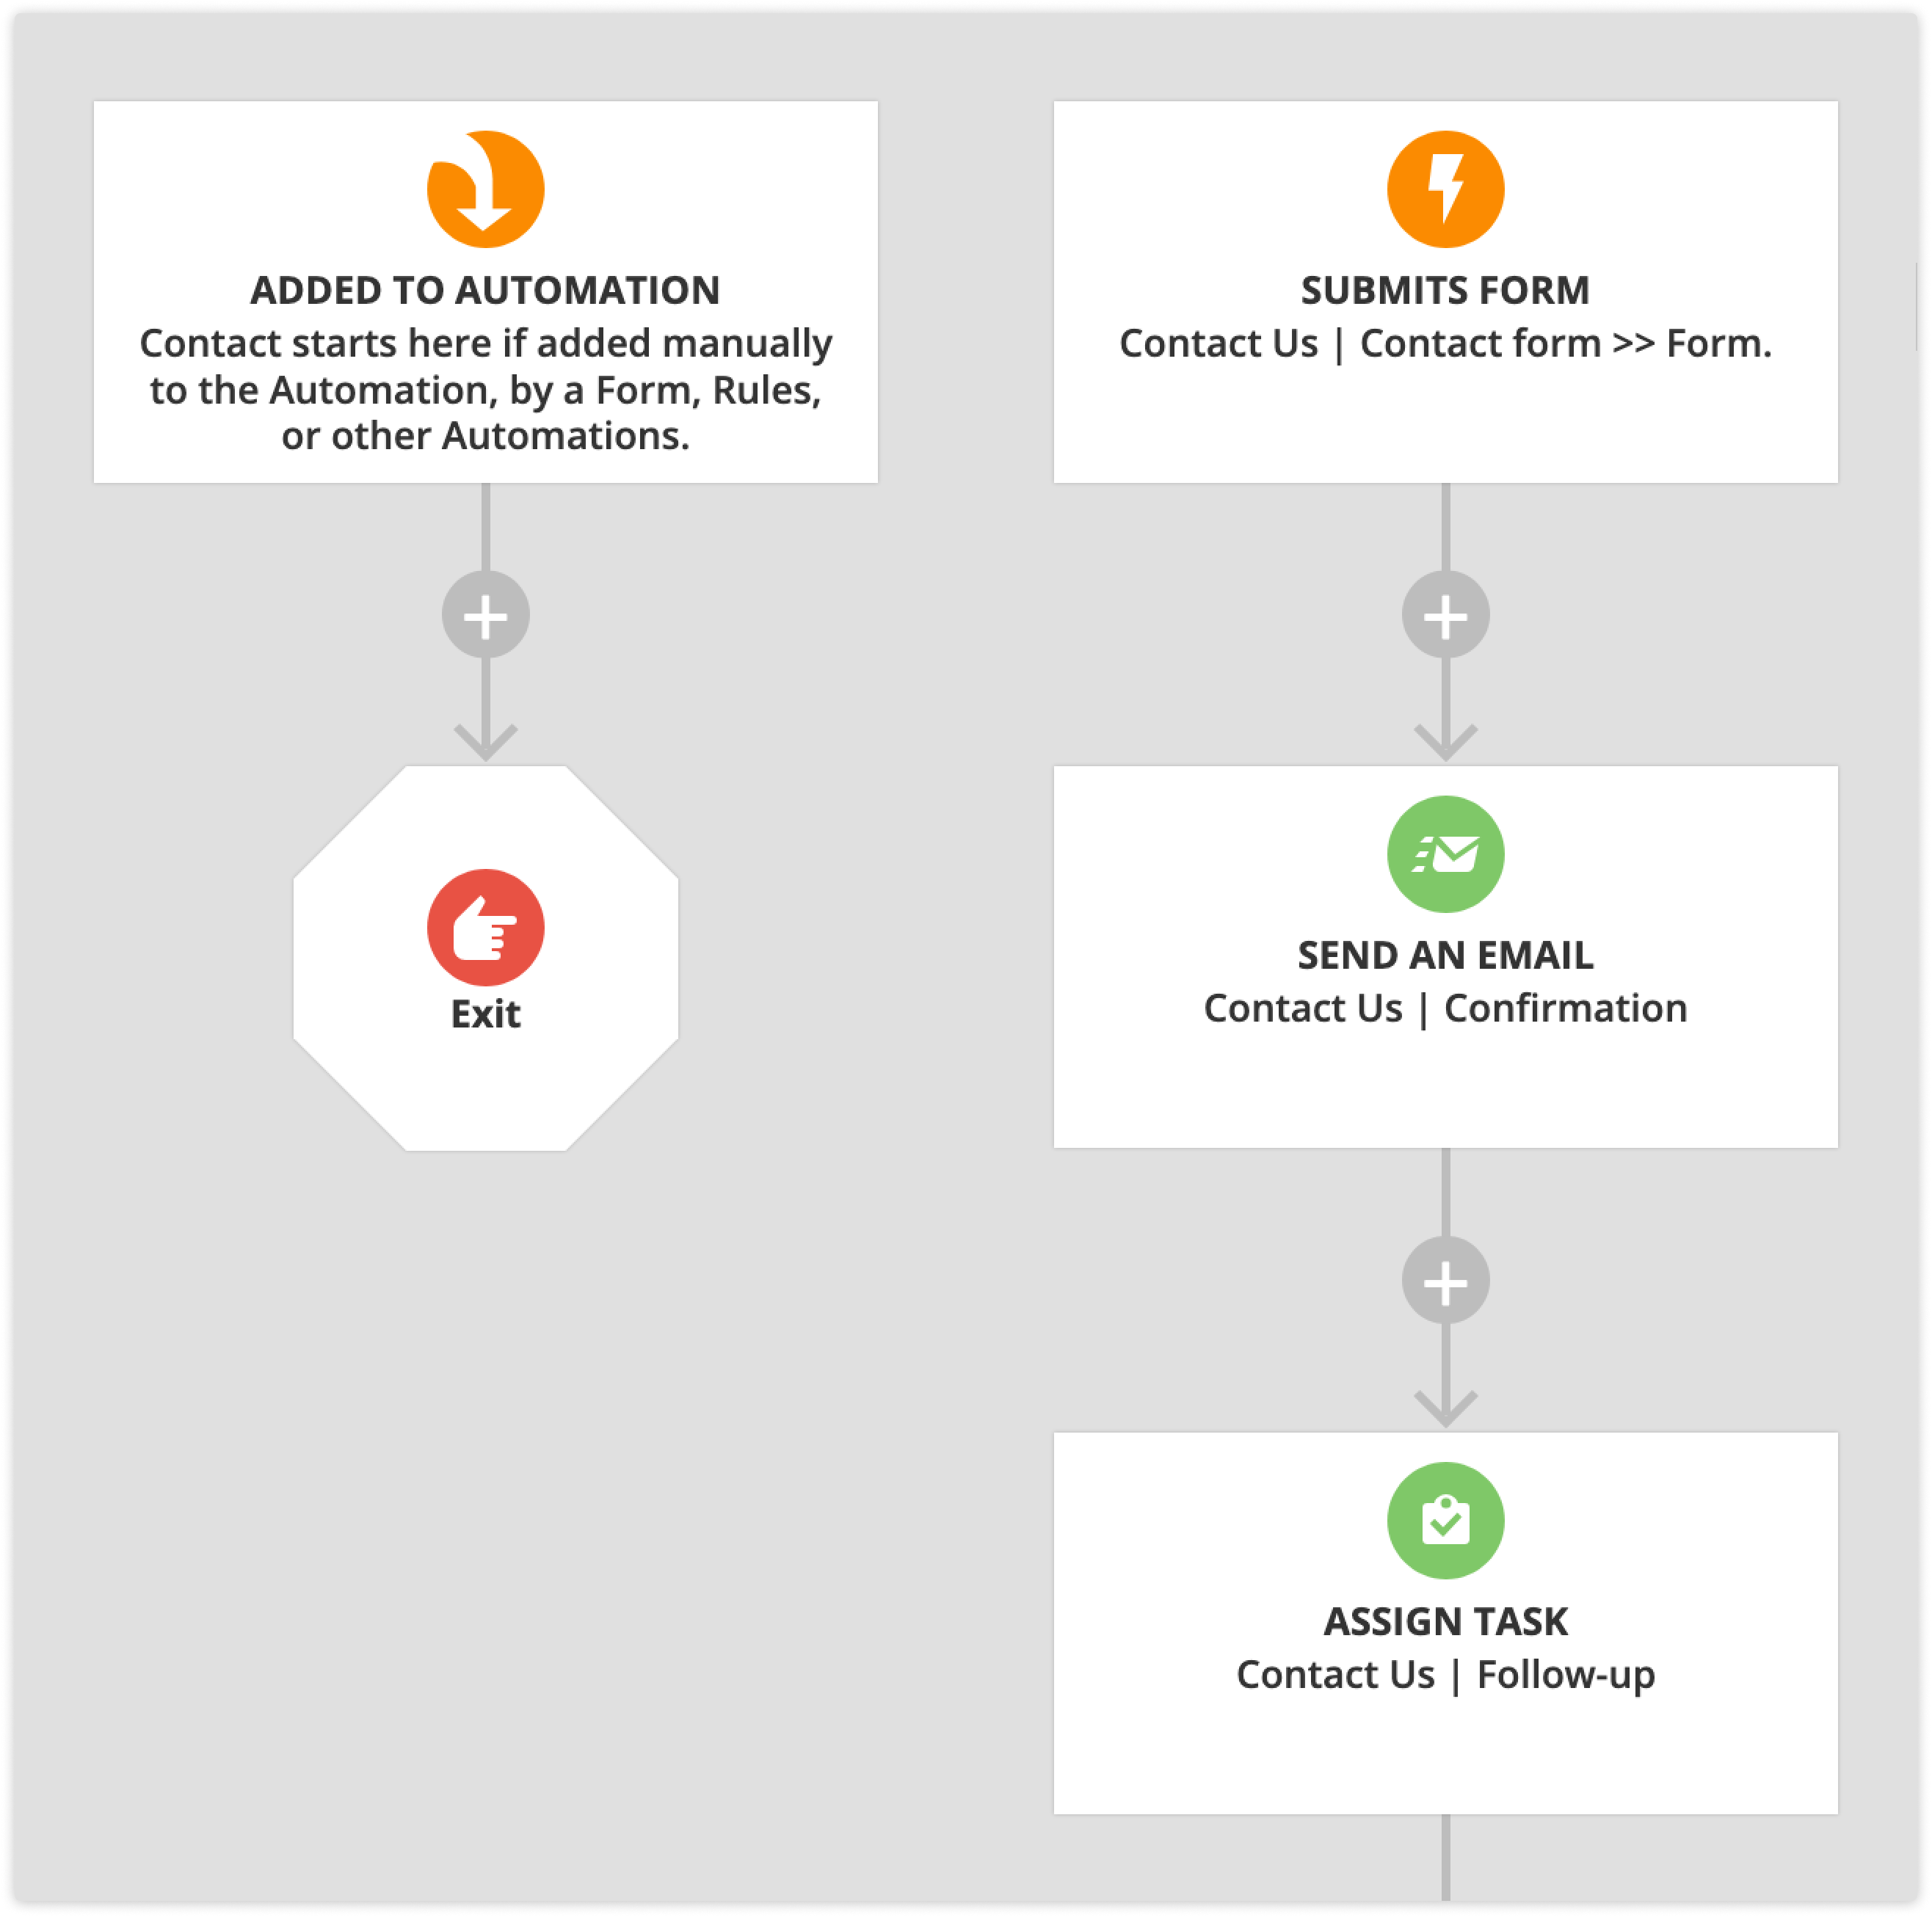
This automation will handle all incoming inquiries from your contact form.
First, it sends a simple confirmation email to the contact. Then, it assigns a task to the contact's owner to respond, and it checks to ensure your team completes their tasks.
You can customize this automation by adding emails or goals based on new task outcomes.
View automation
Customize your automation
This system requires no setup, but there is some optional customization.
Step 1: Update your header and footer blocks
Back to top
Your header and footer blocks are global. That means that when you want to update your navigation, you only need to do it once to update that block on all your pages. The only step you need to complete to customize your pages is to add your logo to your header navigation block. You can also customize your navigation links.
Go to Pages and find your “Contact us | Contact form” page.
Hover over your navigation block and click
/ontraport_pages_builder_edit_global_block_(button).png) .
.Click on the image on the left and replace it with your logo.
You can add new links to it as needed.
Click Publish.
Note: Publish your page to the custom domain you use with the rest of your website or membership site.
Repeat these steps for your global footer block as well.
Step 2: Add or remove form fields
Back to top
If you’d like to ask additional clarifying questions or collect more contact information, you can add or remove whatever fields you want on your form!
- Go to Pages and find your “Contact us | Contact form” page.
- Mouse over any of the fields you want to remove and click
 .
. - If you’d like to add a new field to the form, first locate the form field element and drag it into place on your form.
- Select the field you’d like to add from the dropdown.
- If you want to use any of these links for pages you built, you can edit that button’s link.
- Click Publish.
Step 3: Customize your email content
Back to top
The email in this automation has been professionally written for you, but it’s always a good idea to review templated content to see if you’re satisfied with it or want to tweak it to match your voice.
- Go to Contacts → Messages and find the “Contact us | Confirmation” email.
- Review the content contained in the email and adjust anything you’d like.
- When you’re finished, click Save.
Step 4: Customize your task
Back to top
After a contact submits an inquiry, you (or your team) will be notified and provided a task to complete. Customize your tasks to fit your needs.
Check out this Ontraport University course to learn more about task messages.
- Go to Messages and find the “Contact us | Follow-up” task template.
- You can edit any of the fields on this page:
- If you want to add additional contact information, use merge fields to add to the task’s body.
- Add additional task outcomes to give your team more options when they complete their tasks.
- Click Save when you’re done.
Record and field reference
Back to topContact records
This automation includes one custom contact field, “Contact us question.” You can find it in the “Lead Information” section.
Contact us question: This is a long text field used on your “Contact form” page. The long text field gives your visitors space to write their questions in as much detail as they see fit.
