The My Profile app lets your leads and customers update their personal information. This functionality reduces customer support needs by empowering customers to manage their information. And it frees up your resources to handle more complex customer inquiries instead.
Giving customers control over their data enhances their overall experience with your company. Customers typically expect and prefer self-service, which leads to increased satisfaction and loyalty.
Watch this walkthrough video to learn more about the app!
Log in with these credentials:
Username — ppersimmons@example.com
Password — Password123
This article explains how to customize every piece of your app and provides a reference section to learn more about your new records and relationships.
Table of contents
App functionality tips
• My profile app domain
• Dynamic content
What you get
• Profile page template
• Security and privacy page template
• Automation
Customize your app
• Step 1: Customize your pages
• Step 2: Customize your automation (optional)
• Step 3: Personalize your welcome email
• Step 4: Give access to existing customers
App record and field reference
App functionality tips
Here’s some important information about this app.
My profile app domain
Back to top
This app uses Ontraport's Membership Sites feature to protect your contact’s personal information.
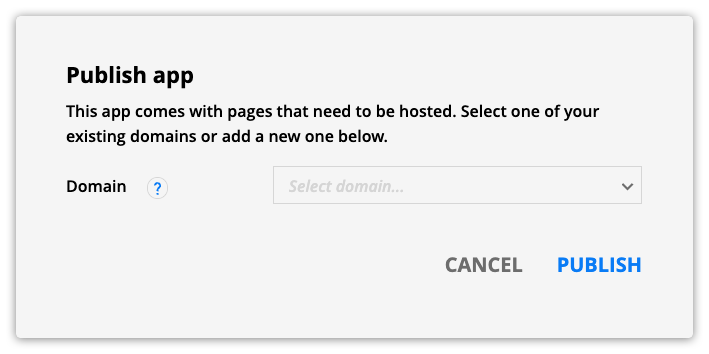
When you install this app, the domain you choose determines the URLs of all your published pages.
- If you select an existing membership site's domain, you connect your My profile app pages to that site.
- If you select a new domain, you create a new membership site to host your My profile app.
Dynamic content
Back to top
This app uses Ontraport's dynamic content features to publish content saved in your contact records.
If you are unfamiliar with dynamic pages, dynamic blocks, or page types, check out this Ontraport University course to learn more.
What you get
Back to top
Here are the pages, templates, emails and automations that come with this app!
Profile page template
Back to top
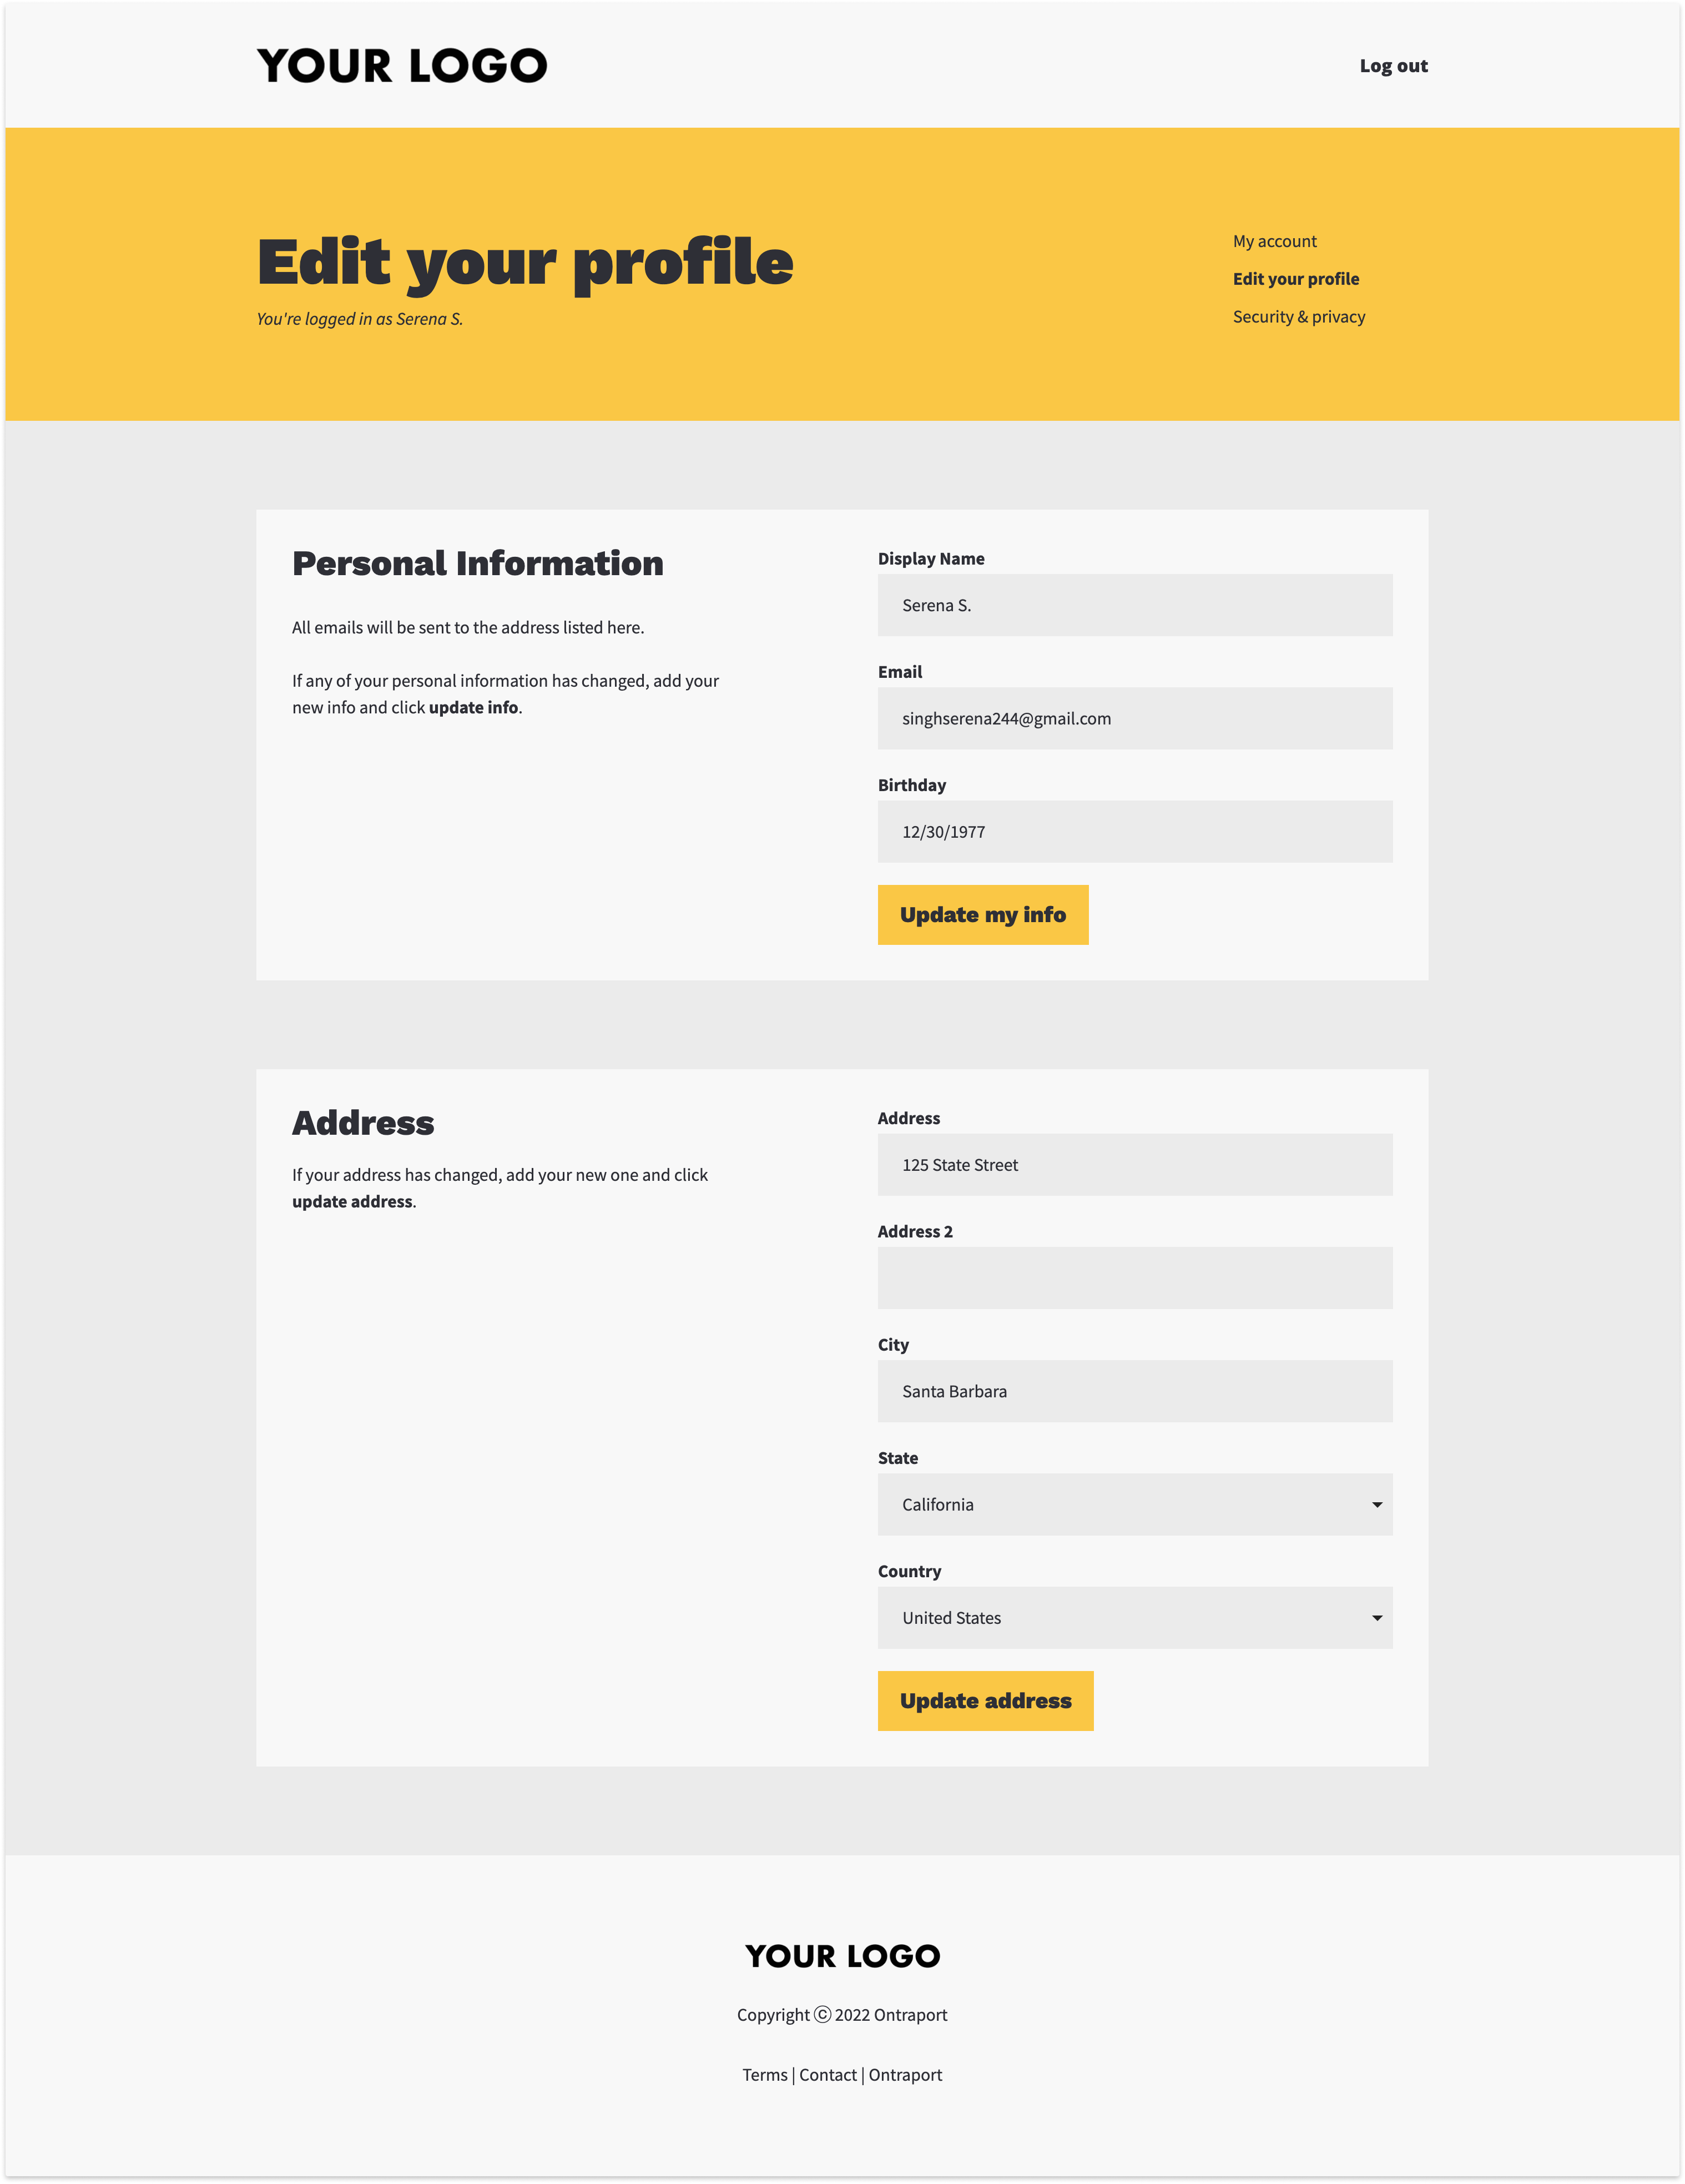
The profile page lets your customers update their personal and address information.
Security and privacy page template
Back to top
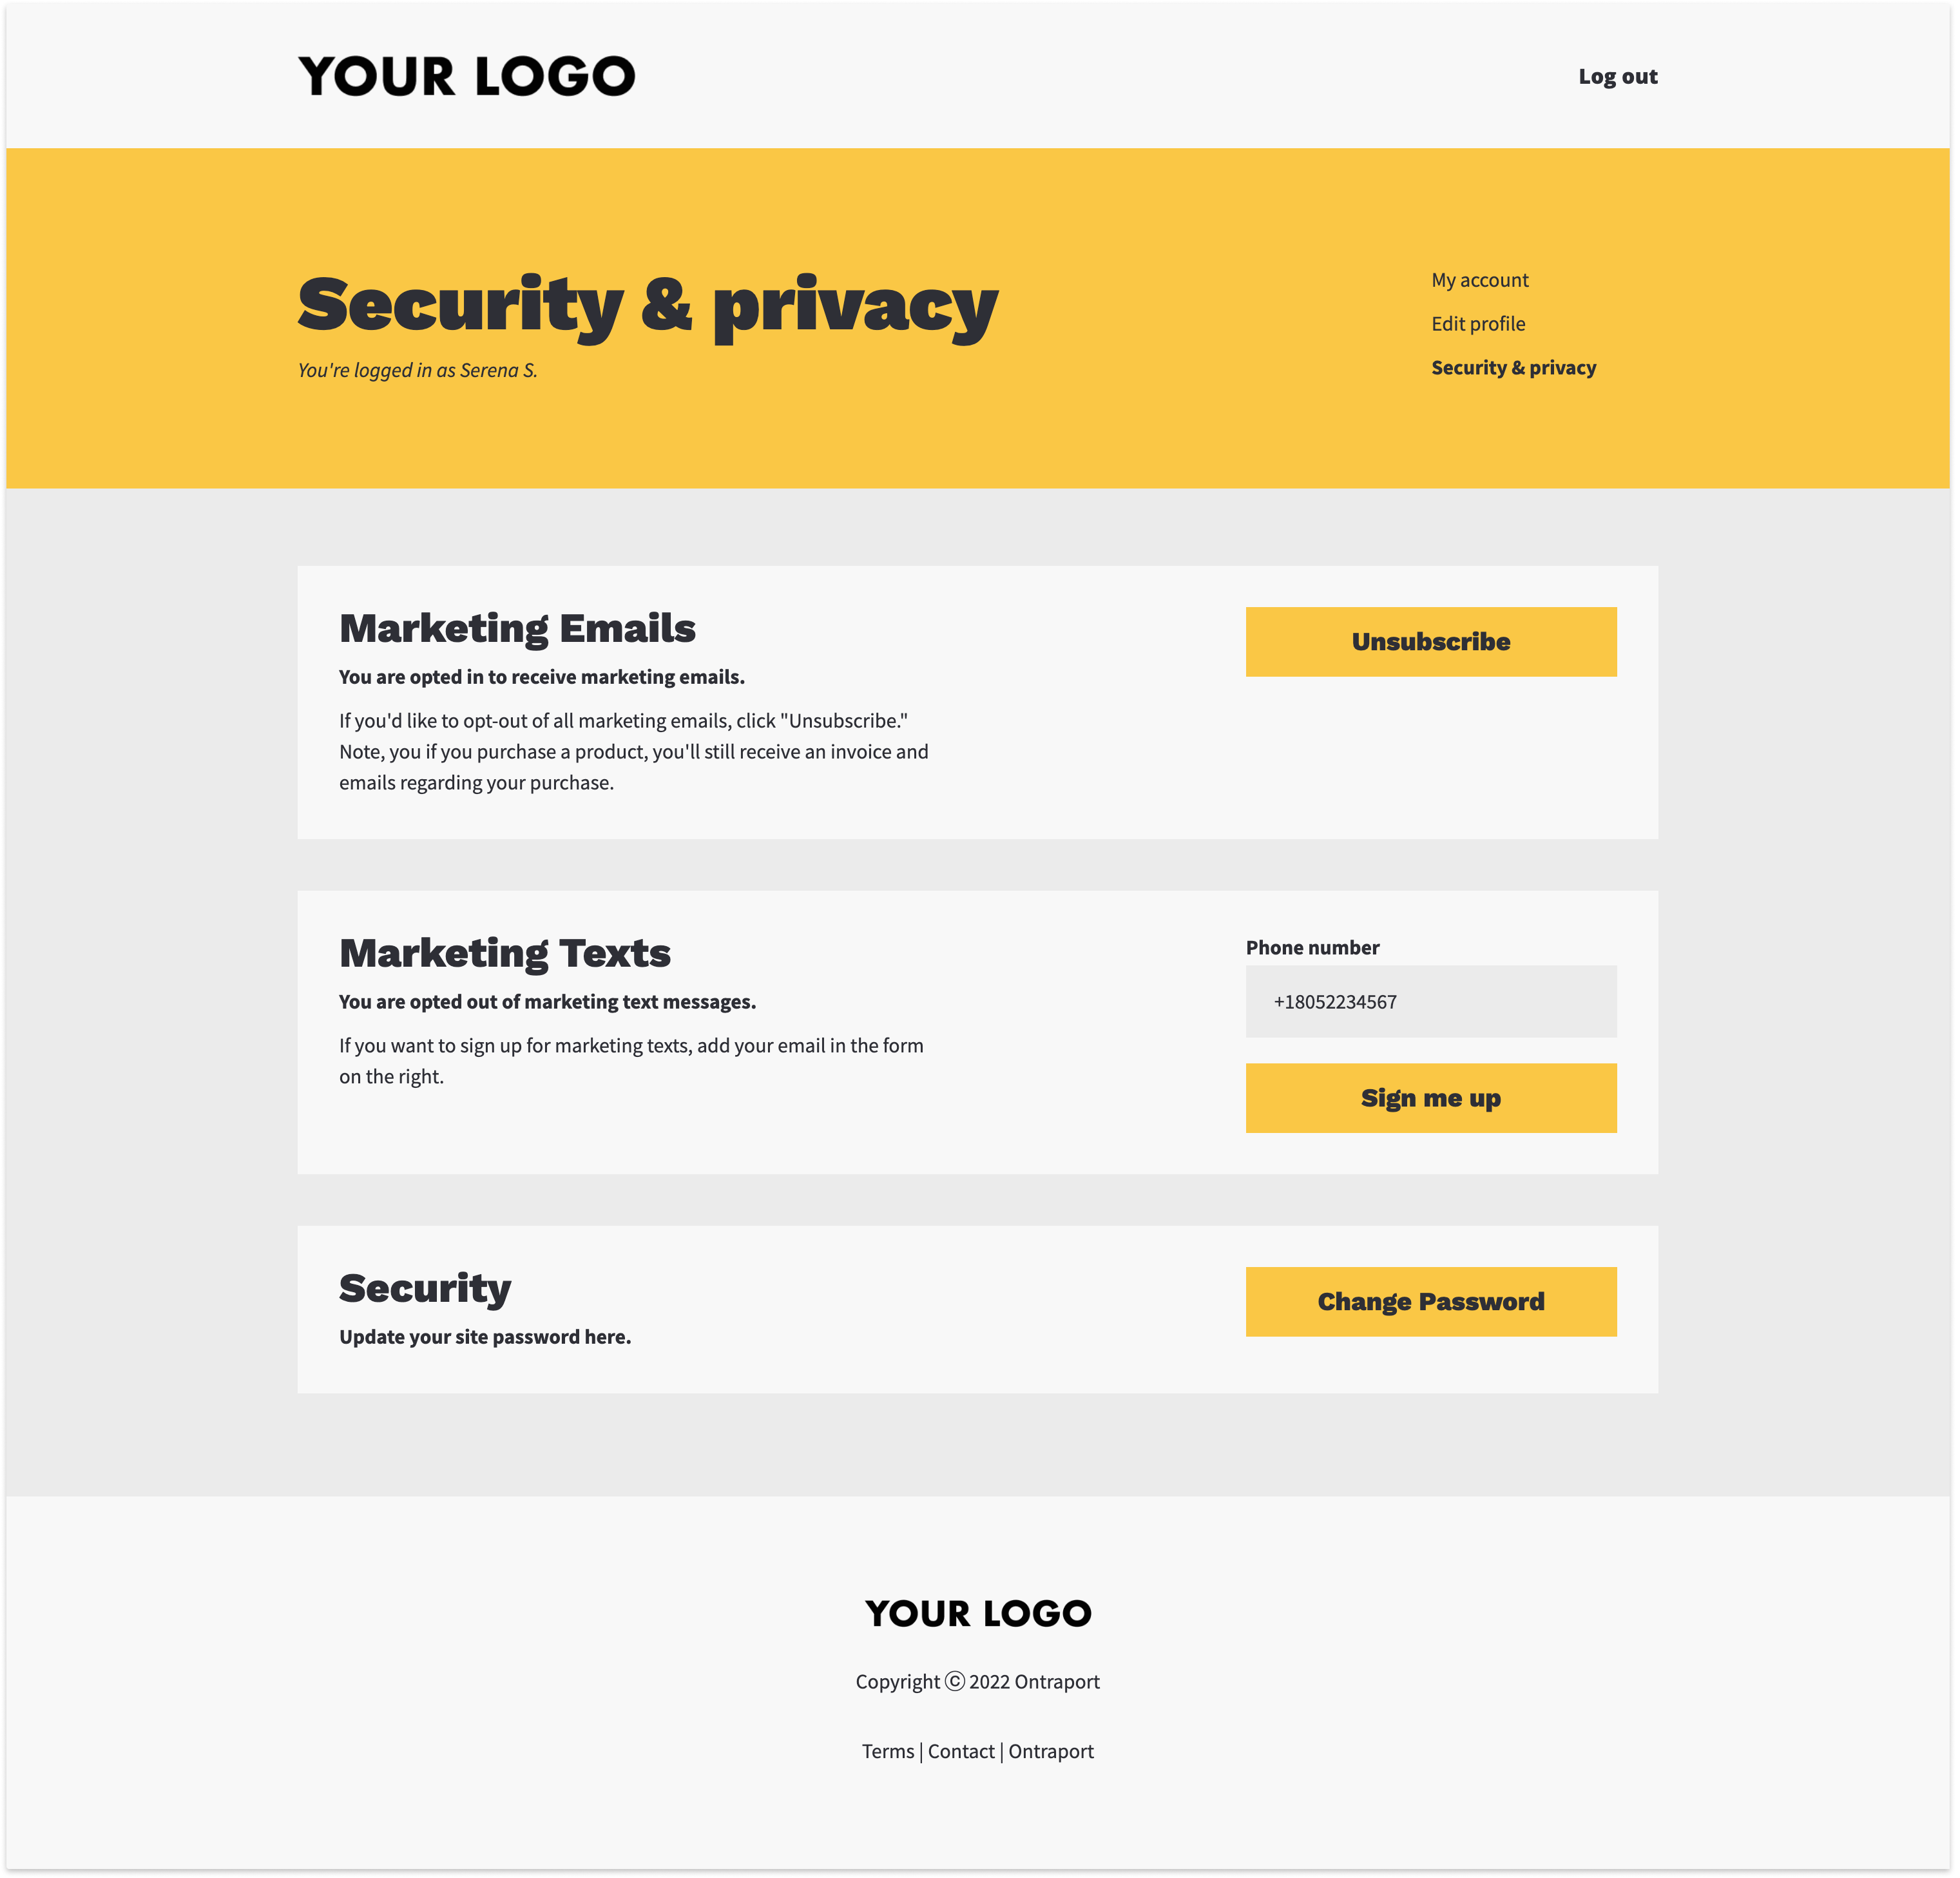
The security and privacy page gives customers control over their email and SMS subscriptions and allows them to update their passwords.
The Unsubscribe automation updates your customers’ bulk email and SMS status based on their choices on the security and privacy page.
Automation
Back to top
This automation gives customers access to their profile and security pages when they purchase from you. It also sends a welcome email to your customers to tell them about their profile.
Customize your app
Back to top
Here are the steps to personalize the My Profile app with your content.
Step 1: Customize your pages
Back to top
Add your brand colors, fonts and logo to your pages to make them your own.
- Check out this Ontraport University lesson to see how you can customize your pages.
- Go to your system and edit the app’s pages and templates.
Step 2: Customize your automation (optional)
Back to top
By default, this app gives any customer access to their profile, but you can customize who should get access. All you have to do is update your trigger.
For example, if you want to give access to any contact, switch your trigger to “Contact is created.”
If you only want to give access to contacts who purchase a specific product, select that product in your trigger settings.
Step 3: Personalize your welcome email
Back to top
This app includes a welcome email sent to customers when you give them access to their profile. You can customize the content of this email to represent your brand. This email includes a generic logo, so before you send it to customers, ensure you at least add your logo.
Step 4: Give access to existing customers
Back to top
Unless your account is brand new, you likely have contacts you want to give access to. You can select your contacts and manually give them access.
- Go to Contacts and select the people you want to give access.
- Click Change field from the action bar and change the “My Profile app | My profile template” to “My Profile app | Profile page.”
- Click Change field at the bottom of the dialog.
- Click Change field from the action bar again, and change the “My Profile app | My profile published” toggle “on.”
Now follow the same steps to publish the security page.
- Click Change field from the action bar and change the “My Profile app | Security and privacy template” to “My profile app | Security and privacy”
- Click Change field at the bottom of the dialog.
- Click Change field from the action bar again, and change the “My Profile app | Security and privacy published” toggle “on.”
Finally, you need to give your members access to your membership site.
- Click Change field from the action bar and change your membership site’s status to “Enabled.”
- Click Change field at the bottom of the dialog.
This will send an email to your contacts that delivers their credentials. If you also want to send a welcome email and explain that they can now access their profile, you can send a manual broadcast.
App record and field reference
Back to top
Here’s some important information about your app.
Contact records
There is one custom field in this app: “Display name.” You can use this field throughout your membership pages. It allows your customers to use a name they can easily update.
You can find profile information in the “Profile” tab in your contact records.
Here’s a description of essential sections in your record and the fields stored there:
My profile information section
This section only contains one field, and it allows your users to update the name of their display name. If you want to add more custom fields to your profile, this is a great section to save them in.
Display name: This is the name your members use in your profile app. Your members can update their display name to fit their preferences, and you can use this merge field anywhere on your membership site to use your members’ preferred names.
My Profile App | Profile section
This section contains the page controls for your profile. The Publish profile map automatically publishes this page for your customers when they first purchase from you.
My Profile app | My Profile URL: This is the URL of your contact’s profile. The URL structure is set by this page type.
My Profile app | My Profile template: This is the template used to publish your profile.
My Profile app | My Profile published: This toggle determines if the profile is published or not.
My Profile app | My Profile visits: This is the total number of visits to the profile page.
My Profile app | My Profile unique visits: This is the total number of unique visits to the profile page.
My Profile App | Security and Privacy section
This section contains the page controls for your security page. The Publish profile map automatically publishes this page for your customers when they first purchase from you.
My Profile app | Security and Privacy URL: This is the URL of your contact’s profile. The URL structure is set by this page type.
My Profile app | Security and Privacy template: This is the template used to publish your security page.
My Profile app | Security and Privacy published: This toggle determines if the security page is published or not.
My Profile app | Security and Privacy visits: This is the total number of visits to the security page.
My Profile app | Security and Privacy unique visits: This is the total number of unique visits to the security page.
