
With the Ontraport Mobile app, you can run your business from anywhere. So leave your desk without missing any opportunities!
The app gives you access to the information you need to prepare for a call, draft a follow-up email, take a note after a meeting, or schedule your next task.
You will be able to perform most of the actions you can find in the desktop app. There are collections for Contacts, Deals, Companies, and all your other custom objects. You can also drill into any of the records to make edits or access specific notes, tasks and related records.
You can download the Ontraport Mobile App for Android here and iPhone here.
Check out this video about the mobile app.
Table of contents
Navigating the app
Using collections
Using mobile records
Tasks collection
Customizing your app
Navigating the app
Use your button navigation bar to find your collections and app settings.

Just like on the desktop version of your app, the buttons you see on your main navigation bar depend on what objects you have enabled in your account. So if you only have contacts enabled, then you’ll just see your contacts and menu icon from your navigation. If you have more than three objects enabled in your account, your additional collections are available from your menu button.
You can always reorder your navigation bar to put the collections you use the most front and center.
Tap on your object icons to go to that object’s collection.
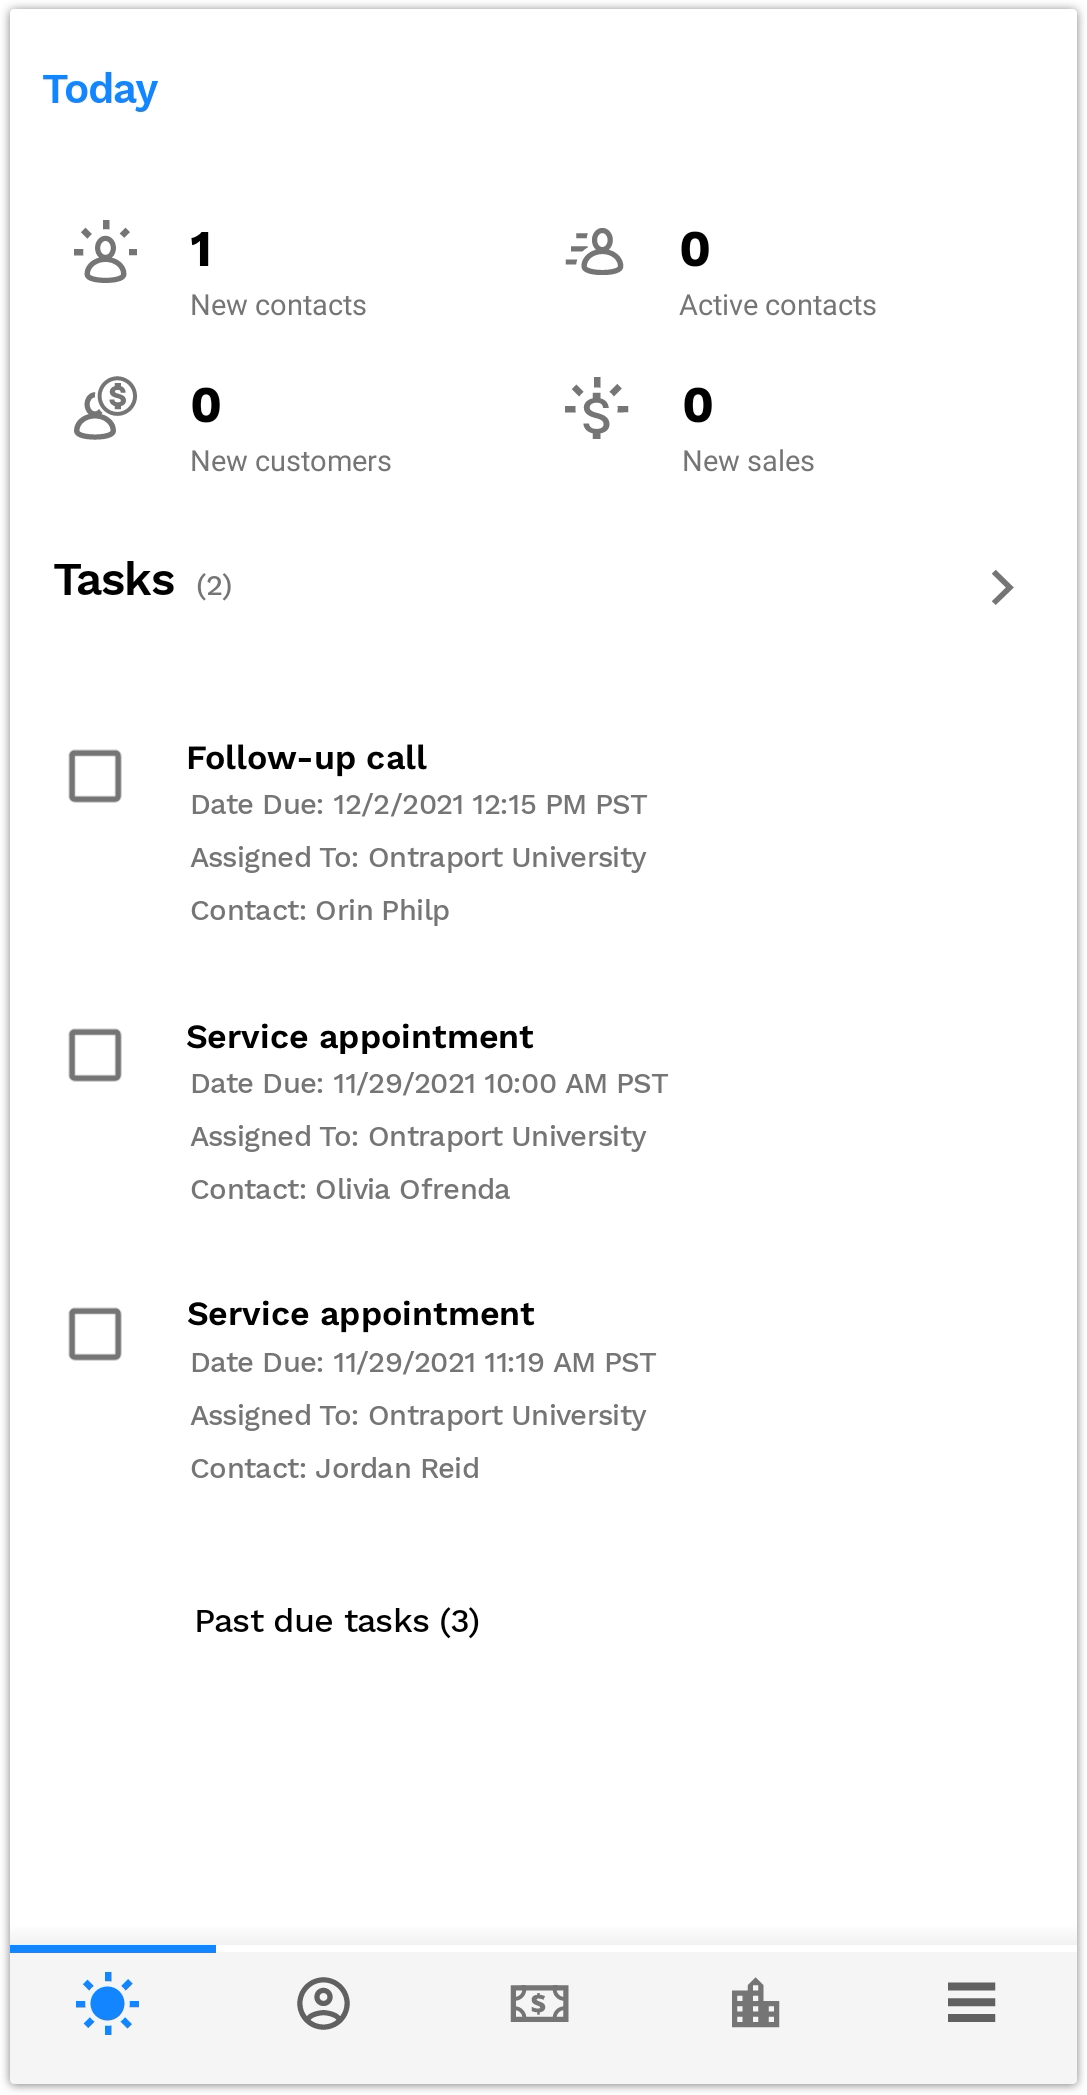
Tap  to go to your “Today Screen.”
- This screen shows you important metrics for each day. This makes it easy to keep an eye on your new leads and sales on the go.
- You’ll also see a list of tasks that are assigned to you and are due today. This list will help you stay on top of your schedule each day.
- The today screen is available for Android and is coming to iOS soon!
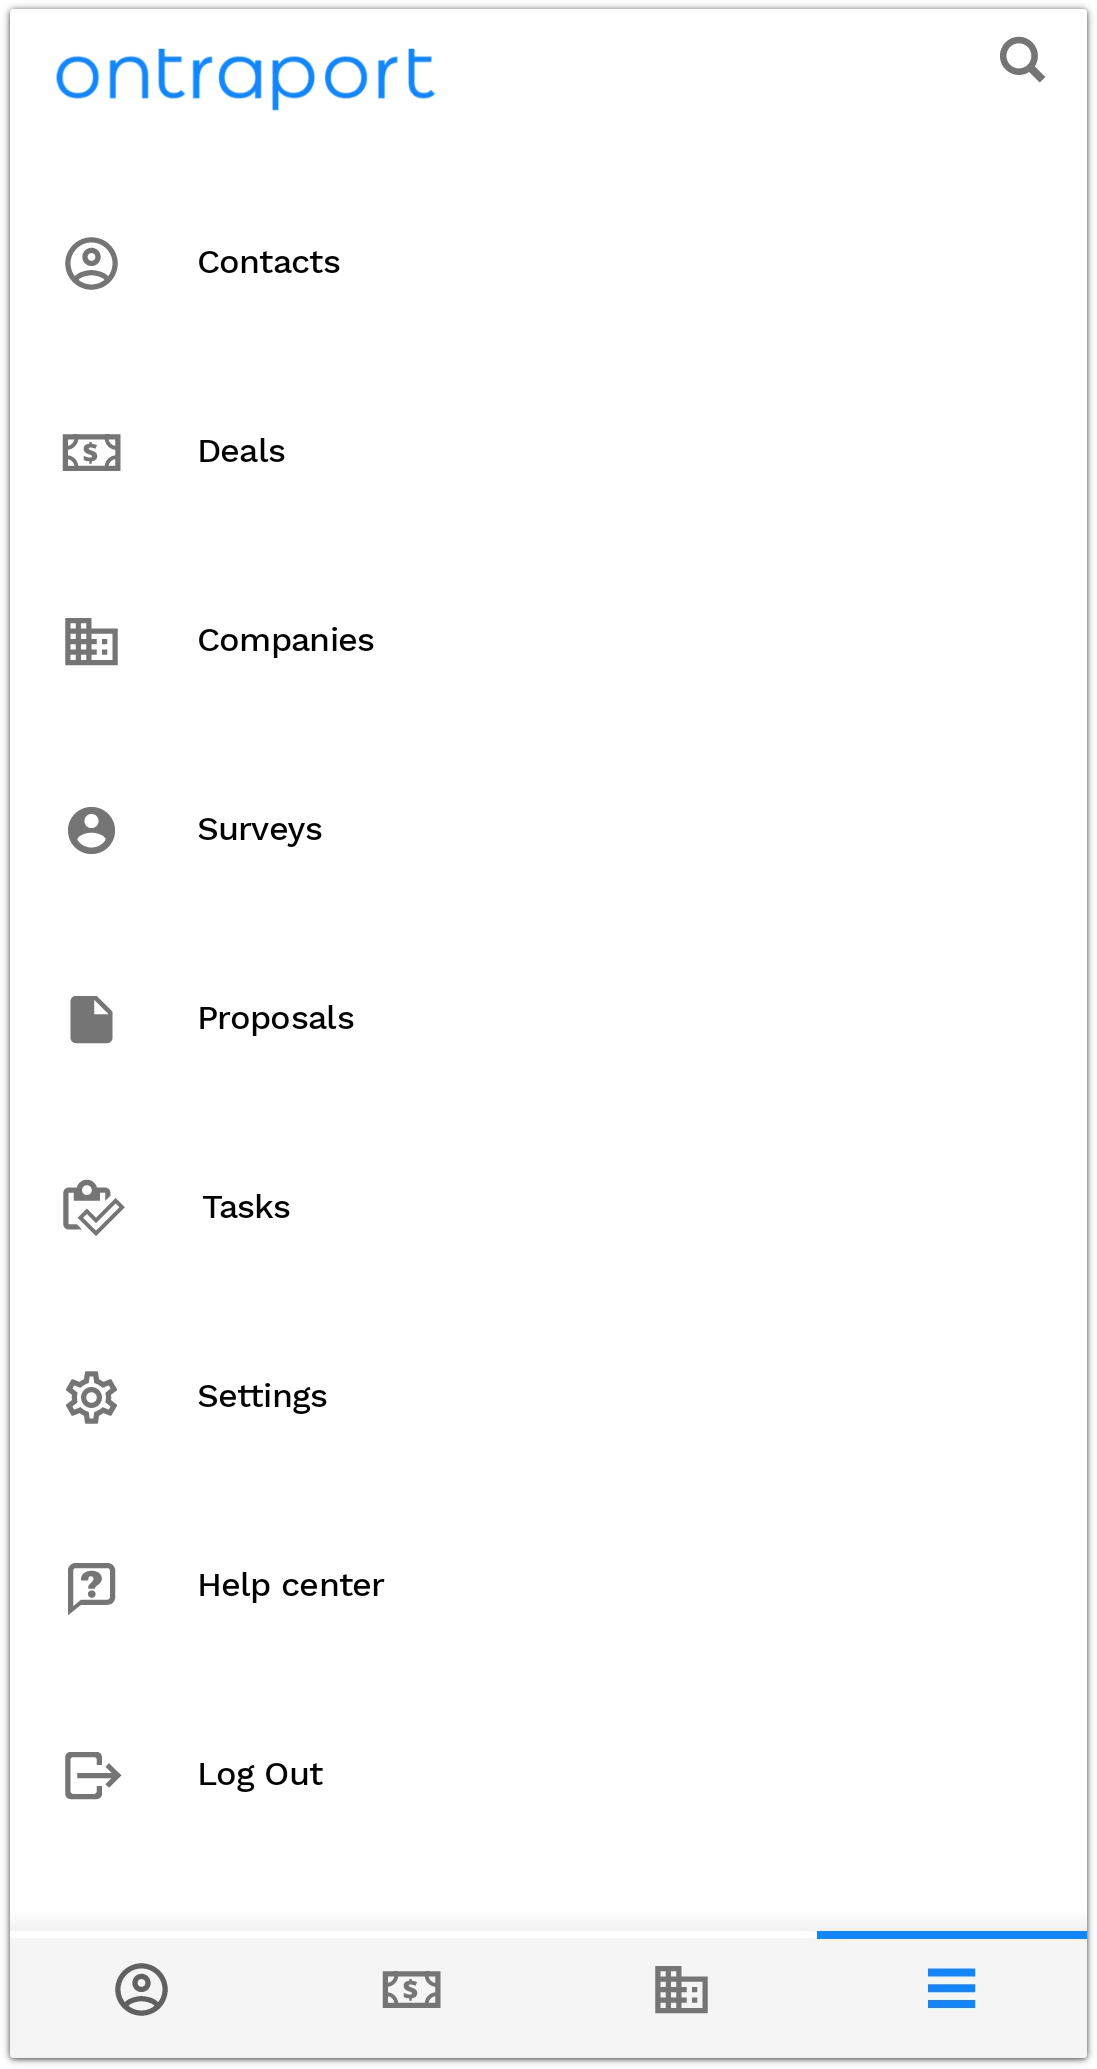
Tap  to go to your main menu. This is where you can access:
- Any object collection
- Your tasks collection
- Settings
- Help Center
- Log Out
Using collections
You have access to all of the same object collections in the mobile version of the app as you do in your desktop version. So you can view your saved data, perform actions and customize the data you see.
The top row of your mobile collections lets you search and sort your records.
.png) – Tap to search for your contacts.
– Tap to search for your contacts.
By default you’ll only search the fields that you’ve added to your page, but you can tap “Search all records?” to perform a deep search of any field in your record.
 – Tap to customize your collection view. You have three options:
- Sort: Choose a field you want to sort your records by.
- Color: Choose a color field you want to display on the left side of your records.
- Fields: Choose which fields you want to see from your collection.
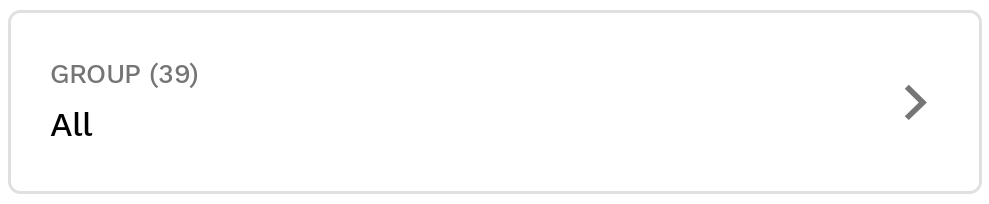
Below your top navigation bar, you can select the group you want to view to segment your records.
Creating new records
You can create new records on the go by adding contact information.
- Go to the collection you want to create a record for.
- Tap
 in the bottom right corner.
 - Add basic contact information and tap
 to save your info.
- If you have more information to add to your record, you can edit your new record to add to your details page.
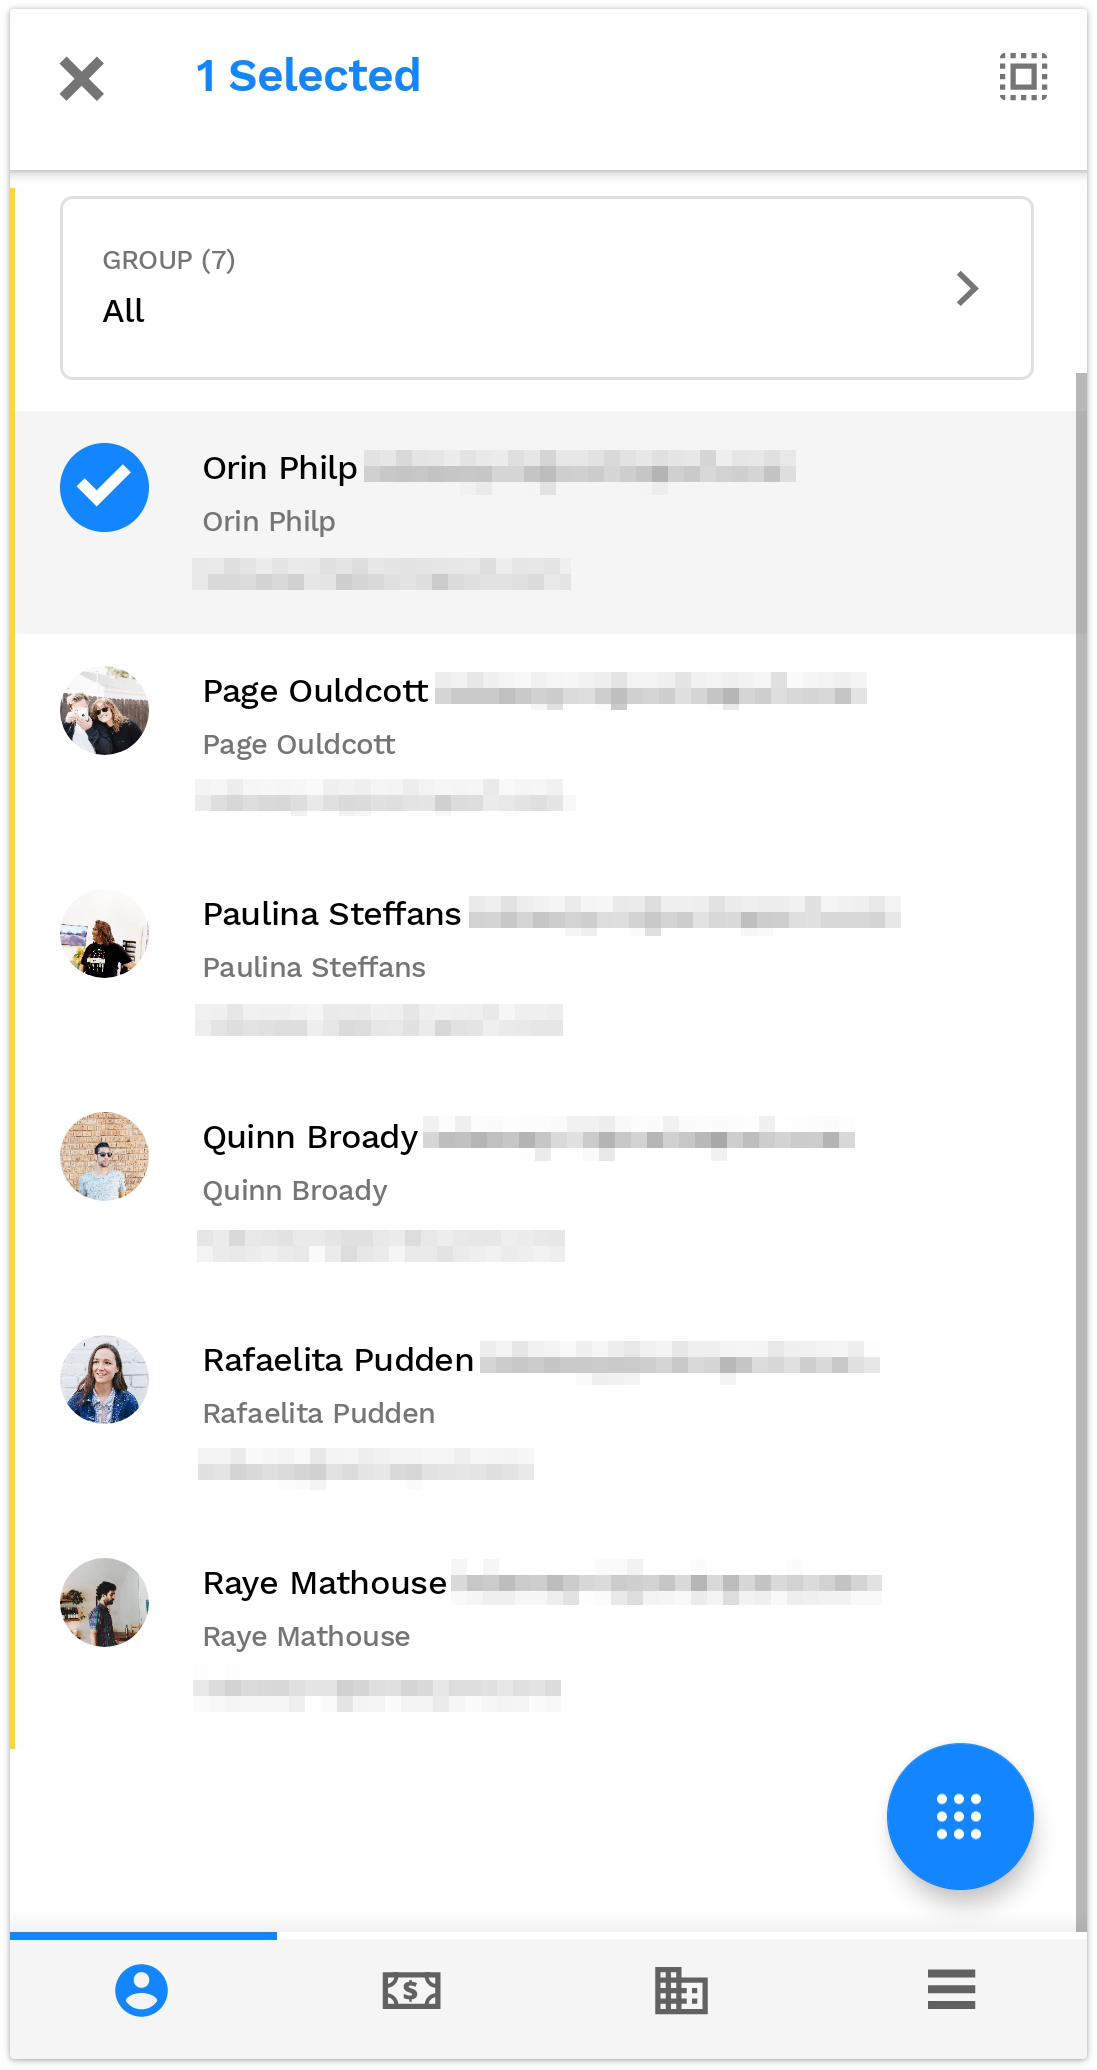
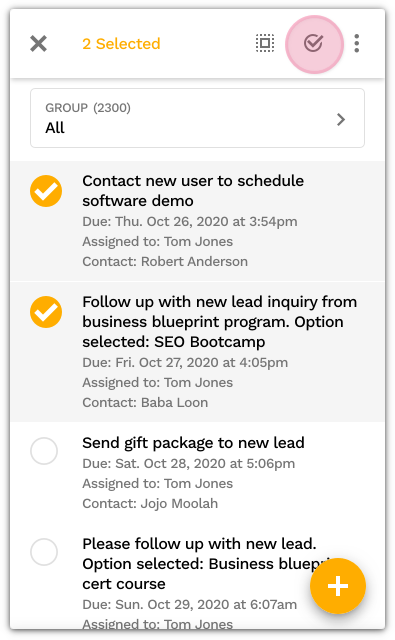
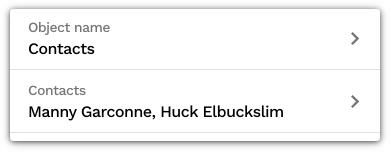
Selecting records
From any of your collections, you can tap on your record’s name to go to that record, and you can select multiple records.
- Tap the icon next to your record to select it.
- Tap
 to select additional records.
  – Tap to select all of the records in your group.
- Tap
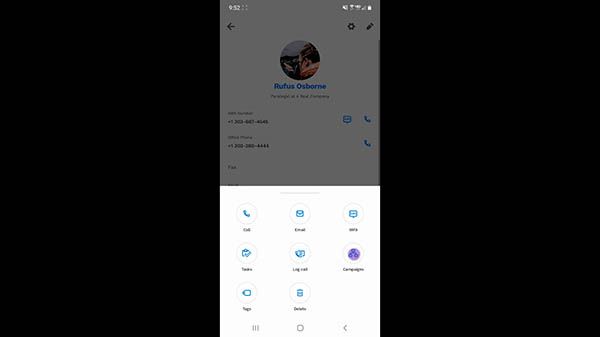
Actions
You can perform actions from your collections or from inside of your records. Just tap  to access all of your actions.
Actions are basically the same regardless of where you’re performing them:
- Tap
 to call your contact directly from your phone.
 - Tap
 to log notes about a call.
 - Tap
 to add or remove tags.
 - Tap
 to write an email to your contact using your phone’s default mail app.
 - Tap
 to send a text message.
 - Tap
 to update the value of a field.
 - Tap
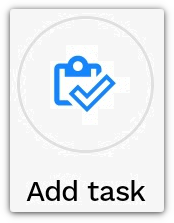 to assign a task. You can create a new quick task or use a template.
 - Tap
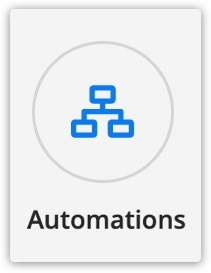 to add or remove your contact from an automation map.
 - Tap
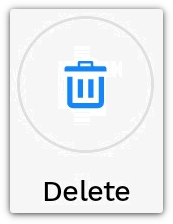 to delete your record.
Note, if you want to perform actions from your collections, you must select at least one contact to make appear. You also have action buttons next to your record’s email address or phone number to quickly call or email your contact.
Using mobile records
You can customize your records to put the information you want to see front and center. You can also perform actions from inside of each of your records.
Tap on a record from your collection — not the icon — to go to that record.
Edit field values
Your records are made up of three pages: overview, details and more.
- Tap
 in the top right corner of your overview or details page.
 - Tap on the field you want to edit.
- Tap to save your changes.
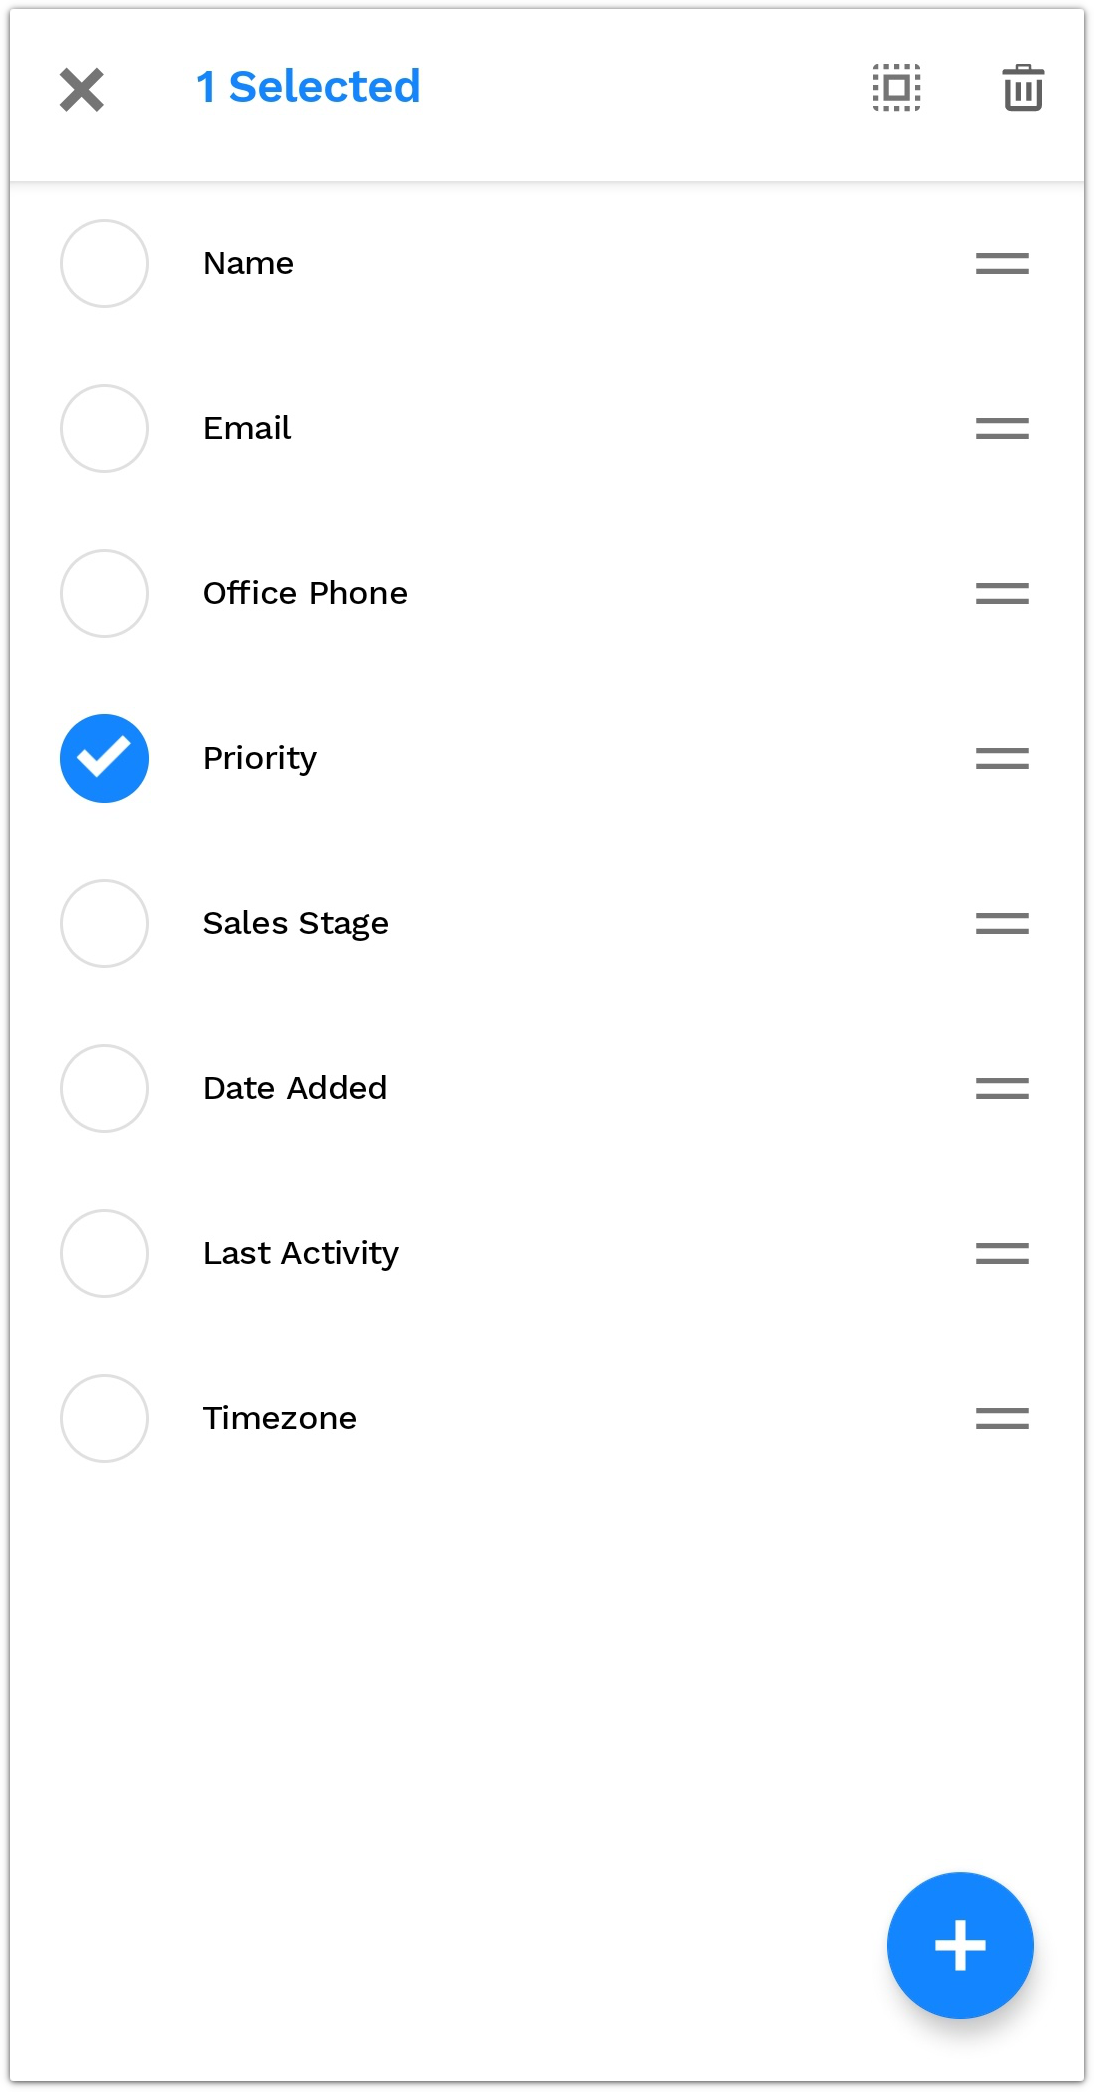
Choose the fields you want to see
You can choose the fields you want to see on your details page.
Here’s how:
- Go to a record’s detail page and tap
 .
. - Tap to add fields to your page.
- Tap on the field you want to add.
- Tap and drag
 next to your fields to reorder them.
 - Tap to select all fields on your page.
- Tap and hold on your field to select it, and tap
 to remove your field.
- Tap and drag
- Tap to save your changes.
Edit the widgets on your “More” page
You can also choose which widgets you want to see on your “More” page. Editing widgets is basically the same as editing the fields on your detail page.
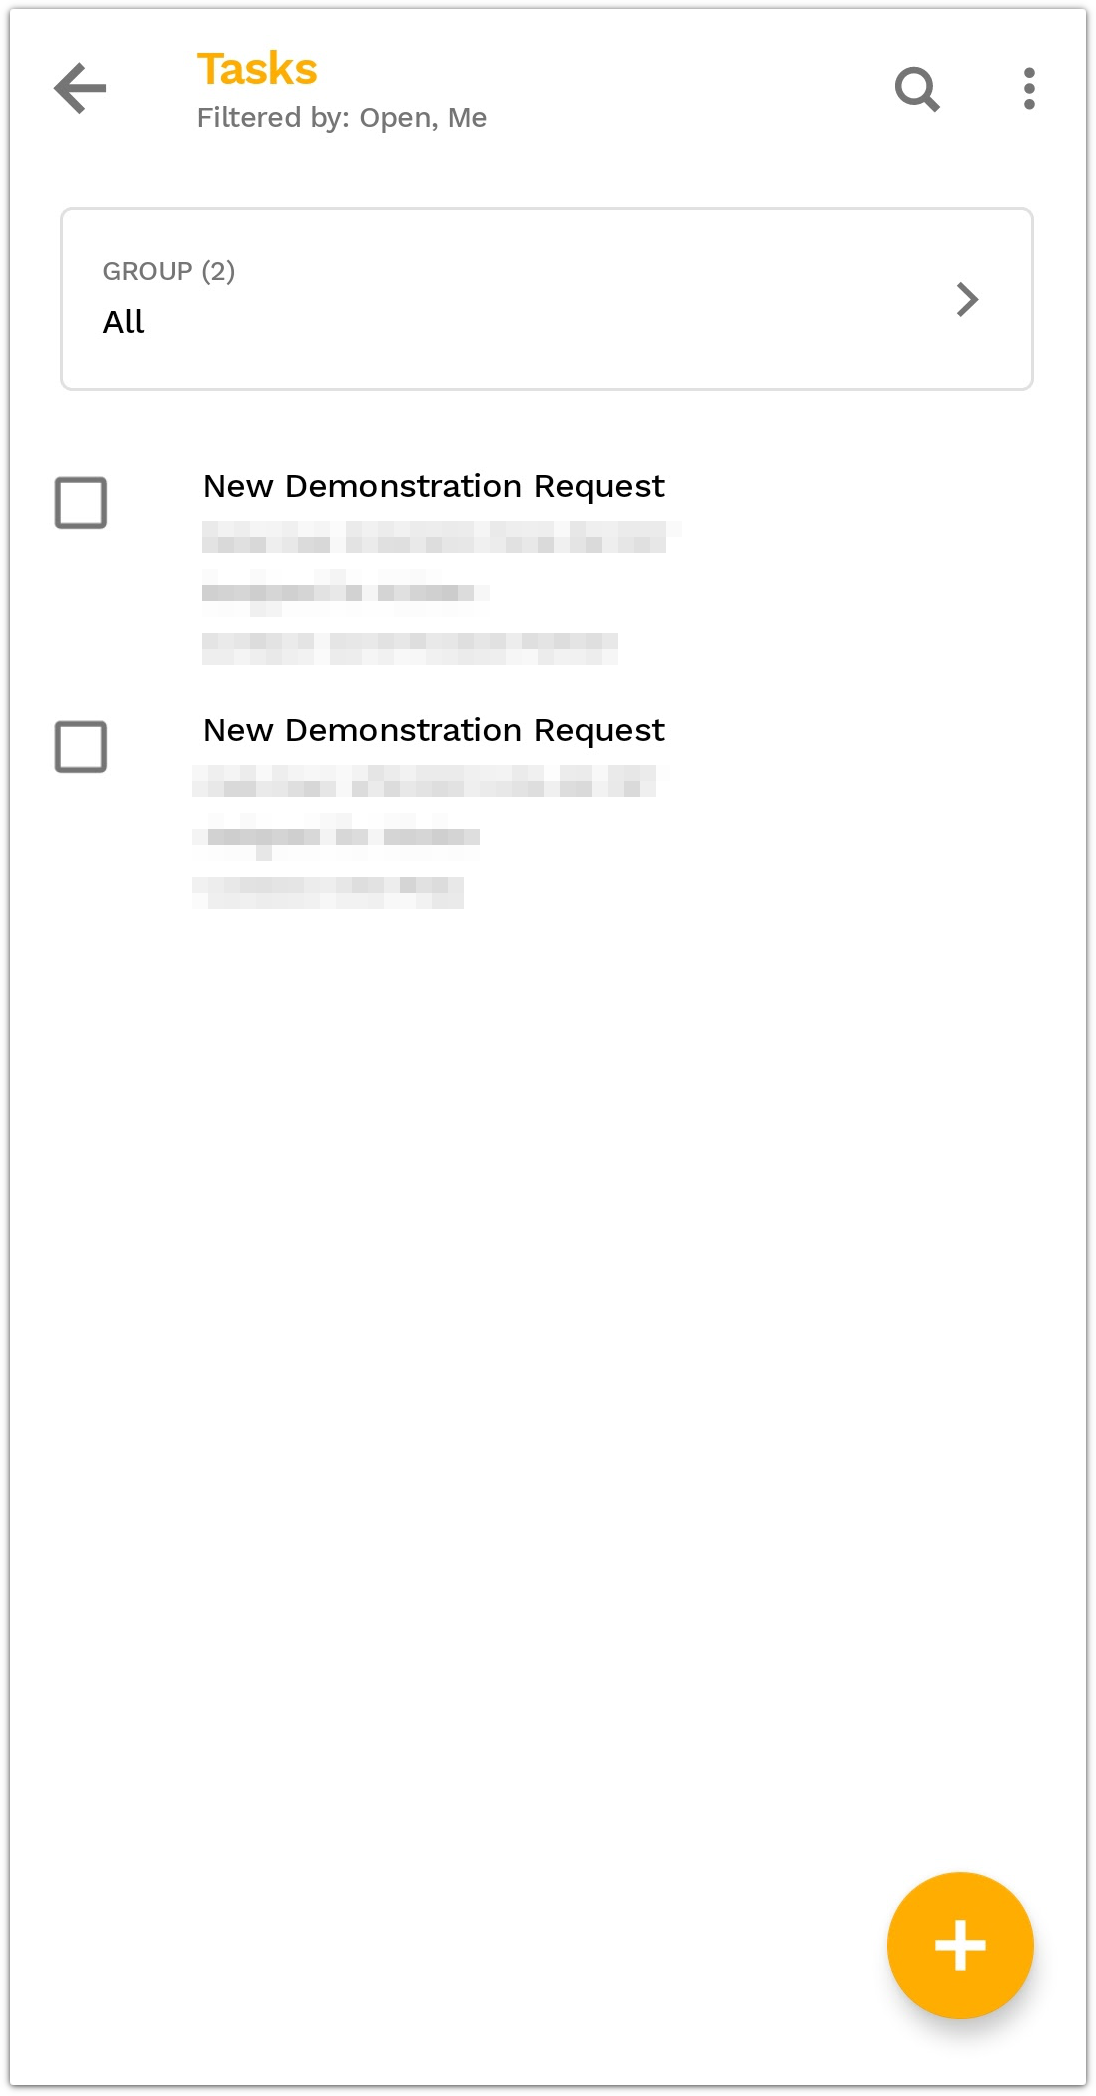
Task collection
While all of the other collections on the mobile app are for object records, your task collection is a little different. Instead of giving you information about your leads and customers, your task collection is more like your to-do list. It functions the same way as the task collection you use on the desktop version of the app.
The top row is just like any other collection, where you have a search option, sort options and your group dropdown.
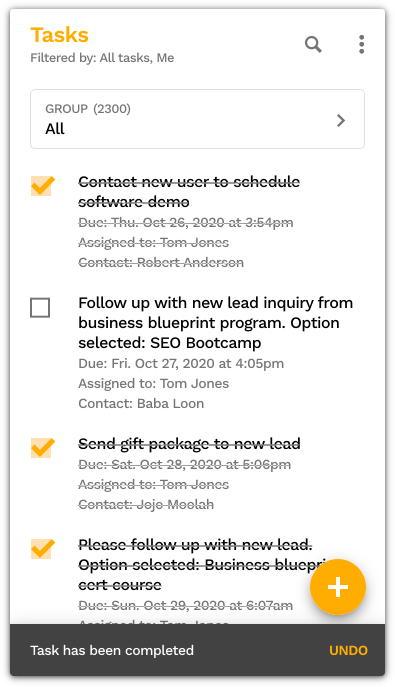
Complete tasks
You can complete tasks one at a time, or you can select multiple tasks and complete them all at the same time.
Create a new task
You can create a new task on the go by creating a quick task or using a template.
Here’s how:
Manage your tasks
In addition to completing and creating new tasks, you can reassign, reschedule, reopen and cancel your tasks.
Here’s how:
Getting help
If you get stuck and need a hand while working on the mobile app, you have a bunch of resources to get you going from the Help Center.
Here’s how to get there:
Customizing your app
Go to your app’s settings when you want to customize your navigation or theme and enable or disable the auto log calls feature.
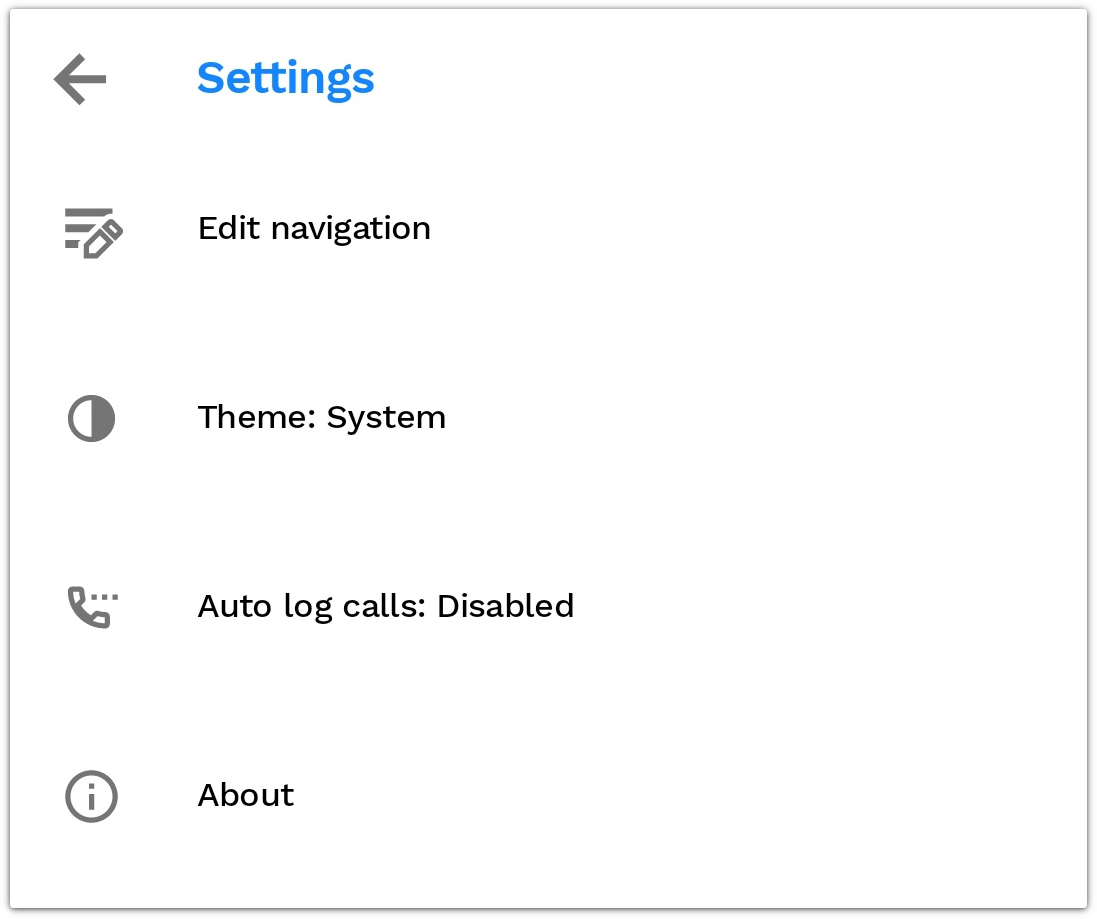
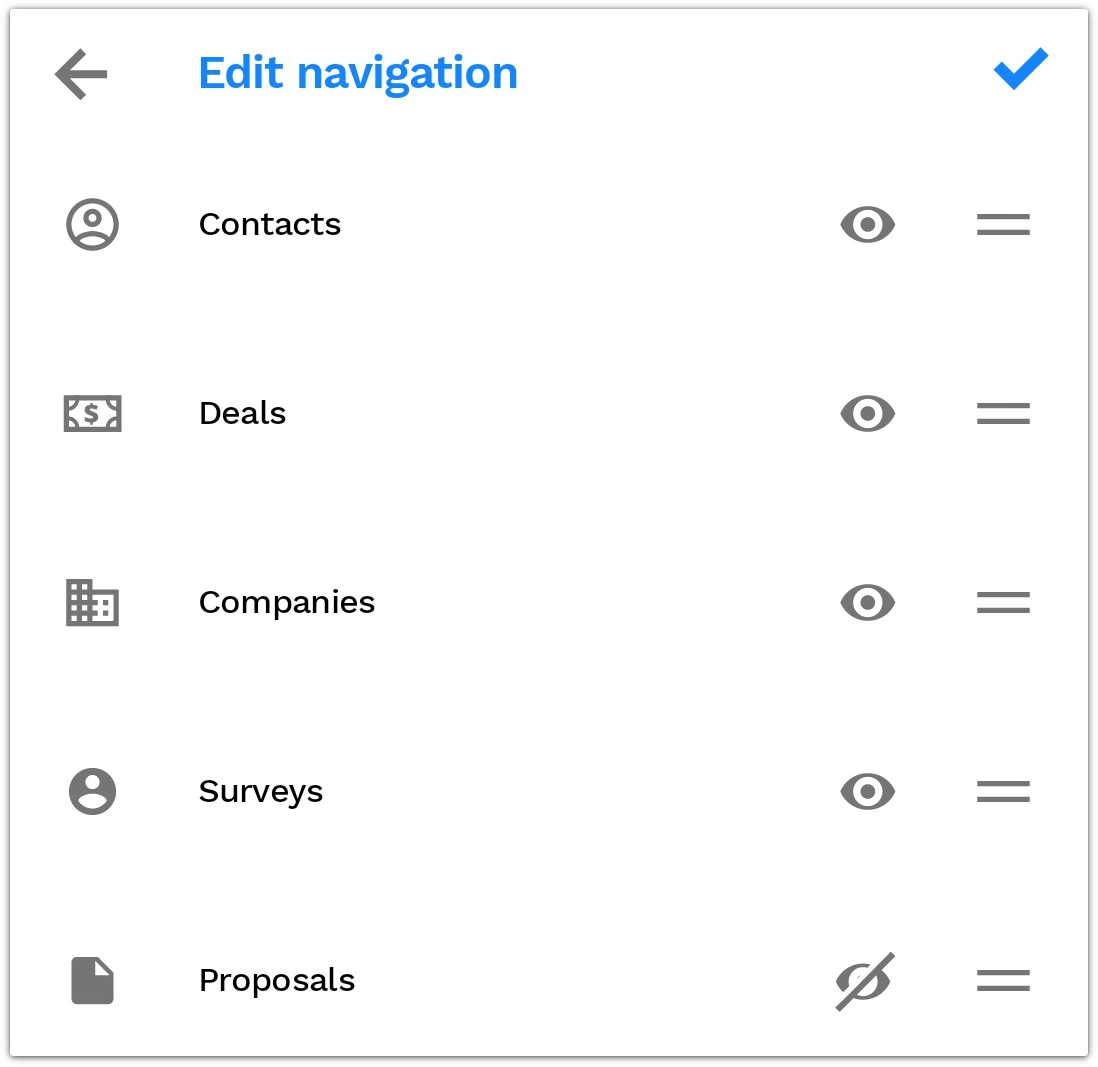
Edit navigation
You can choose which collections you want quick access to by editing your navigation. The top three collections on your list will be the buttons on your navigation bar.
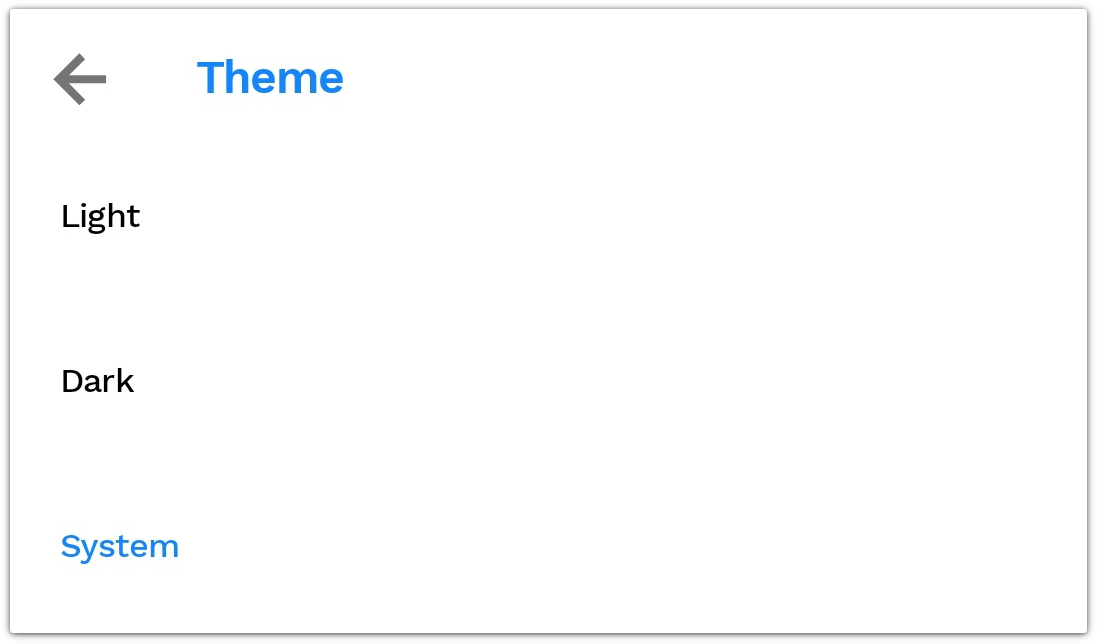
Change your theme
You can choose from three different theme settings for your app. Select an option that’s easy on your eyes!
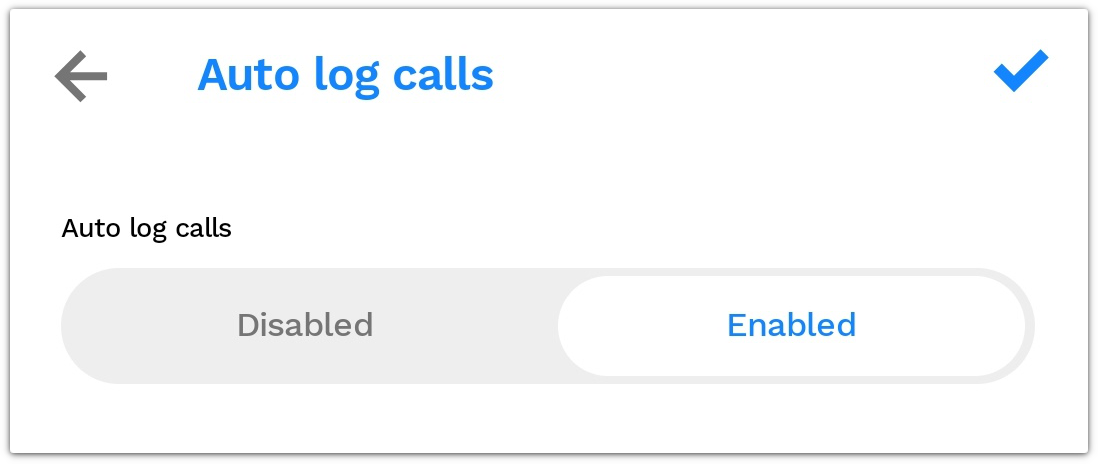
Auto log calls
You can enable auto log calls to automatically pop up a form after you complete the call. This is a great way to make sure that you’re leaving notes about your calls while the conversation is still fresh in your mind.
- Go to a record’s “More” page and tap .
- Tap and drag to reorder your widgets.
- Tap
 to hide/show your navigation item.
- Tap
 next to your task to mark it complete.
 - Tap and hold your task’s name to select multiple tasks.
- Tap
 to select additional tasks.
 - Tap to select all tasks.
- Tap
 to complete your selected tasks.
- Tap
- If your task includes task outcomes and/or a form, those will pop up right after you check off your task as completed.
- Tap
 to create a new task.
 - Select Quick Task or Use a template.
- Select the object and record you want to create a task for.
- Tap
 .
. - Add your task details.
- For quick tasks: Add your task’s subject, due date, assignee and task details.
- For task templates: Select the object and record you want to create a task for.
- Tap
 to assign your task.
- Select at least one task and tap .
- Tap Reassign to choose another user or role you want to assign the task to.
- Tap Reschedule to choose another due date for your task.
- Tap Reopen to open a completed task.
- Tap Cancel to cancel your task.
- Tap → Help center.
- Tap on Resources to see training resources, success stories, system status and more.
- Tap Support center to chat with the team, create a ticket, schedule a screen share, check in on your support tickets and leave feedback or feature requests.
- Tap → Settings → Edit navigation.
- Tap and drag to reorder your navigation.
- Tap the
 or
or - Tap to save.
- Tap and drag
- Tap → Settings → Theme.
- Tap Light to use a white background
- Tap Dark to use a black background
- Tap System to use your phone’s settings
- Tap → Settings → Auto log calls.

.png) → Administration → Personalize → Reorder Navigation Menu. Hover over your object’s name and click the Edit Icon. Note, you can’t change the icon for default sections such as “Systems,” “Pages,” “Tracking,” etc.
→ Administration → Personalize → Reorder Navigation Menu. Hover over your object’s name and click the Edit Icon. Note, you can’t change the icon for default sections such as “Systems,” “Pages,” “Tracking,” etc.