Ontraport offers several ways to collect payment from your customers.
- Selling product on order forms
- Requesting payments with invoices
- Log or charge transactions manually.
This article covers how to log or charge transactions manually. This is helpful when you need to charge a credit card on file on behalf of your customer or log an offline payment such as check or ACH payment.
The ability to collect payments is available at some account levels. Check out our pricing page to learn more.
Table of contents
Log an offline transaction
Charge a credit card
• Charge transaction on a later date
• Change currency
Create an offer
• Add an offer
• Delete an offer
Log an offline transaction
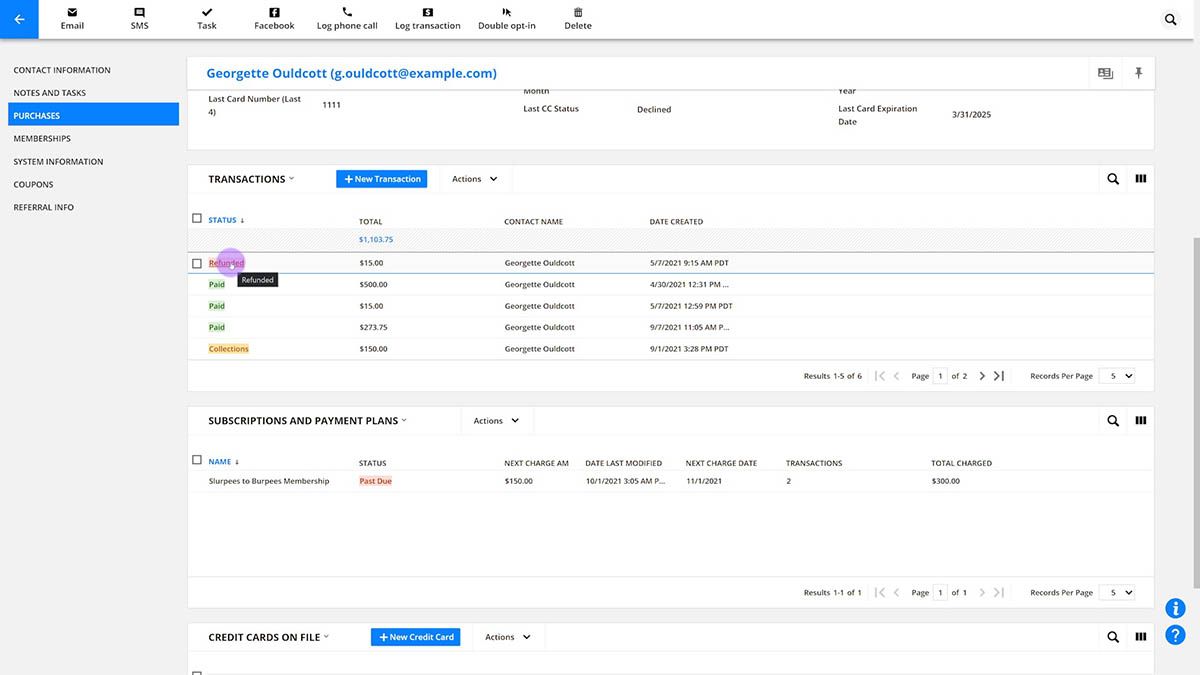
Logging a transaction creates an invoice in your contact’s record and adds a purchase without charging them or requesting payment. This is typically used when you’ve collected payment offline and want to record the purchase in your Ontraport account.
- Go to your contact’s record and click Invoice from the action menu.
- Or go to the Purchases tab, locate the Invoices subcollection and click New invoice.
- Set up the product in the same way as configuring payment settings on an order form.
- In the “I would like to” dropdown, select Log offline transaction.
- Select the payment method and payment details such as check number in the payment details section.
- Select the date of the purchase in the Invoice date field.
- (Optional) Leave a customer or internal note.
- Click Submit to log the transaction.
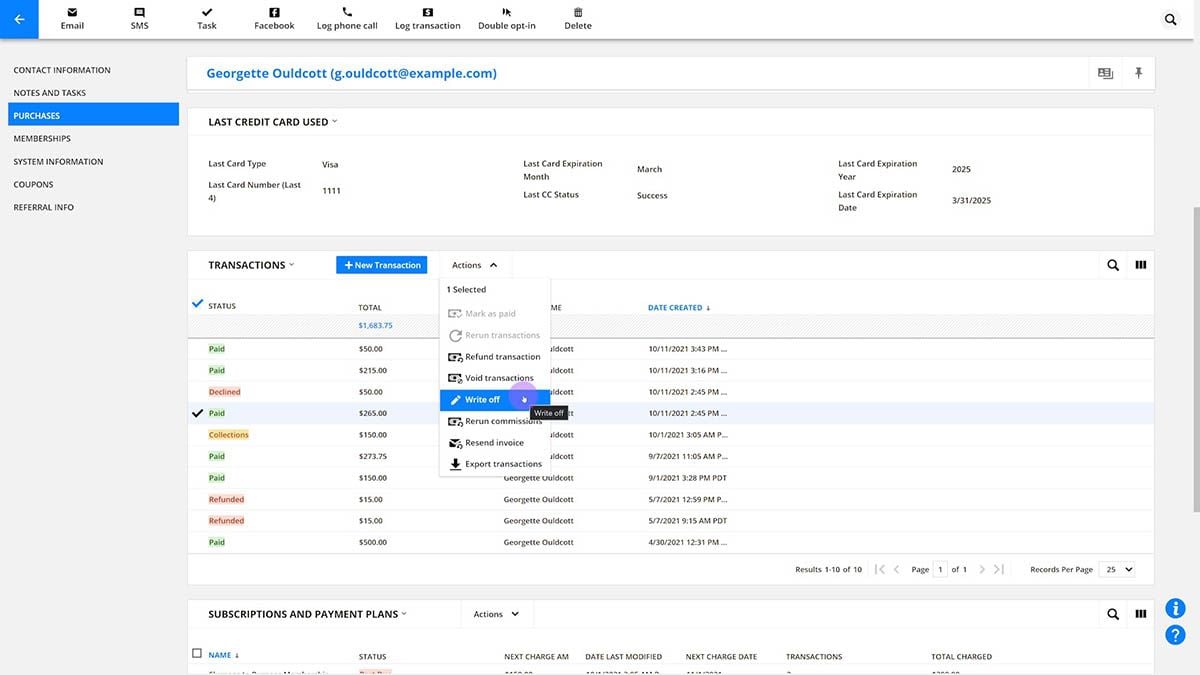
Charge a credit card
Back to top
Charging a customer’s credit card on file allows you to process payments on their behalf, making transactions more convenient for both you and your customers.
If you provide appointment-based services, charging a card on file after each session is a convenient and standard method for handling payments. You may also charge the card for no-shows or late cancellation fees when necessary.
You can also use this method to:
- Collect deposits or holds in advance
- Charge for incidentals or additional services
- Assist customers with billing or payment issues
Here’s how to manually charge a customer’s credit card:
- Go to your contact’s record and click Invoice from the action menu.
- Or go to the Purchases tab, locate the Invoices subcollection and click New invoice.
- Set up the product in the same way as configuring payment settings on an order form.
- In the “I would like to” dropdown, select Charge credit card.
- Select the credit card to charge from the “Credit card number” field. Or click New credit card to add a new payment method.
- Confirm your preferred payment gateway.
- (Optional) Leave a customer or internal note.
- Click Submit to charge the contact’s credit card.
Charge transaction on a later date
Back to top
When you manually charge a credit card on file, you can choose a date in the future to actually charge your customer.
- Follow steps 1-3 above to charge a credit card.
- Click
.png) next to “Today’s total” and pick the date you’d like to process the transaction.
next to “Today’s total” and pick the date you’d like to process the transaction. - Click Submit to charge the contact’s credit card on the selected date.
Change currency
Back to top
Every account has a default currency. With the multi-currency support feature, you also can choose from 157 currencies when you log transactions using the Stripe gateway.
- Follow the steps 1-3 above to charge a credit card.
- Confirm that the gateway selected in your settings is a Stripe gateway.
- In the Currency dropdown, select the currency you’d like to use.
- Adjust the product price to be accurate for the currency you’ve selected.
- If you add a product with a price saved, the price won’t automatically convert to the new currency.
- Select your preferred invoice from the Invoice template dropdown.
- Click Submit.
Create an offer
You can save the products, quantities and prices of frequently used transactions as “offers” to quickly add to other manual transactions or order forms.
- Click on the contact's name in Contacts to open the contact record.
- Click Invoice from the actions menu.
- Or go to the Purchases tab, locate the Invoices subcollection and click New invoice.
- Add to the product grid the products, pricing and quantities that make up your offer. Leave the billing details blank.
- Click Save offer.
- Name the offer and click Save.
Add an offer
Back to top
After you’ve saved an offer, you can easily add it to the product grid in a few steps:
- Open the contact record by clicking the contact’s name in Contacts.
- Click Invoice from the actions menu.
- Or go to the Purchases tab, locate the Invoices subcollection and click New invoice.
- Select an offer from the “Load a saved offer” dropdown.
The offer will appear in the product grid, where you can log or charge the transaction by customizing payment details. You can also use these same steps to add offers to order forms.
Delete an offer
You can clear any saved offer from your account by deleting it.
- Click on the contact's name in Contacts to open the contact record.
- Click Invoice from the actions menu.
- Or go to the Purchases tab, locate the Invoices subcollection and click New invoice.
- Hover over the offer you want to delete in the “Load a saved offer” dropdown and click
.png) → Delete.
→ Delete.