ℹ PURLs are a legacy feature. If you created PURLs before June 13, 2024, the legacy feature will be enabled in your account. Accounts that don’t currently use PURLs or accounts created after June 2024 will have this feature automatically disabled. If you want to enable it, click here and toggle on the PURLs option. Not all DNS providers allow for the use of wildcard A records with custom domains, which is what Ontraport uses to create PURLs. You'll have to disable the feature if your DNS provider does not allow wildcard A records. |
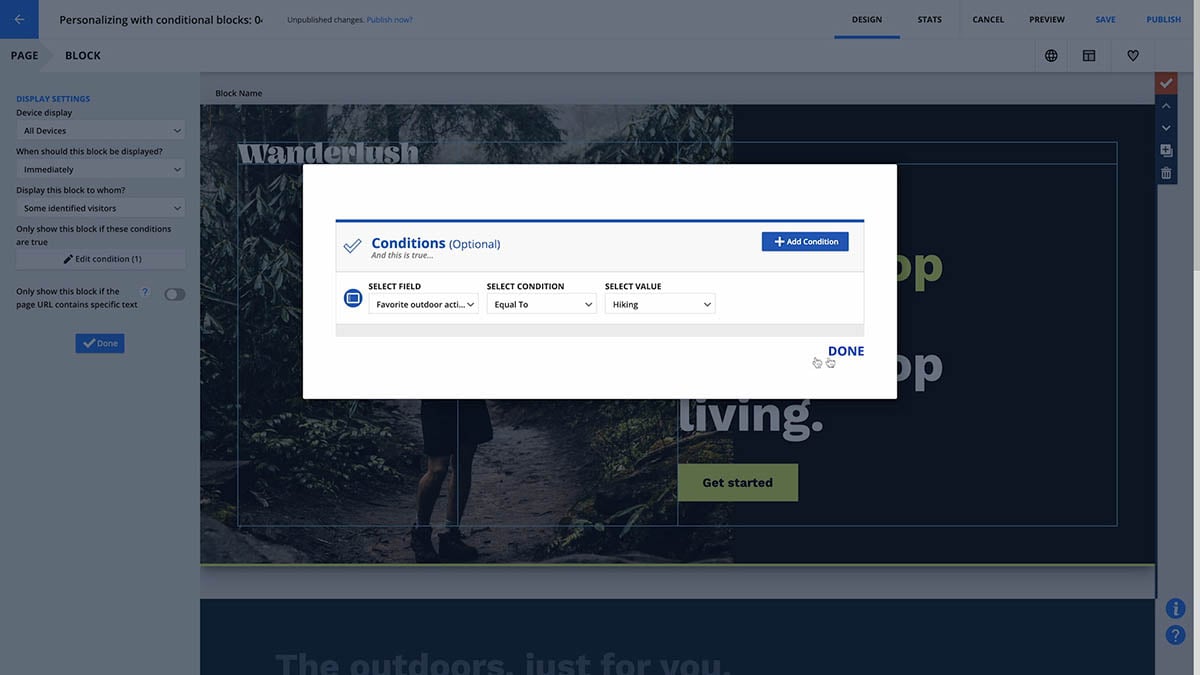
A PURL is a personalized URL, such as jane.yourcompanyname.com, that you can provide to contacts so they can access a personalized version of your page.
The only personalization offered by PURLs that you can’t accomplish with normal merge fields on your pages and emails is your contact’s name in the URL. You do not need to use PURLs for merge fields to work on your pages.
Table of contents
Don’t force HTTPS — so you can use PURLs
Add PURLs to assets
• Add PURLS to OntraMail messages
• Add PURLS to raw HTML emails
Add PURLs to WordPress
Don’t force HTTPS — so you can use PURLs
When PURLs are enabled in your account, contacts' information passes through the URL. PURLs only work on HTTP pages and not HTTPS. This type of personalization is best for thank you pages that don't contain sensitive information.
Here’s how you publish your pages so you can use PURLs:
- From your page editor, click Publish.
- Follow the regular process to publish your page, and check the “Don’t force HTTPS on this page (so that I can use PURLs)”.
- Click Save & publish.
Add PURLs to assets
PURLs are automatically generated by Ontraport; you simply add them via a merge field when you’re creating the email or WordPress post. You can use PURLs for any page that has been published through Ontraport.
Add PURLs to OntraMail messages
- Select an existing message that you’d like to add a PURL to, or go to Contacts → Messages → New Message → New Email → Start From Scratch.
- Click + Add Block → Text and select a text block.
- Click into the text block and hover over the area where you would like to add your PURL. Click Edit.
- Click
.png) and scroll down to the PURLs section. You’ll see a list of the Ontraport Pages you’ve created.
and scroll down to the PURLs section. You’ll see a list of the Ontraport Pages you’ve created. - Select the page you’d like to send visitors to. This will automatically generate PURLs for each contact sent the message, and it will merge the PURLs onto the email. PURLs populate as raw links with your contact’s name in the URL; however, if you only want the contact’s name be displayed when the page is visited, you can use a hyperlink or a button for your PURL:
- For a hyperlink: Add the text you want to display and highlight it.
- Click
.png) → Ontraport Page → Select Page, and choose your page’s name.
→ Ontraport Page → Select Page, and choose your page’s name. - Click Insert Link.
- Click
- For a button: Click Add Block → Button → select your button design.
- Hover over the button and click Edit.
- Click Enter Link URL → Ontraport Page → Select Page, and choose your page’s name.
- Click Insert Link.
- For a hyperlink: Add the text you want to display and highlight it.
- Click Save on your block settings.
- Complete your message and click Save.
Add PURLs to raw HTML emails
- Select an existing message that you’d like to add a PURL to, or go to Contacts → Messages → New Message → Raw HTML Email Editor to create a new one.
- Click Insert Merge Field and scroll down to the PURLs section. You’ll see a list of the Ontraport Pages you’ve created.
- If you want to change the text of your link, start by adding the merge field for your PURL to the message twice. There will be two merge fields next to each other.
- Click Source .
- Replace the spaces within your merge fields with “%20.” (e.g., )
- Replace the brackets with angled brackets, < →.
- Add a forward slash (/) after the opening angle bracket (<) of the second PURL. Your merge field should appear like this: <PURL_My%20Page → </PURL_My%20Page →.
- Enter what you want your link to say between the two PURLs.
.png)
- Click Source. You will see that only the text for your link appears in the message body.
- Complete your message and click Save.
Add PURLs to WordPress Pages or Posts
If you have the PilotPress plugin enabled in your WordPress site, you can also add PURLs to your Ontraport-hosted pages.
- Integrate your WordPress site with Ontraport if you haven’t yet.
- Log in to the admin seat of your WordPress site.
- Click Pages or Posts → Add new.
- Click
.png) → Classic.
→ Classic. - Click the "Merge fields" dropdown, and scroll down to the PURLs section.
.png)
- Click on the name of your page to add the PURL.
- Add the merge field to your page to hyperlink your PURL, then cut and paste it into your link settings.
- Click Publish.