What are Editors?
One of the unique things about Ontraport is that in addition to being the engine behind your marketing automation, it’s also where you can create the assets you’ll use in those marketing automations. You’ll create pages, forms, emails and more right within the app so you can easily connect them within your funnels.
In Ontraport, you’ll create these assets in what we call editors. Think of the editors as your canvas and palette – the center of your screen where you’re creating your asset is your canvas, and all the styling options on the side are your palette.
The Ontraport Pages and Advanced Mail editors use the same visual block-based editor.
These are the canvas and palette editors in Ontraport:
Pages:
- Ontraport Pages
Forms:
- Ontraport Pages (with embedded form elements)
- Ontraport Forms
Email:
- Advanced Mail
Note, there are also editors that you’ll use for SMS, tasks and simple emails. These are basic text (and sometimes image) editors similar to what you see when you write an email from your personal email account. The postcard editor also allows for text, images and other stylization.
Navigating the canvas and palette editors
Because Ontraport Pages is the latest version of our canvas and palette editor and will eventually be shared by Ontraport Email and Ontraport Forms, we’ll focus on the Ontraport Pages editor here. The existing email and forms editors follow similar concepts.

When working with Ontraport Pages, you’ll see the following on the top and right of your screen:
- Design: This is the page where you create your asset.
- Stats: This is where you view data such as visits for pages and opens for emails.
- Preview: This allows you to see what the finished product will look like in a new window.
- Publish: Click this when you’re ready to make your asset live.
- Save: This is where you save your progress.
- View desktop/mobile: This is the default view of your page, and it will show you all blocks, including blocks designated as desktop only and mobile only.
- View desktop: This allows you to see what the asset will look like to those viewing it from a desktop computer.
- View mobile: This allows you to see what the asset will look like to those viewing it from a mobile device.
- Version history: You can see all previously published versions and the current, unpublished draft. If you want to revert your page to a previously published version, select it, preview it and choose to revert your page back to that version.
- Share content: You can share your page either through Ontraport’s Marketplace or with individual users.
- Split testing: This is where you’ll be able to create varying assets that you can test.

On the top left you will see the following global settings, which allow you to set up how you’d like something to appear across your entire page so that you don’t have to edit things individually:
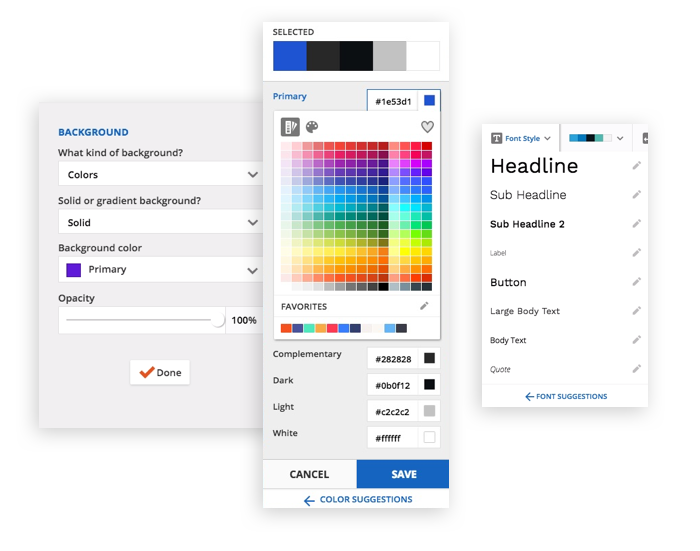
- Font Style:You can change the default fonts used on your pages so that your page looks cohesive and so that it’s easier to edit fonts throughout your page. For example, if you decide you want to change the font used on your button, you can edit the button font and change the appearance of all your buttons — there is no need to edit every single button.
- Color Palette: This five-color palette also helps keep your page design looking polished while saving you time if you decide to change your color themes. When editing the style of elements on your page, you can easily choose from the five colors selected in your palette. While you can always set custom colors, using the color palette lets you make a global change across all elements on your page.
- Page Width: This is where you select how your hosted page will appear on your published URL. You can choose from small, medium, large, full and custom to control exactly how many pixels wide your page will be.
Creating your assets

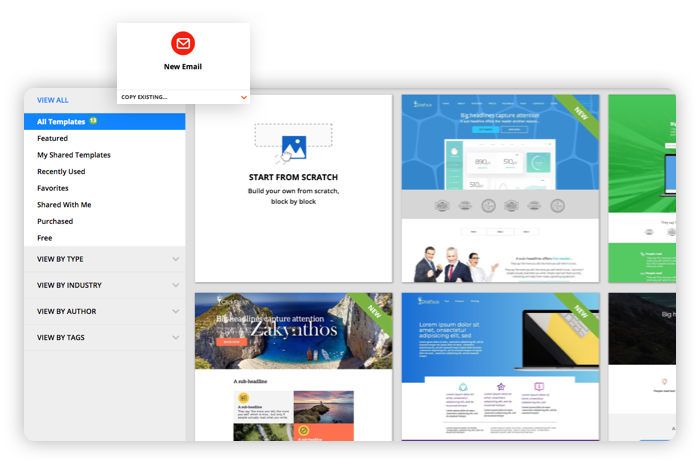
To begin creating an asset, you’ll have the option to start from scratch or choose from our library of professionally designed templates that you can edit. From there, you’ll design your assets using a combination of two foundational items: blocks and elements.
- Blocks are the frames inside your canvas that house elements. You’ll typically have multiple blocks on one canvas.
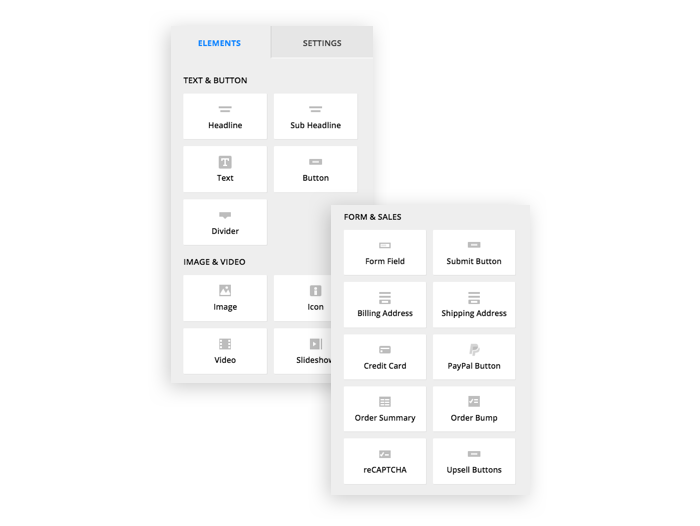
- Elements are the images, text, buttons and other pieces that go inside of blocks.
Depending on which item you’re editing, you’ll see either the elements palette, which you can use to stylize things such as your text colors and sizes, or your block palette, which you can use to adjust the columns and rows that frame the block.
In your palette, you’ll see the most common settings and even select form pre-designed icons and form fields and, when you want to create more advanced visual characteristics, you can easily expand to expose options such as gradients and padding.
By breaking the elements and blocks into separate editor tabs and defaulting the palette view to the most common settings, your creation experience is much cleaner and easier to manage. Adding to the intuitiveness of the editors are the drag-and-drop functionality, which allows you to simply move blocks and elements to go where you’d like, and the ability to see the changes you make to the style of your elements as you make them.
Editors Features
Learn more about all the features available when creating pages, emails and forms in Ontraport.
Block-based editors
Think of blocks as the building blocks of your pages. They stack vertically on your page, and inside each block are sets of columns and rows that house elements such as your text, images, forms and videos.
Elements are the text, images, videos, forms and other content that you drag and drop onto assets. You have lots of flexibility to edit your elements to appear just how you’d like.
Editors Activities
Design a page to showcase your offers and your brand, and publish it to one of our domains or yours.
Create a Form on an Ontraport Page
Add pre-built forms for essentials such as billing address and credit card information, or customize your own to collect unique information.
Create emails and send them as one-offs or schedule them as part of your automation maps to segmented groups.
