What are automation maps?
Automation maps are the engine in Ontraport that you’ll use to accomplish your use cases and goals, such as capturing new leads, selling more of your products, gaining referrals and more.
Automation maps are flowchart-like paths, or funnels, that your customers will experience as they interact with your brand. This is where all the data in your Collections, the assets you’ve created through Editors, and Ontraport’s sophisticated automation come together to give your contacts personalized experiences.
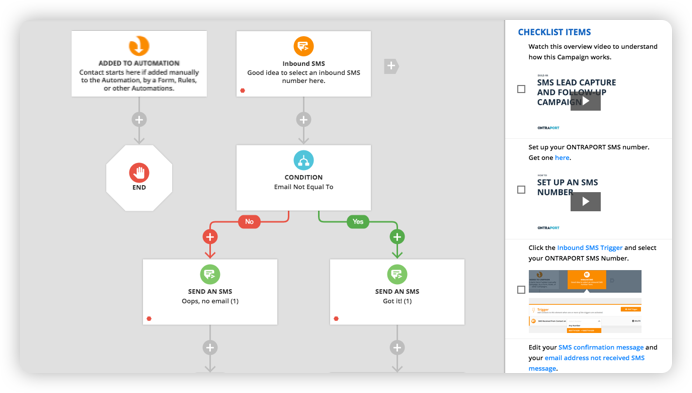
Automation basics
Just as when you’re creating any other asset in Ontraport, you can start creating your automation map using a pre-built template that you can then tailor to your needs, or you can start from scratch.
Building and customizing automation maps is as simple as following our “What happens next?” guidance. You’ll be prompted to use if/then logic to dictate what should happen to each contact that hits that point of the automation map, and you can customize further using boolean logic, which uses “or,” “and” and “not” to create advanced filtering. For example, you might want to set up a particular email in your automation map to only be sent to those who have purchased Item A “and” have purchased it since a certain date.
This intricate automation is only possible due to Ontraport being a data-based system, as opposed to a list-based system: There’s no need to manually create contact lists for each email you’d like to send; the system will automatically and dynamically send the email to anyone who has reached that email element on the map and meets the data criteria you’ve set. You can think of the main actors in your automation as being like scanners: They’re constantly scanning your contact database for contacts who meet the criteria you’ve set — or, in other words, for data fields to be updated in contact records — and then act accordingly to perform the relevant automated follow-up.
In addition to enacting your automation, your map also house all the assets, such as emails, that your contacts will experience along their journeys. While creating your automation map, you can easily add the appropriate asset where it belongs or even create it on the fly within the workflow. Incorporating your assets into the automation map gives your contacts a seamless experience only possible when it’s all created within one platform.
Automation Features
When creating your automation map and following the “What happens next?” prompts, you’ll be given the option to choose from the following types of elements.
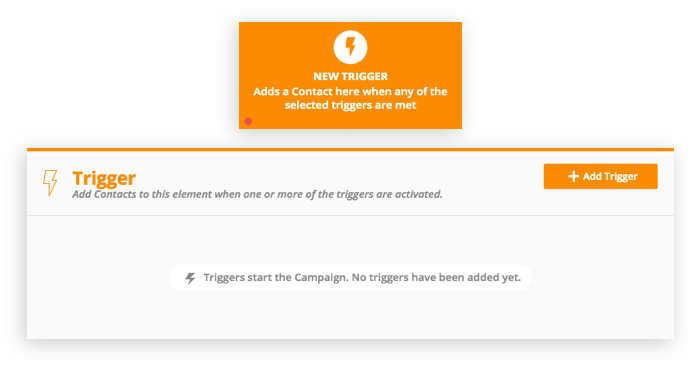
Automation triggers are the beginning of every automation map; they’re the events that start your contacts on an automated path. These events can be actions that a contact takes, such as purchasing a product, actions your team makes, such as making a follow-up call, or qualities a contact has, such as a birthday.
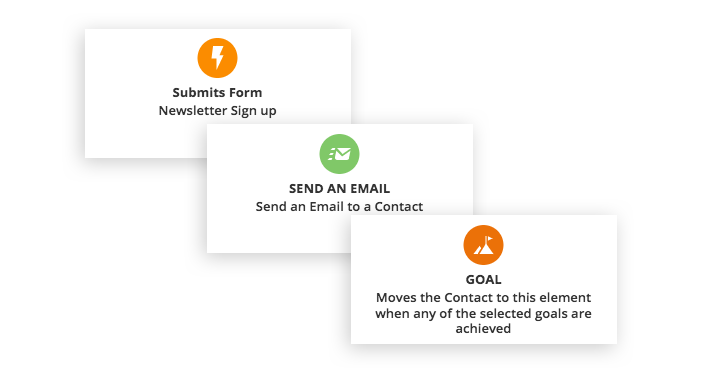
A goal in your automation map is something you want your contacts to achieve, such as signing up for a membership site, purchasing a product, or visiting your website.
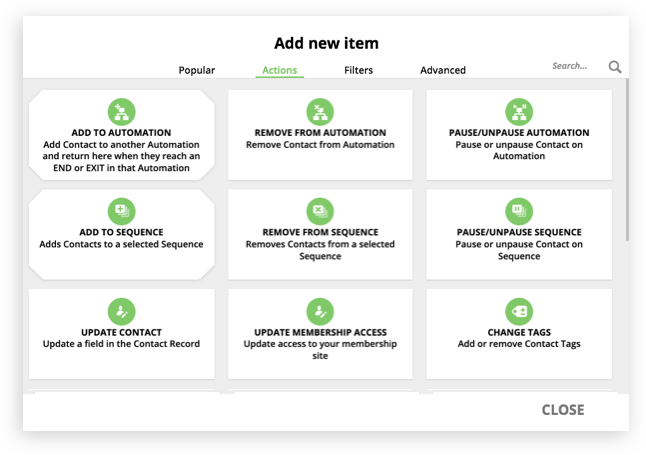
Actions are the central elements that drive your automation and allow you to respond instantly to your contacts’ activity. Actions include sending an email or SMS, giving a contact access to your membership site, and assigning a new tag to a contact.
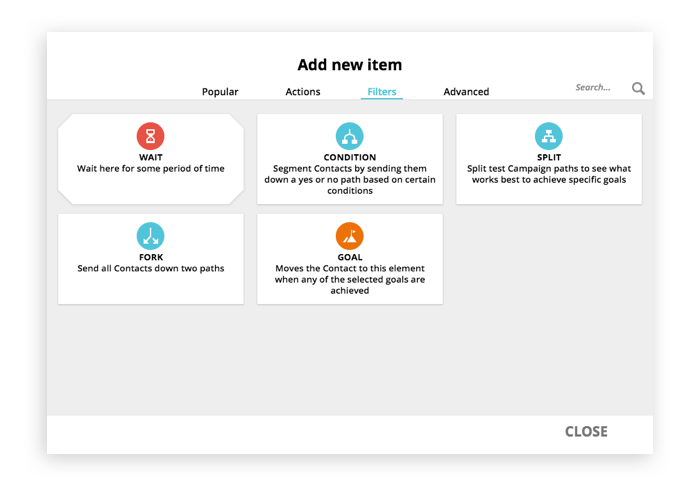
To truly provide individualized experiences for customers, you can send them down different paths within your automation maps, depending on their actions and specific conditions.
Automation Activities
Learn how to approach creating an automation map and how to combine each type of element to accomplish your goals.
Install a prebuilt automation map
Get started with automation quickly by starting with a pre-built template, then tailoring it to your needs.
Use emails in your automation to follow up with contacts and keep them engaged with your brand.
