This article shows you how to navigate your Ontraport account. You’ll learn about your top navigation, collection toolbar, and sidebar buttons to quickly and easily find what you need.
It also shows you how to customize your top navigation bar.
Table of contents
Top navigation
• Dashboard
• Automations
• Contacts
• Tasks
• Sales
• Partners
• Pages
• Tracking
• Share the love
• Notifications
• Pinned items
• Your account
Collection toolbar
Side navigation
Customize your navigation
Top navigation
The top navigation bar gives you access to your collections and important tools, such as your account dashboard and tracking.
When you first create your account, your main navigation will look like this:

As you enable more features, add apps and custom objects, your navigation bar will include more items, like this:

You can click on any of your top navigation items to go to that collection. Or you can hover over these navigation items to access additional features and settings.
You can choose which items you want to display on your top navigation bar and the order you’d like them to appear. Check out customize your navigation below to learn how.
Dashboard
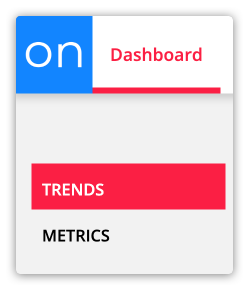
Your account’s Trends and Metrics Dashboards help you monitor crucial stats and their changes over time.
Your Dashboard button doesn’t have any hover options. Click Dashboard, then navigate between Trends and Metrics on the left side of your screen.
Check out this article to learn about the Metrics Dashboard and this article for information about the Trends Dashboard.
Automations
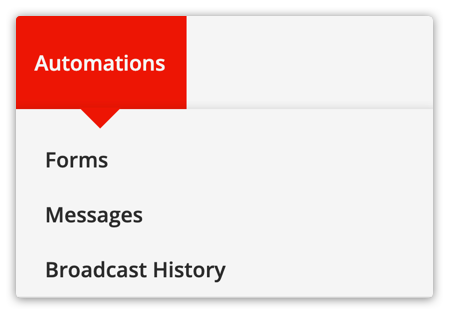
If the only object you have enabled in your account is Contacts, you’ll have an Automations navigation item. All brand new accounts come with an Automations navigation item.
Automations is where you can create automation maps, forms, email messages and access your broadcast history.
Once you enable prebuilt objects or add custom objects to your account, this navigation item will disappear. Then you’ll access your automation maps, forms and messages by hovering over each of your objects’ navigation buttons.
Contacts
You’ll go to your Contacts collection when you click on the Contacts button.
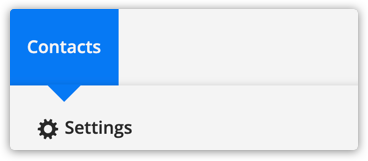
If you do not have any custom objects enabled in your account, you’ll see your contact settings when you hover over Contacts.
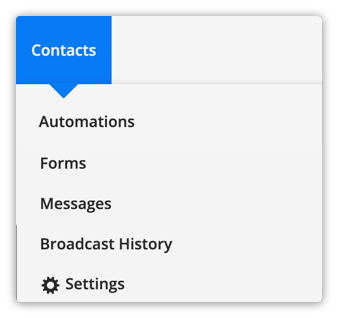
If you have other objects enabled in your account, you’ll see more options when you hover over Contacts.
Contacts settings
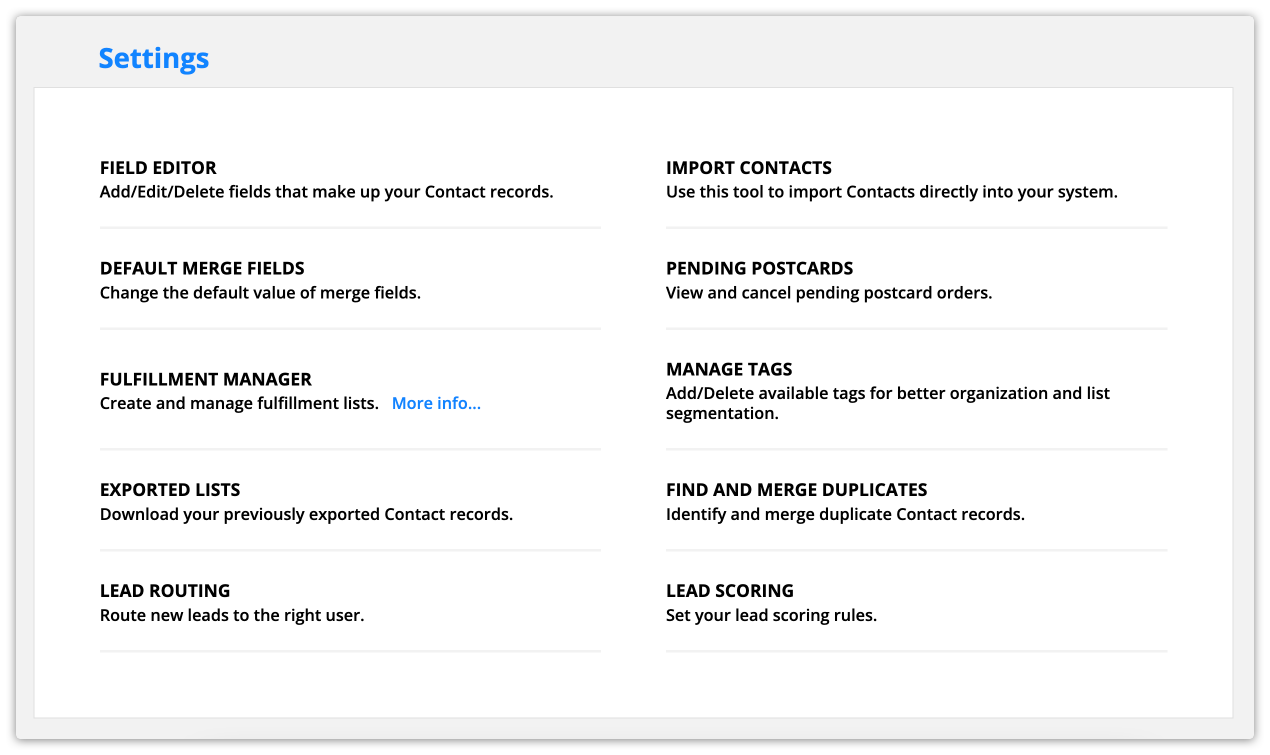
Contact settings are where you can create custom fields, import contacts, set up lead routing and scoring and more.
The Contacts object works a little differently than other objects in your account. Check out this Ontraport University lesson to learn more.
Tasks
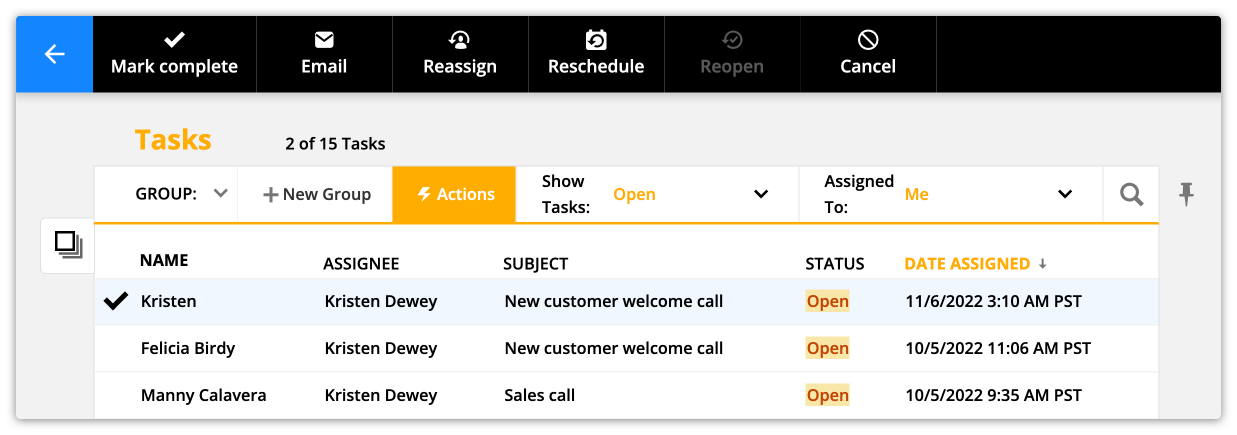
Your Task button doesn’t have any hover options. You can complete, reassign, reschedule and cancel tasks from your Tasks collection. Click Tasks to view all of your assigned and completed tasks.
- Note tasks are messages. If you want to create a task, go to your Messages collection.
Check out this Ontraport University lesson to learn more.
Sales
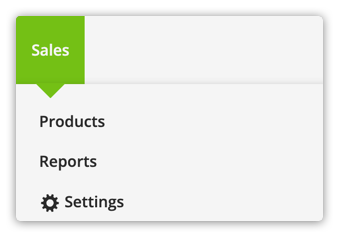
Click on Sales to view your Purchases collection. This collection shows you all of the products you’ve sold to your customers.
You can access your Product collection when you hover over your Sales navigation item. From there, you can check sales reports and access your sales settings.
Sales settings
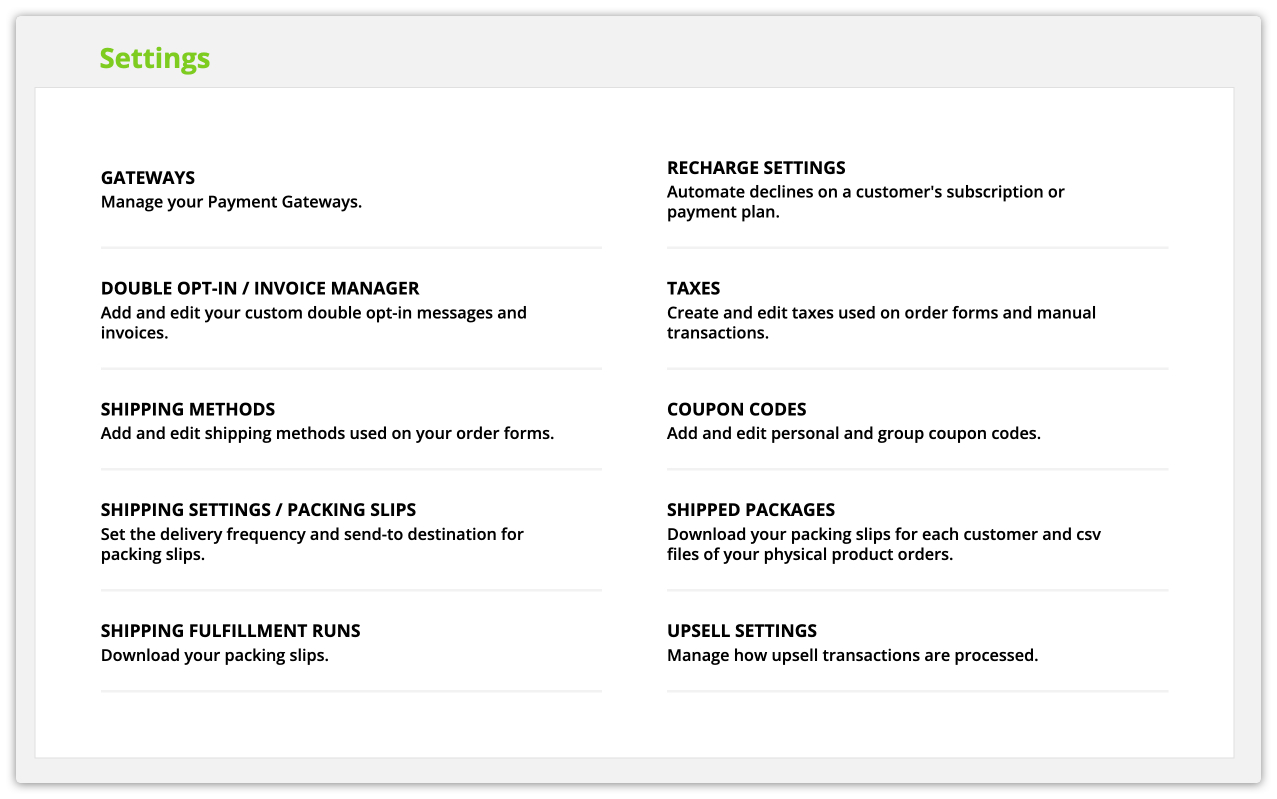
Sales settings are where you can set up your payment gateways, recharge settings, coupons and more.
Partners
You’ll have a Partners button if you’ve enabled the partner programs feature in your account. Click on it to go to your Partners collection.
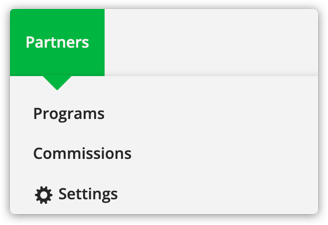
Hover over Partners to navigate for more options. You can go to your Partner Programs and Commissions collections and partner program settings from the dropdown.
Partner settings
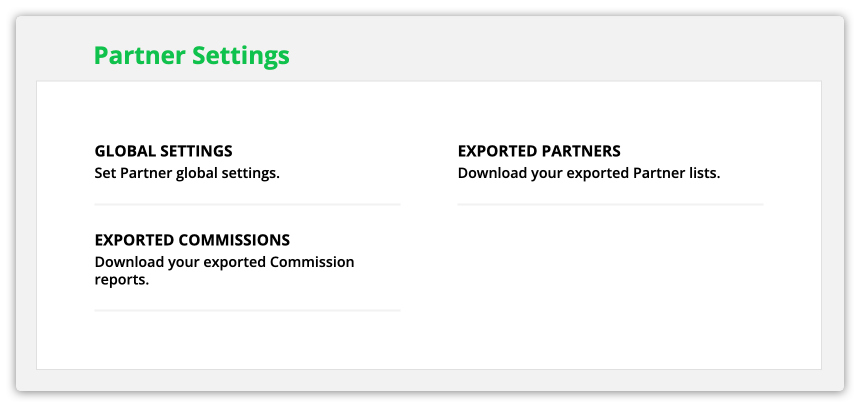
You can see your Partner Program Global Settings and exported information in your partner settings.
Check out this Ontraport University lesson to learn more about setting up partner programs.
Pages
When you click Pages, you’ll go to your Pages collection. This collection is where you can create and edit pages for your website.
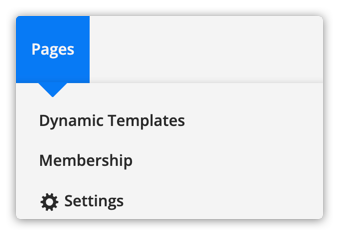
If you have the Ontraport Membership sites enabled, hover over Pages to go to your Membership Sites collection.
You’ll see your Dynamic Templates collection if you have a Dynamic Content package added to your account.
Page settings
Your page settings give you access to your Page Types and Membership Sites collections.
/pages-settings_context_image.png)
Check out this Ontraport University lesson on how pages work to learn more.
Tracking
If you have the tracking feature enabled in your account, you can view stats about your Urchin Tracking Model (UTM) links.
![]()
Click Tracking to go to your UTM Campaign collection.
Hovering over Tracking allows you to view stats about different UTM variables and the history of all of your UTM links.
Check out this Ontraport University lesson to learn about creating and using UTM links.
Share the love — 
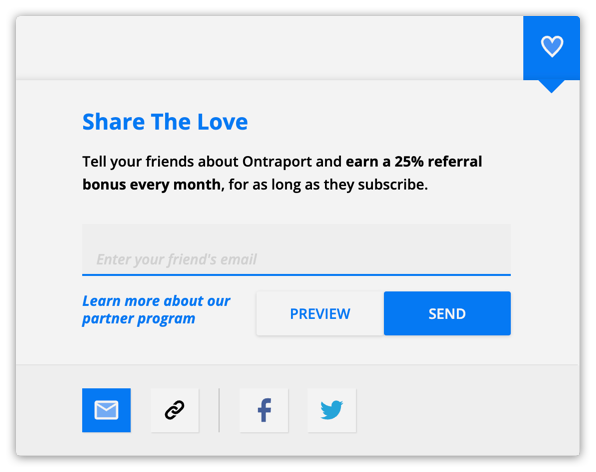
Hover over this icon to refer your friends to Ontraport. If your referral purchases an Ontraport account, you’ll receive a 25% referral bonus every month they are subscribed. You can send your referral link via email or generate a link using social media.
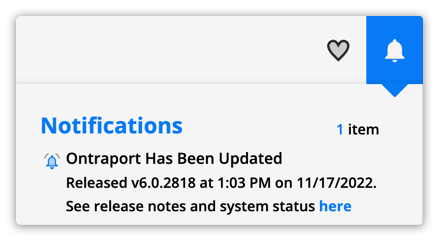
Notifications — .png)
Hover over this icon to view information about Ontraport’s most recent code release.
Pinned items — .png)
Click this icon to go to your Pinned Items collection.
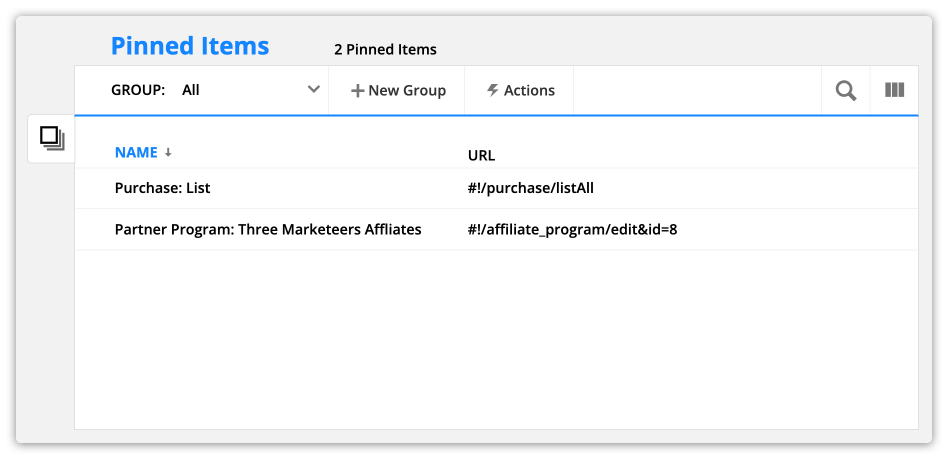
Your records and collections include the ![]() icon in the top right corner. When you click the icon, it adds a quick link to your Pinned Items collection.
icon in the top right corner. When you click the icon, it adds a quick link to your Pinned Items collection.
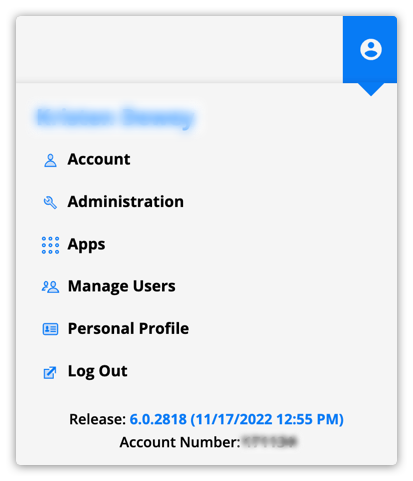
Your account — .png)
Hover over this icon to manage your account, access your administration settings, manage users and more.
Collection toolbar
When you navigate to any of your collections, you’ll see a toolbar under your main navigation bar. This toolbar helps you search and segment your records and choose the fields you want to display.

Check out this Ontraport University lesson to learn more about organizing your data with groups.
Group — 
Click your group dropdown to select any of your saved groups.
New group — 
Click to create a new saved search to segment your records.
Edit group — .png)
If you have a group selected, click this button to edit your saved search conditions.
Actions — .png)
Click this button and select records or assets in your collection to perform actions.
Search — .png)
Click this button to search for specific records in your collection.
- Note you can only search in the fields you add as columns in your collection.
Pin this pane — .png)
Click this button to add your page to your Pinned Items Collection so you can access it quickly later.
Update column settings — .png)
Click this button to choose the fields you want to display in your collection and the order you wish them to appear.
Side navigation
Every page in your account contains two buttons on the bottom right corner of your screen. These buttons give you access to support and learning resources.

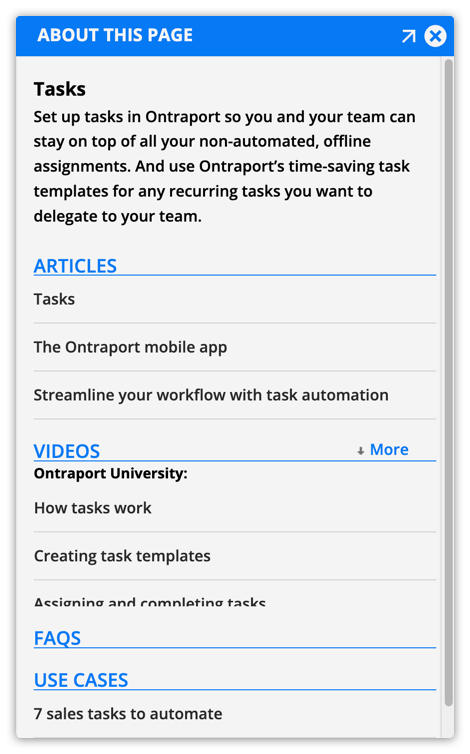
About this page — .png)
Click this button to learn more about the page of the app you’re viewing.
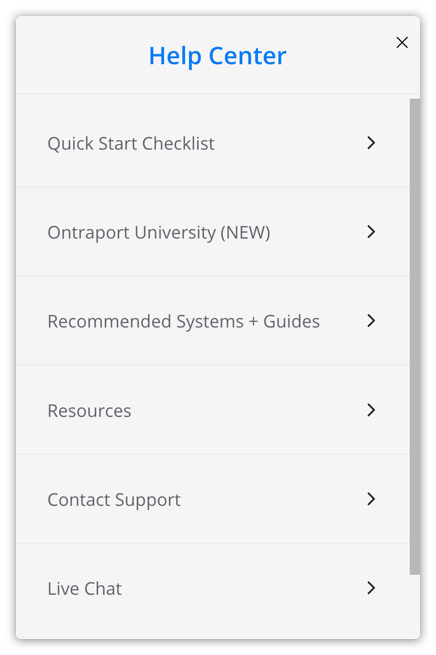
Help Center — .png)
Click this button to contact support, follow step-by-step guides, and watch instructional videos.
Customize your navigation
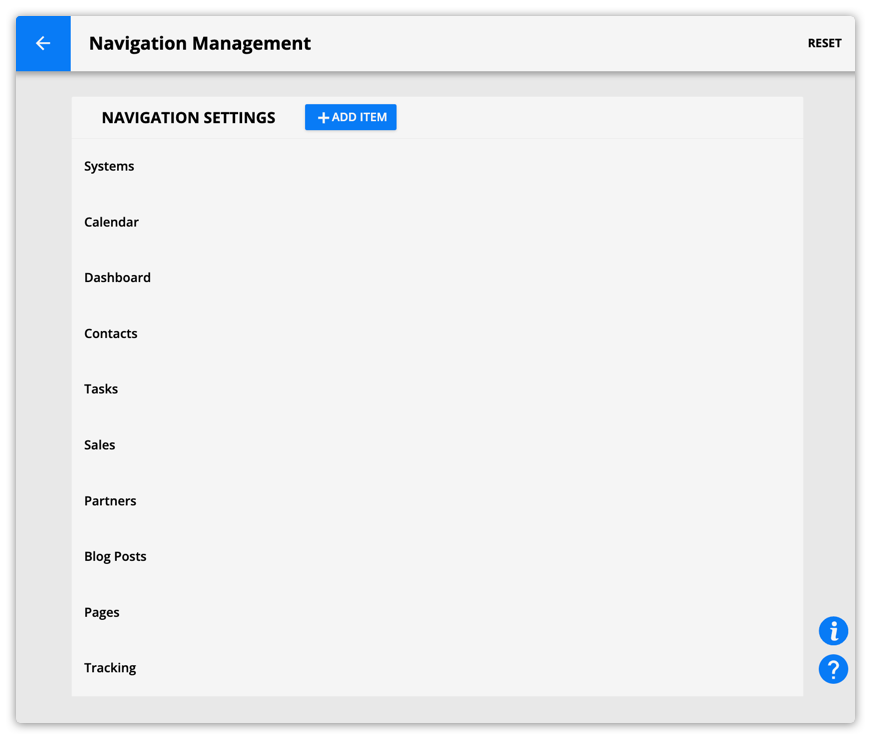
You can customize your Ontraport navigation bar. Choose the items you want to display, change the colors of your navigation items and reorder your navigation bar. You can also choose which navigation items users in your account should see.
- Go to
.png) → Administration → Customize navigation menu.
→ Administration → Customize navigation menu.
Reorder navigation items
To reorder your navigation items, hover over the item you want to move. Click the move icon (![]() ) and drag the item to the position you want.
) and drag the item to the position you want.
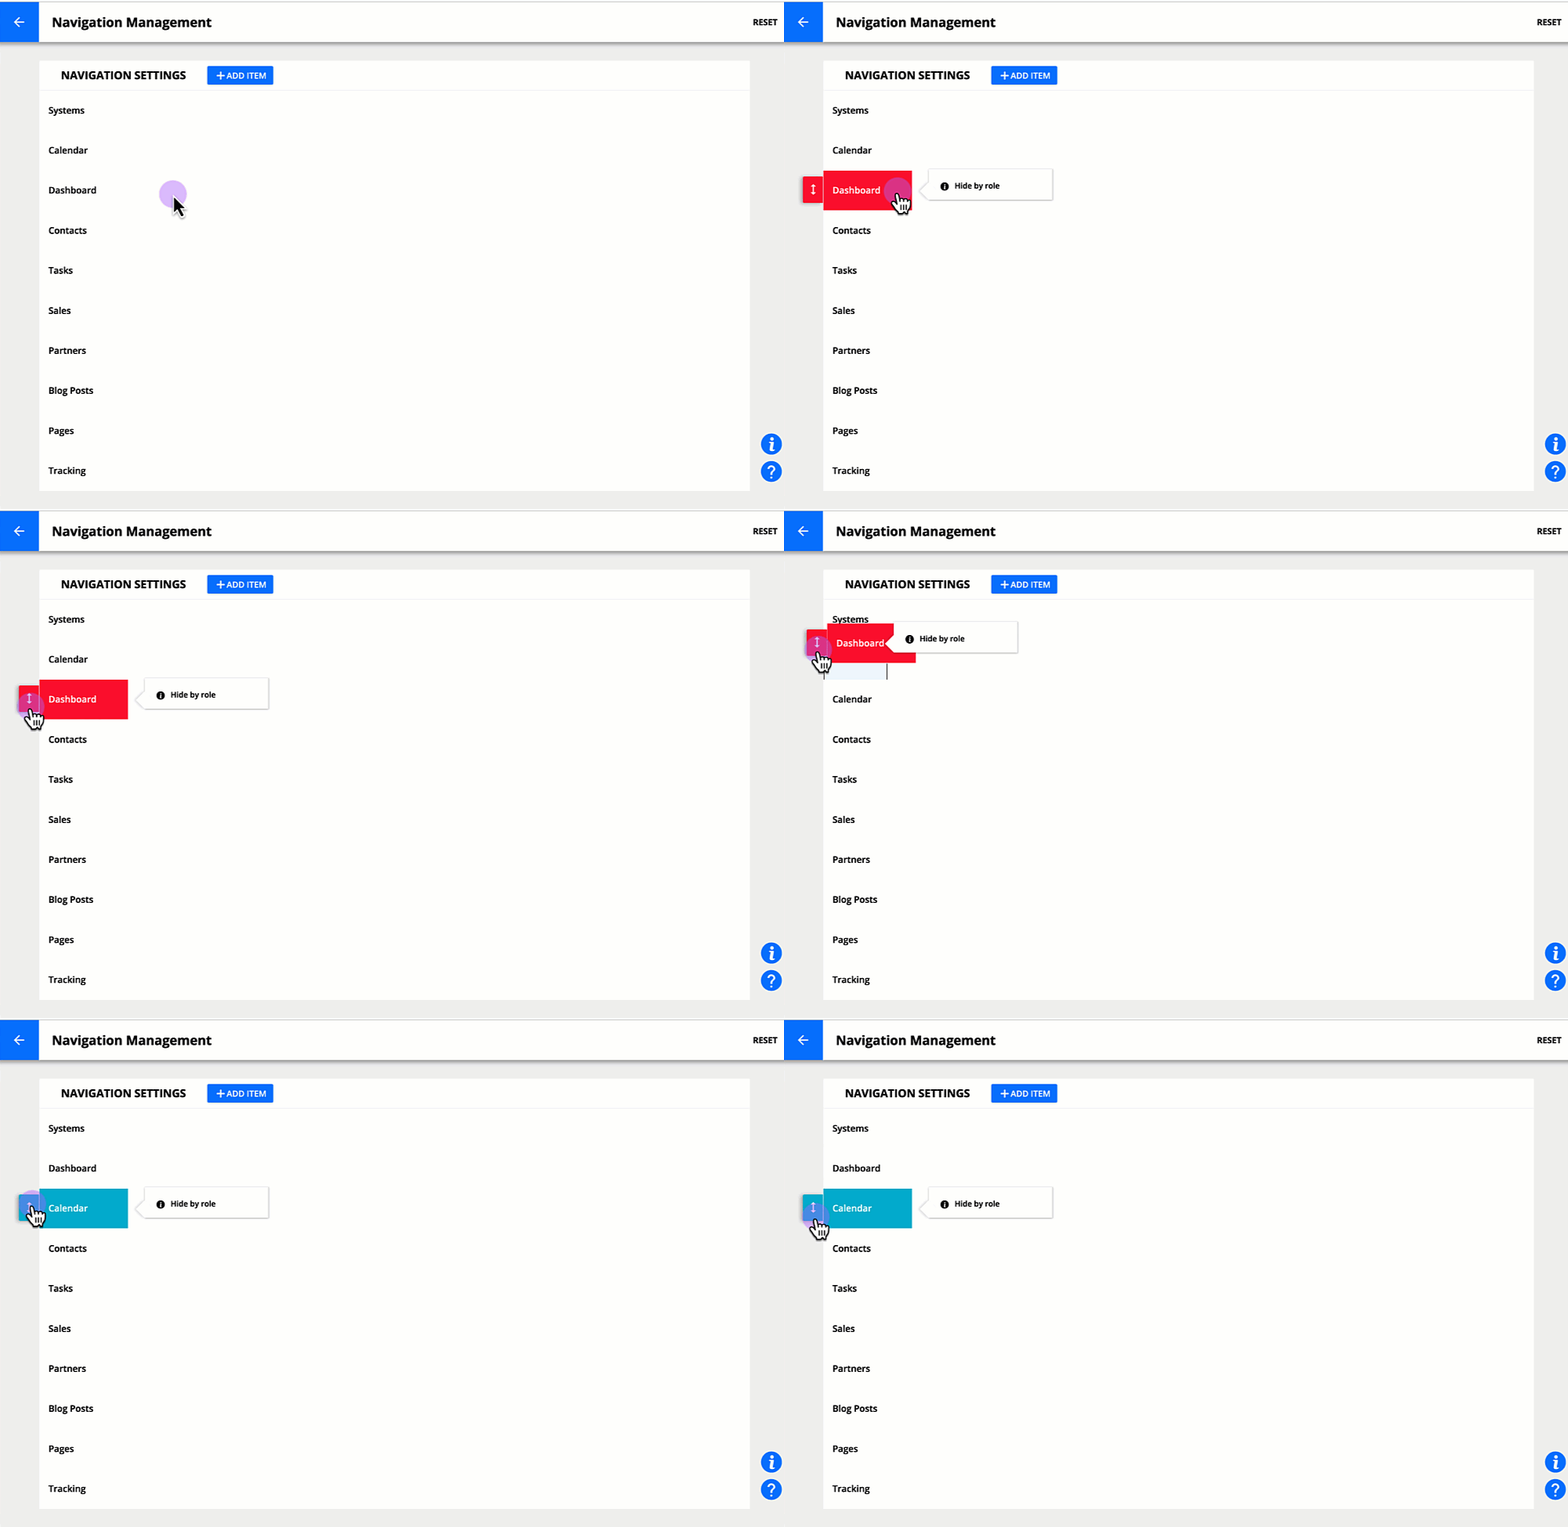
Hide navigation items
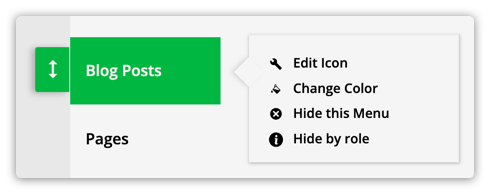
You can completely hide custom objects from your navigation bar to streamline the look of your account. This is helpful when you have objects you don’t need to access regularly. The “Hide this menu” option does not appear for default navigation items such as Systems, Dashboard and Contacts.
- Your users can still access hidden collections if they directly visit the URL of your collection. This feature simply hides the navigation item from all users.
- Every collection in your account uses the same URL structure, https://app.ontraport.com/#!/YOUR_COLLECTION_NAME/listAll.
- Hover over the item you want to hide.
- Click Hide this menu.
Hide navigation items by role
Not all account levels have access to this feature. Check out our pricing page to see if custom navigation by role is available at your account level.
You can hide any of your navigation items for specific roles. This customization ensures that the users in your account have the navigation items they use front and center.
- Your users can still access hidden collections if they visit your collection’s URL. This feature simply hides the navigation item from users assigned a specific role.
- Hover over the item you want to hide for specific roles.
- Click Hide by role.

- Select the roles that should see your navigation item.
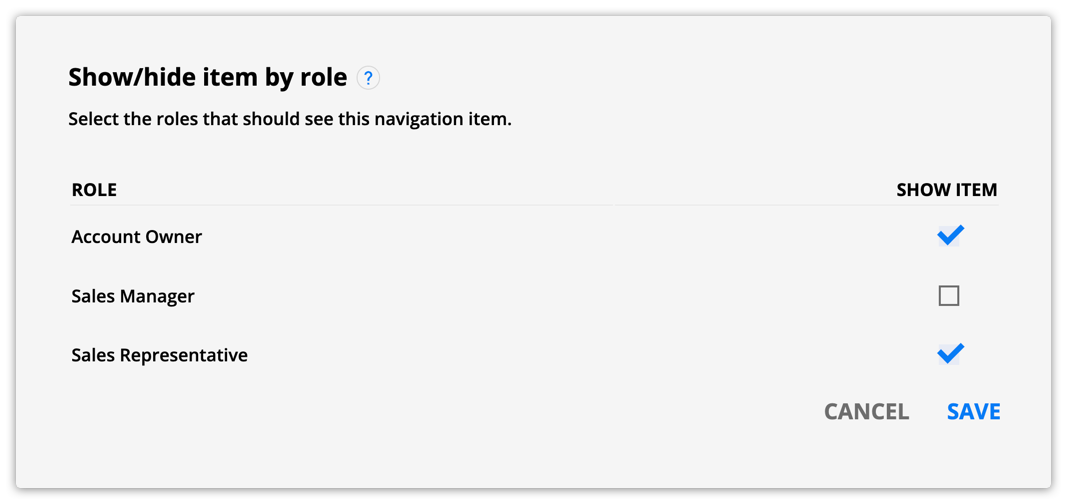
- Click Save.
Add navigation items
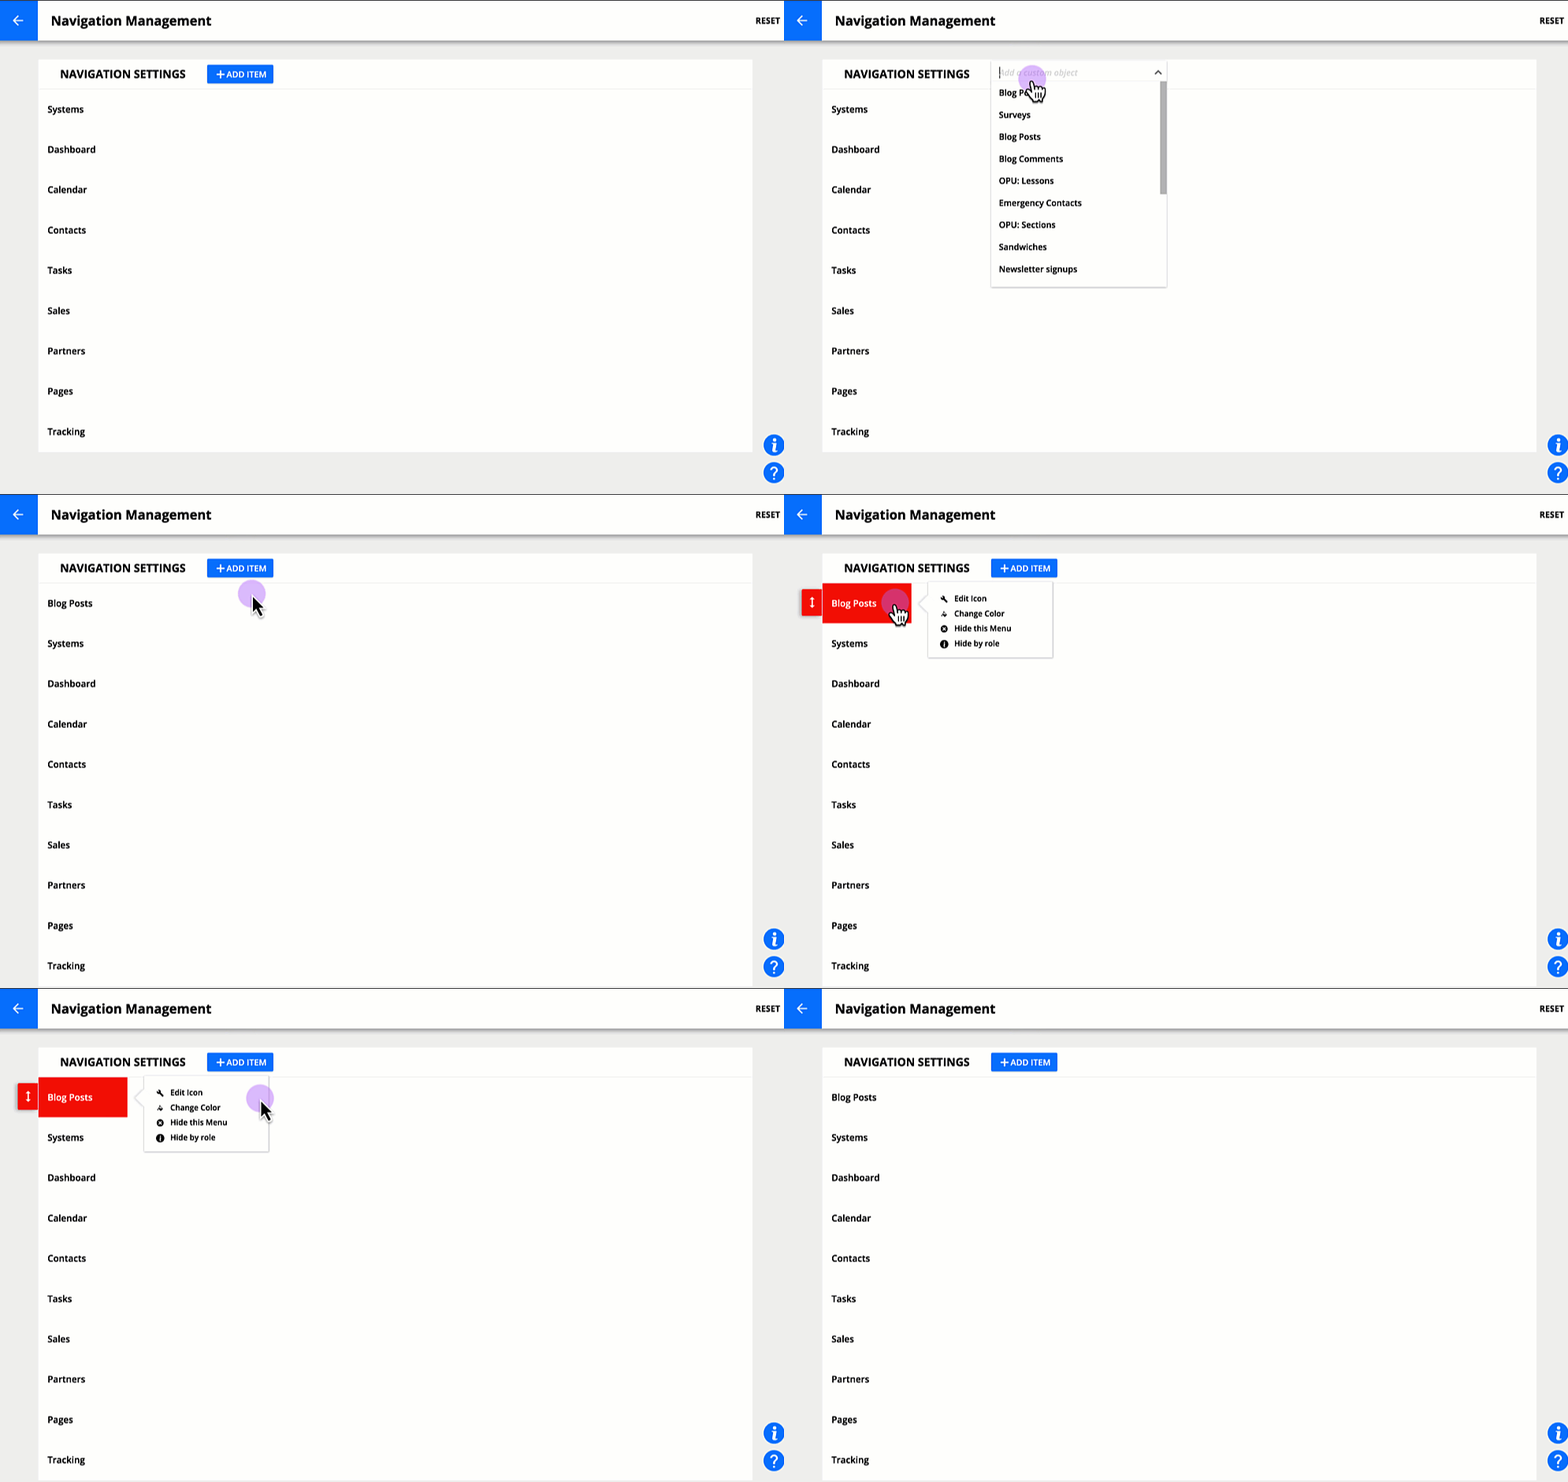
If you’ve hidden any of your navigation items, you can add them back to your navigation bar. Here’s how.
- Click Add Item and select the item you want to add to your navigation bar.
- The new item will appear at the top of your list.
Change the color of navigation items
You can change the color you see when you hover over your contacts and custom object navigation items.
- You cannot change the color of default navigation items such as Systems, Dashboard and Pages.
- Hover over the item you want to edit.

- Click Change color.
- Select your color.
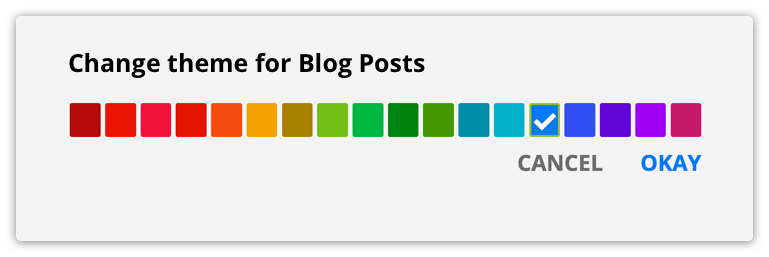
- Click Okay
Edit navigation item icons
Navigation items include icons that you can see on the mobile Ontraport app.
You can change the icons for your contacts and custom object navigation items.
- It’s not possible to change the icon of default navigation items such as Systems, Dashboard and Pages.
- Hover over the item you want to edit.

- Click Edit icon.
- Choose your icon.
![]()
- Click Okay.
